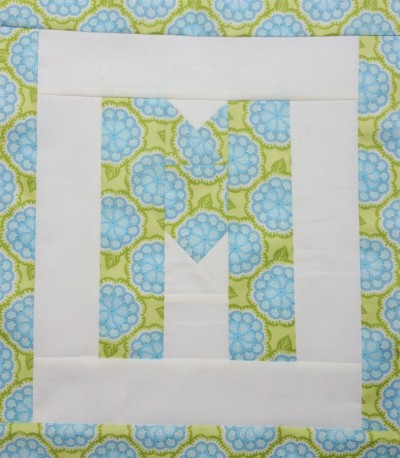
The first Friday of each month I will be sharing five patterns for five letters! You can find all the other posts for each letter’s pattern here. Read through the pattern thoroughly, use a 1/4″ seam and press all seams open unless otherwise stated.
What you will need
Print:
2 – 2.5″ square
1 – 2.5″ x 4.5″
2 – 2.5″ x 8.5″
4 – 1.5″ x 12.5″
Background:
4 – 2.5″ square
2 – 2.5″ x 8.5″
2 – 2.5″ x 10.5″
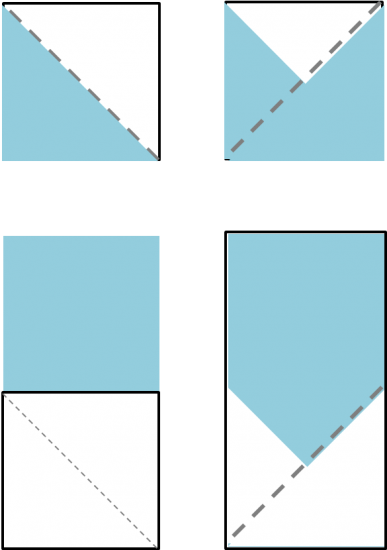
1. Draw a line diagonally across the back of the 2.5″ print squares. Place one right sides together with one 2.5″ background square aligned like in the top image, and sew along the line. Trim 1/4″ from the seam towards the bottom left corner. Repeat for the remaining print square, aligned like in the top image.
2. Draw a line diagonally across the back of two 2.5″ background squares. Place one right sides together along the bottom of edge of the 4.5″ print rectangle, aligned like above, and sew along the line. Trim 1/4″ from the seam towards the bottom left corner. Repeat for the remaining background square, aligned like in the top image.
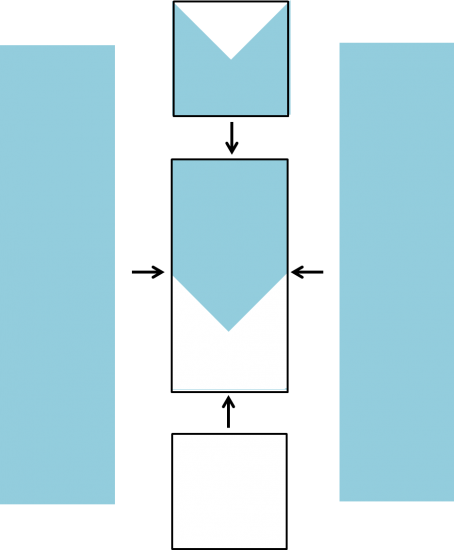
 3. Sew the unit from Step 1 to the top of the unit from Step 2. Sew the remaining background square to the bottom of this new unit, then sew one 8.5″ print rectangle to each side and press seams towards the rectangles.
4. Sew the 2.5″ x 8.5″ strips of background fabric to the sides of the letter, followed by the 2.5″ x 10.5″ strips to the top and bottom of the letter. Trim to 10.5″ x 12.5″.
5. Sew the 1.5″ x 12.5″ strips of print to the sides of the letter, followed by the top and bottom of the letter. Trim to 12.5″ x 14.5″ and press.
If you make something from this pattern, please feel free to share it in the Flickr group or tag it #easyasabcqal on Instagram. And don’t forget to come back and link up this month’s blocks and be in the running for some great prizes!


Joni says
Thank you for the letters! I love making quilts for my college bound kids + friends and always
look for neat ways to spell out their names…makes losing their quilts that much harder!