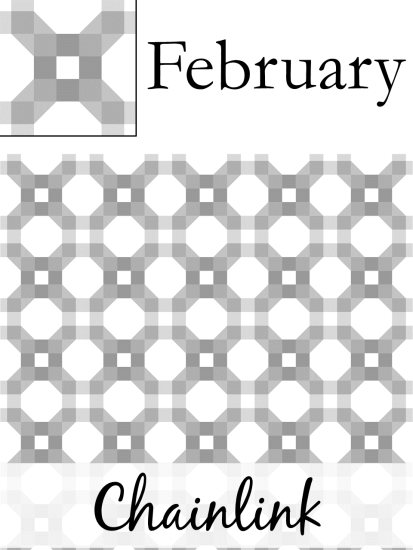
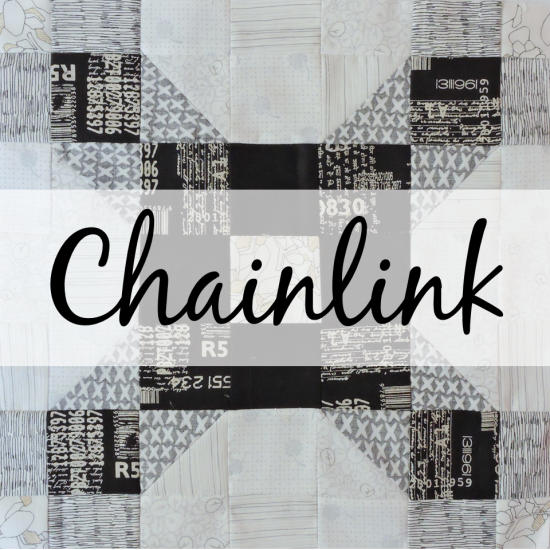
February’s block – Chainlink – is a block that uses varying shades of a colour to create an interlinking chain across the quilt top.
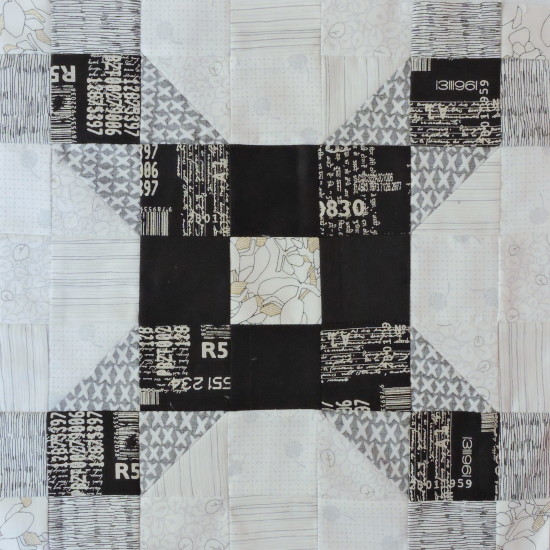
While there may seem to be an easier way to piece this top, the effect of the spokes along the outer edge of the quilt makes it much more interesting. There are also two ways to piece this block – a scrappy pieced background or single solid pieces. For my block, I’ve shown the scrappy pieced background.
Fabric Tips
When choosing the fabrics and using terminology of darkest, mid and lightest, we’re talking saturation levels. Using a solid as the darkest is the easiest place to start, and then choose a mid print that matches in tone (does not read as cooler or warmer) but with some lighter/white detailing. The light fabric also needs to be the same tone again but just a lower saturation, and lower again for the lightest. For my block, I chose another black and white fabric that had more white, and just used the wrong side for my light fabric – a great way to keep the same tone but lower saturation. Also, I refer to the feature fabrics as prints, but using 4 solids would also work well.
What you need
Darkest fabric: 4 – 2.5″ x 2.5″ (print 1)
Mid-fabric: 8 – 2.5″ x 2.5″ (print 2)
Light fabric: 8 – 2.5″ x 2.5″ (print 3)
Lightest fabric: 8 – 1.5″ x 2.5″ (print 4)
Background
4 – 1.5″ x 1.5″
1 – 2.5″ x 2.5″
4 – 3.5″ x 6.5″
OR scrappy pieced background:
4 – 1.5″ x 1.5″
12 – 1.5″ x 2.5″
13 – 2.5″ x 2.5″
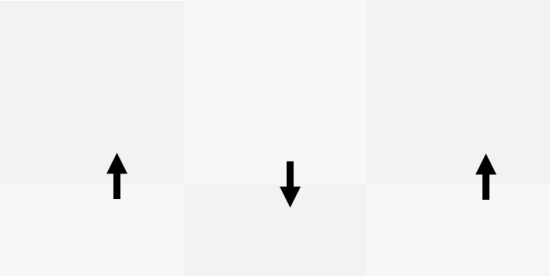
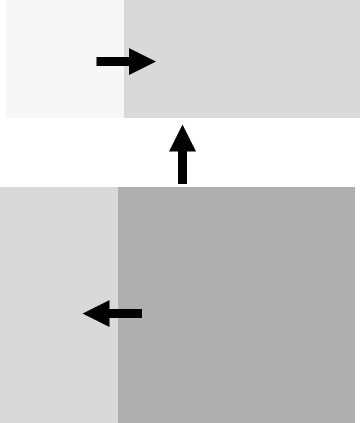
Use a 1/4″ seam and press seams as directed/indicated by the diagram arrows. Block measures 12.5″ x 12.5″.
Step 1. If you are piecing your background, sew twelve 2.5″ squares to a 1.5″x2.5″ rectangle, and arrange the pairs into four groups of three. Press the seams as per the arrows and sew the pairs together. Press the seams open.
Step 2. Sew one 1.5″ background square to the short end of one Print 4 rectangle. Press the seam towards the print. Sew one Print 4 rectangle to one Print 2 square. Press the seam towards Print 4. Sew these units together and press the seam towards the background/Print 4 unit. Repeat for all remaining 1.5″ background squares.
Step 3. Sew the Print 1 squares, the 2.5″ background square and the remaining Print 2 squares together to form the centre nine-patch. Sew each row together, pressing seams as indicated, then sew the rows together and press seams open.
Step 4. Draw a line diagonally across the back of each Print 3 squares. Place one in the corner of the background rectangle (if pieced, over the 2.5″ square, not rectangle as per the diagram). Sew along the line and trim 1/4″ from the seam towards the outer corner. Flip the triangle and press the seam towards the triangle. Repeat for the other 2.5″ square corner. Repeat for all remaining background rectangles.
Step5. Sew all the units together, pressing the seams in alternate directions – top and bottom rows press away from the centre; middle row press the seams towards the centre. Sew the rows together and press the seams open.
You can find all the block tutorials on the original The Bee Hive post. If you’re sharing your blocks or quilts from The Bee Hive on social media, be sure to use #thebeehivequilts and @blossomheartquilts so we can find your awesome work!
If you are in a swarm for The Bee Hive, please see the quilting bee etiquette post for answers to any questions you may have. If it’s Tic Tac Toe specific regarding the block construction, please ask in the comments on this post and I will answer it here so that everyone can benefit from the question/answer.


Joy says
Thanks for a great tutorial! I am really excited to try this block out!