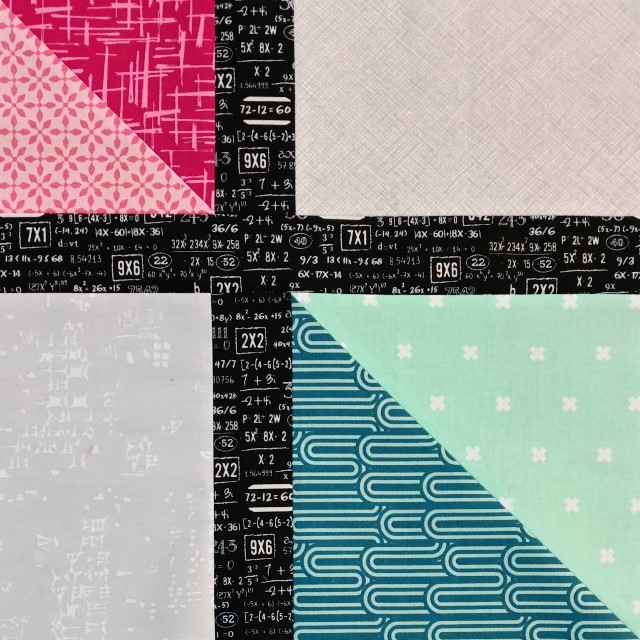
Hi, my name is Jess (aka Elven Garden Quilts). When Alyce asked if I’d like to design a block for her Bee Hive series I immediately said yes – I loved the concept of creating bee blocks that create an interesting secondary design. From the outset, I wanted to design a really simple but effective block, that would be achievable for beginner quilters (and fast and fun for more experienced quilters) but still create a really interesting quilt. The result was Checker, a very simple block to put together, but one with almost lots of possibilities in terms of colour and block rotation. If you’re Queen Bee, I promise you your hive will LOVE you if you choose this block – it is ridiculously quick to make. Even better, it works best if you make two at a time, so you may well end up with extra blocks 😉
The other thing with this block is that you can reverse the colours and create a completely different quilt again. There are some examples at the end of the tutorial.
So, without further ado, onto the tutorial!
CUTTING
You will need to cut the following fabrics:
For the small HST unit:
1 – 5″ x 5″ square in a light colour (pink)
1 – 5″ x 5″ square in a dark colour (pink)
For the large HST unit:
1 – 7.5″ x 7.5″ square in a light colour (aqua)
1 – 7.5″ x 7.5″ square in a dark colour (teal)
From the neutral fabric:
2 – 4.5″ x 7″ rectangles
From the sashing fabric (black):
1 – 2″ x 4.5″ rectangle
1 – 2″ x 7″ rectangle
1 – 2″ x 12.5″ rectangle
MAKING THE BLOCK
All seams are a scant 1/4″ unless otherwise indicated.
Step 1. Take the light colour 5″ square and the light colour 7.5″ square, and draw a line diagonally through the centre on the wrong side of the fabric.
Step 2. Pair the light 5″ square with the dark 5″ square, and pair the light 7.5″ square with the dark 7.5″ square. Place each pair of squares right sides together and sew 1/4″ either side of the marked line on the lighter squares.
Step 3. Cut along the marked line, and press your seams open. You will only use one of each of these HST units per block.
Step 4. Line the seam up along the 45 degree line on your ruler (this works best with square rulers), and trim your HSTs as follows:
– the SMALL HST is trimmed down to 4.5″ x 4.5″ square.
– the LARGE HST is trimmed down to 7″ x 7″ square.
Step 5. Arrange the pieces of your block as shown in the photo below.
Step 6. Piece the top and bottom rows together, pressing all seams open.
Step 7. Join the top row to the long sashing strip and press your seam open. Join the bottom row to the other side of the long sashing strip and press your seam open.
I’ve drawn up a few mock quilt layouts so you can see what sort of secondary patterns you can create with this block. This is what straight set blocks look like (in a 6×6 block quilt).
This is my favorite layout I think – in this one, alternate blocks have been rotated to create pinwheels.
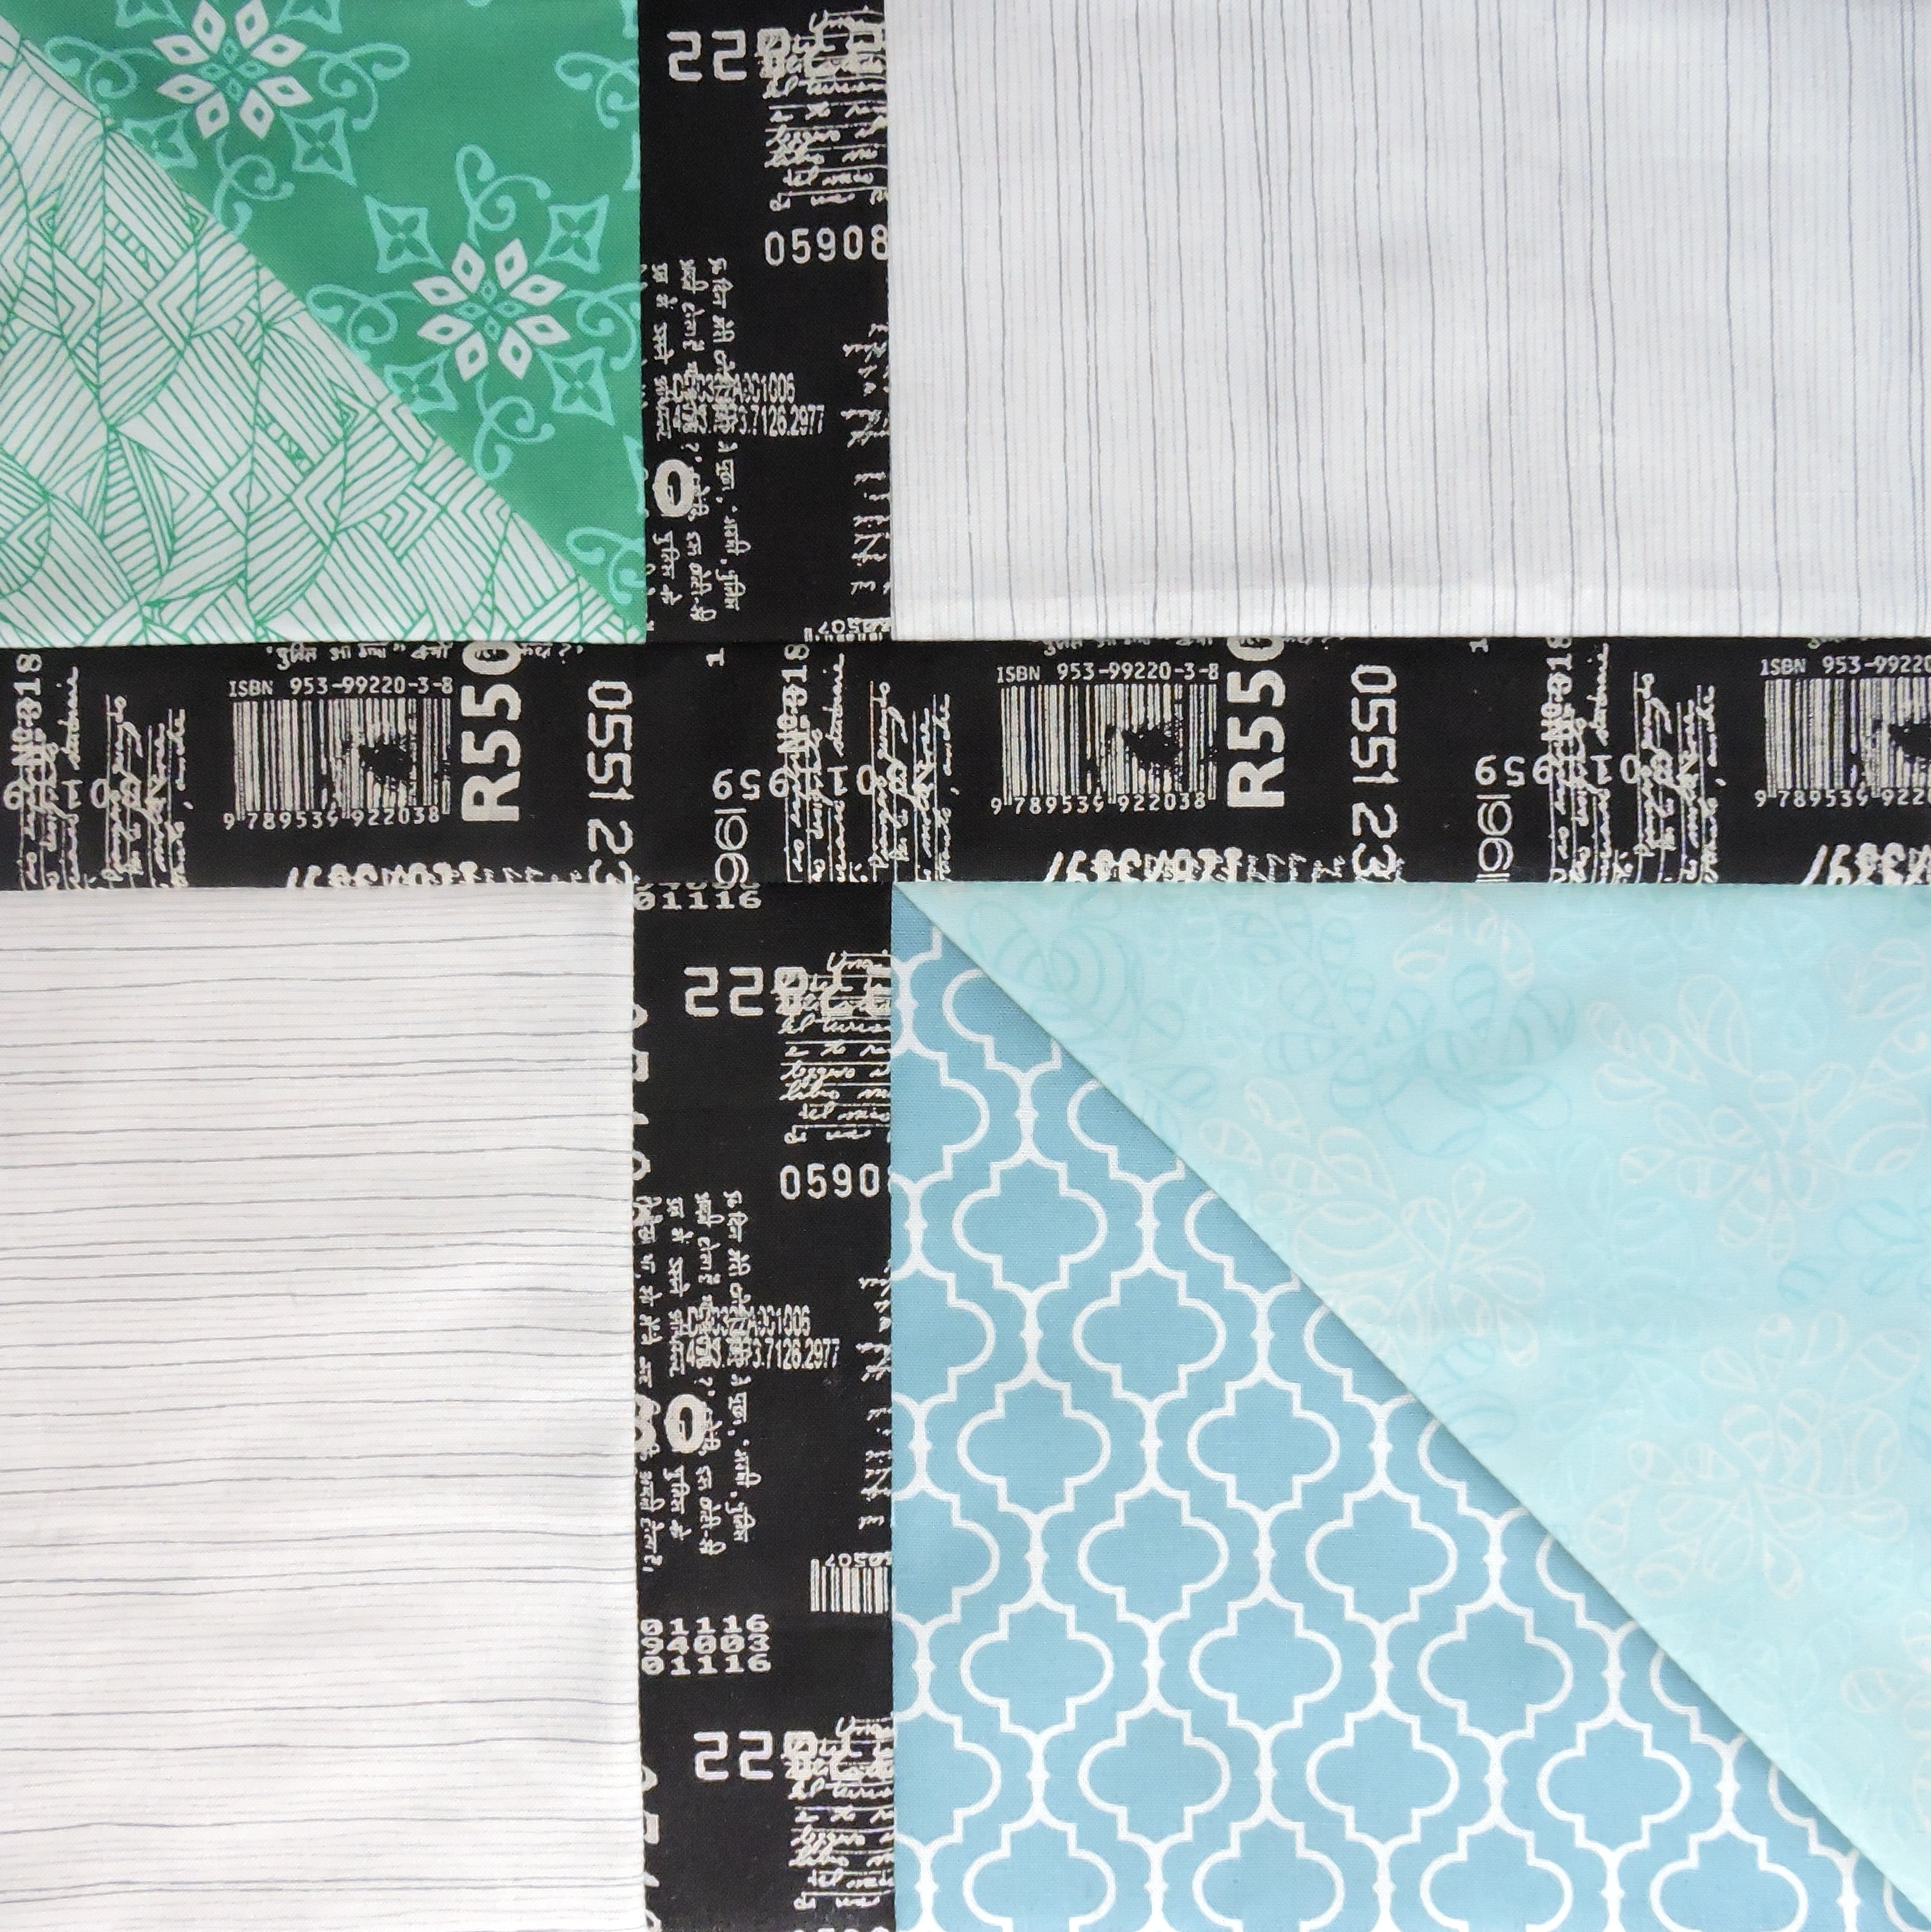
As I mentioned at the beginning of the post, you can create an entirely different quilt by changing where you place the coloured fabrics. In this example, I’ve chosen coloured sashing fabric, but kept all the other fabrics neutral. By using textural prints (such as text fabrics or tone on tone greys) for the neutrals, I think you could create a gorgeous minimalist quilt.
The image below shows what this colouring of the block would look like when it’s set straight into the quilt.
And this is the same as the second example above – where alternate blocks are rotated. I especially like the illusion of diamonds created within the neutral fabrics in this example.
I’m not currently participating in any bees – but I think a quilt using this block will be made in the very near future! Thanks so much for inviting me to be a part of this series Alyce, it’s been a lot of fun!
Alyce’s Take
Firstly? It’s been a nice little break to not have to write any tutorials this month and just sit back and sew! This block is truly a quick-sew, and yep, if you cut two lots of the sashing and background, you’ll get two blocks for your buck!
At first, I facepalmed at my changing direction of stripes (I managed to use up the last of the print, too!), until I realised that if you’re making multiple of the blocks and want to rotate them to group the small and large HSTs to makes squares, then this is the direction you want the stripes to be so that they align. Ha! Take that, rotated prints.
My one tip is how to easily make sure the sashing lines up across the rows: When you are pressing the sashing between the HSTs and the background print, press the seams away from the HSTs and towards the background print. That way when you’re lining the seams up to sew the rows to the long sashing piece, the seams will nest and you know they’ll line up once you press it open. If you do press the row seams open, just line it up carefully and pin to stop things shifting.
July Sponsor
This month, the beautiful Rita from Fabric Please is offering 25% off everything in store (excluding sale items) with the code beehive! Simply shop to your heart’s content and enter the code at check out. She has flat rate shipping, and you can use the code as often as you like!
You can find all the block tutorials on the original The Bee Hive post. If you’re sharing your blocks or quilts from The Bee Hive on social media, be sure to use #thebeehivequilts and @blossomheartquilts and @elvengardenquilts so we can find your awesome work!
If you are in a swarm for The Bee Hive, please see the quilting bee etiquette post for answers to any questions you may have. If it’s Checker-specific regarding the block construction, please ask in the comments on this post and I will answer it here so that everyone can benefit from the question/answer.


Emmanuelle says
I just LOVE this block! It looks so simple and at the same time so versatile! I am going to play with it, that is for sure. Thank you for sharing!
Marlene says
I was looking for the perfect block to make a quilt for my 16 year old granddaughter. This is it. I can’t wait to get started!
Kathleen says
I like the versatility of this block!
Brianna Robertson says
Oh, I really like this. So simple too, nice colour choices.
Joanne Paradis says
What is the finished size of the block? I want to use this to make a double bed quilt and would like to know the size so I can calculate the fabric needed.
Thank you!
Alyce says
It’s 12″ finished, all the blocks in The Bee Hive are. This would look amazing on a double bed, please do share the finished product!
shirley says
Great block and I hate making HST.. but I am in the group and this will make a great baby quilt for one of my 7 granddaughters all under 4 and with the help from a wonderful group.
Alyce says
Aw, it will! And the bigger the HST, the easier they are, I reckon!
Siobhan says
I love this block.. thank you so much for sharing it. I have a quick question though, the neutral fabric is shown in the image as 4.5 x 7 but in the text as 4.5 x 7.5. Which is correct? Sorry. And thank you again.
Alyce says
*groan* This was picked up the day of posting this, and I thought I’d edited it, but it hadn’t updated properly! All fixed now, sorry about that!
Pamela says
Hi Alyce & Jess,
I saw this block awhile ago and loved it – then I couldn’t find it again until yesterday 😉
I’m not very well organized these days. I’ve assigned it to my Bliss circle of do.Good.Stitches for the month of September. I’ve asked for black & white sashing, low volume w/white background rectangles and bright, clear happy colors for the HST’s. I’m planning to make a twin size for our charity. This is my first time being a leader and I’m new to bee’s. THANK YOU so much for sharing with me. I’ll be sure you all see a photo of the finished quilt.
Pamela