Hi, I’m Anne from Play Crafts! First of all, many thanks to Alyce for being so understanding and allowing me to delay for a bit on my block until after I finished moving!
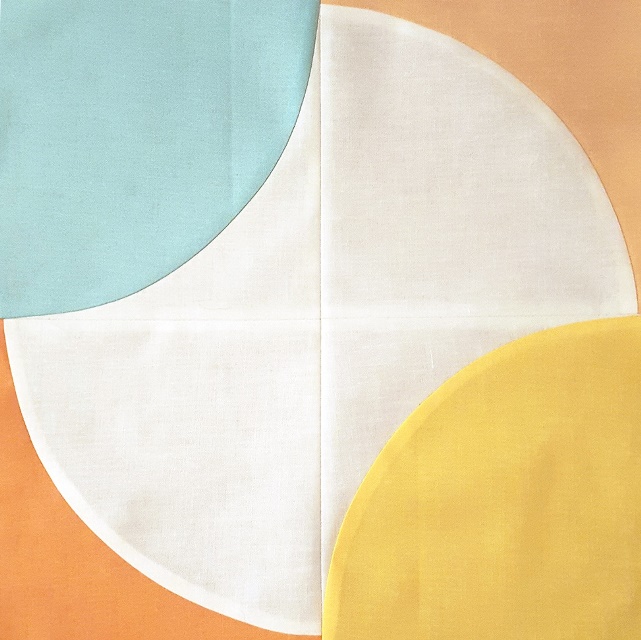
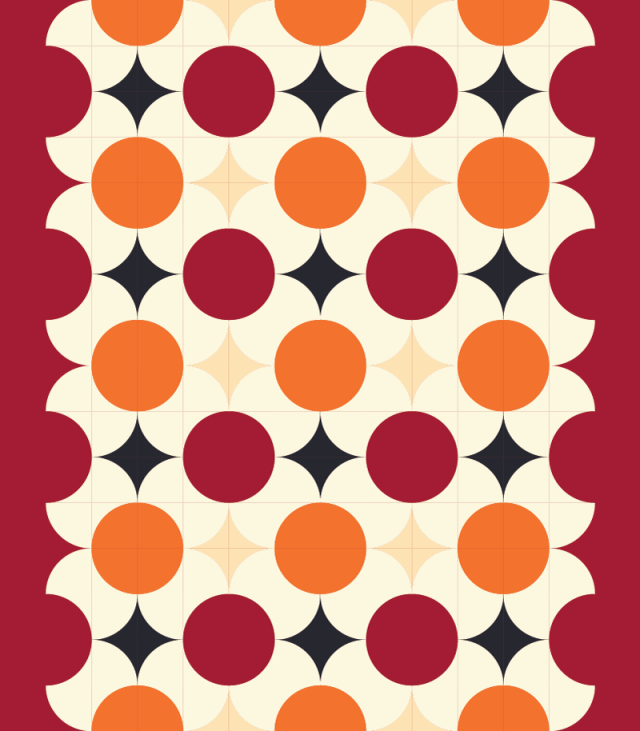
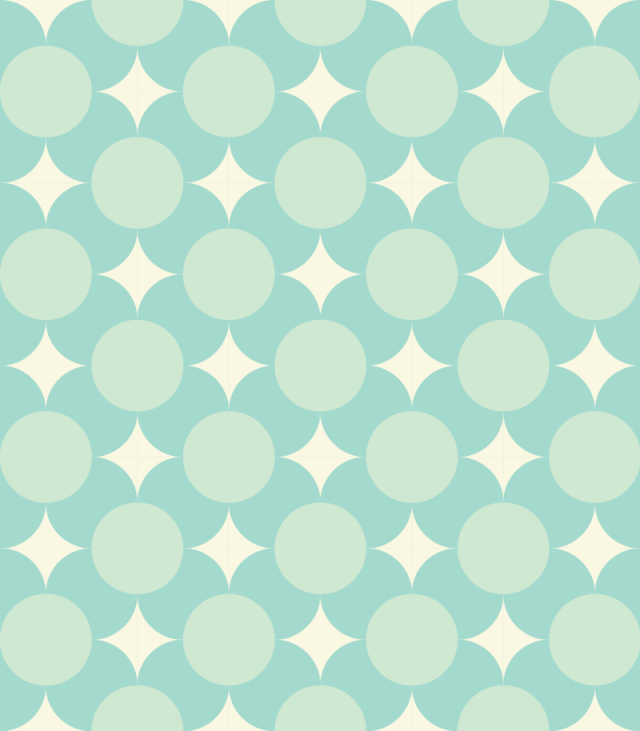
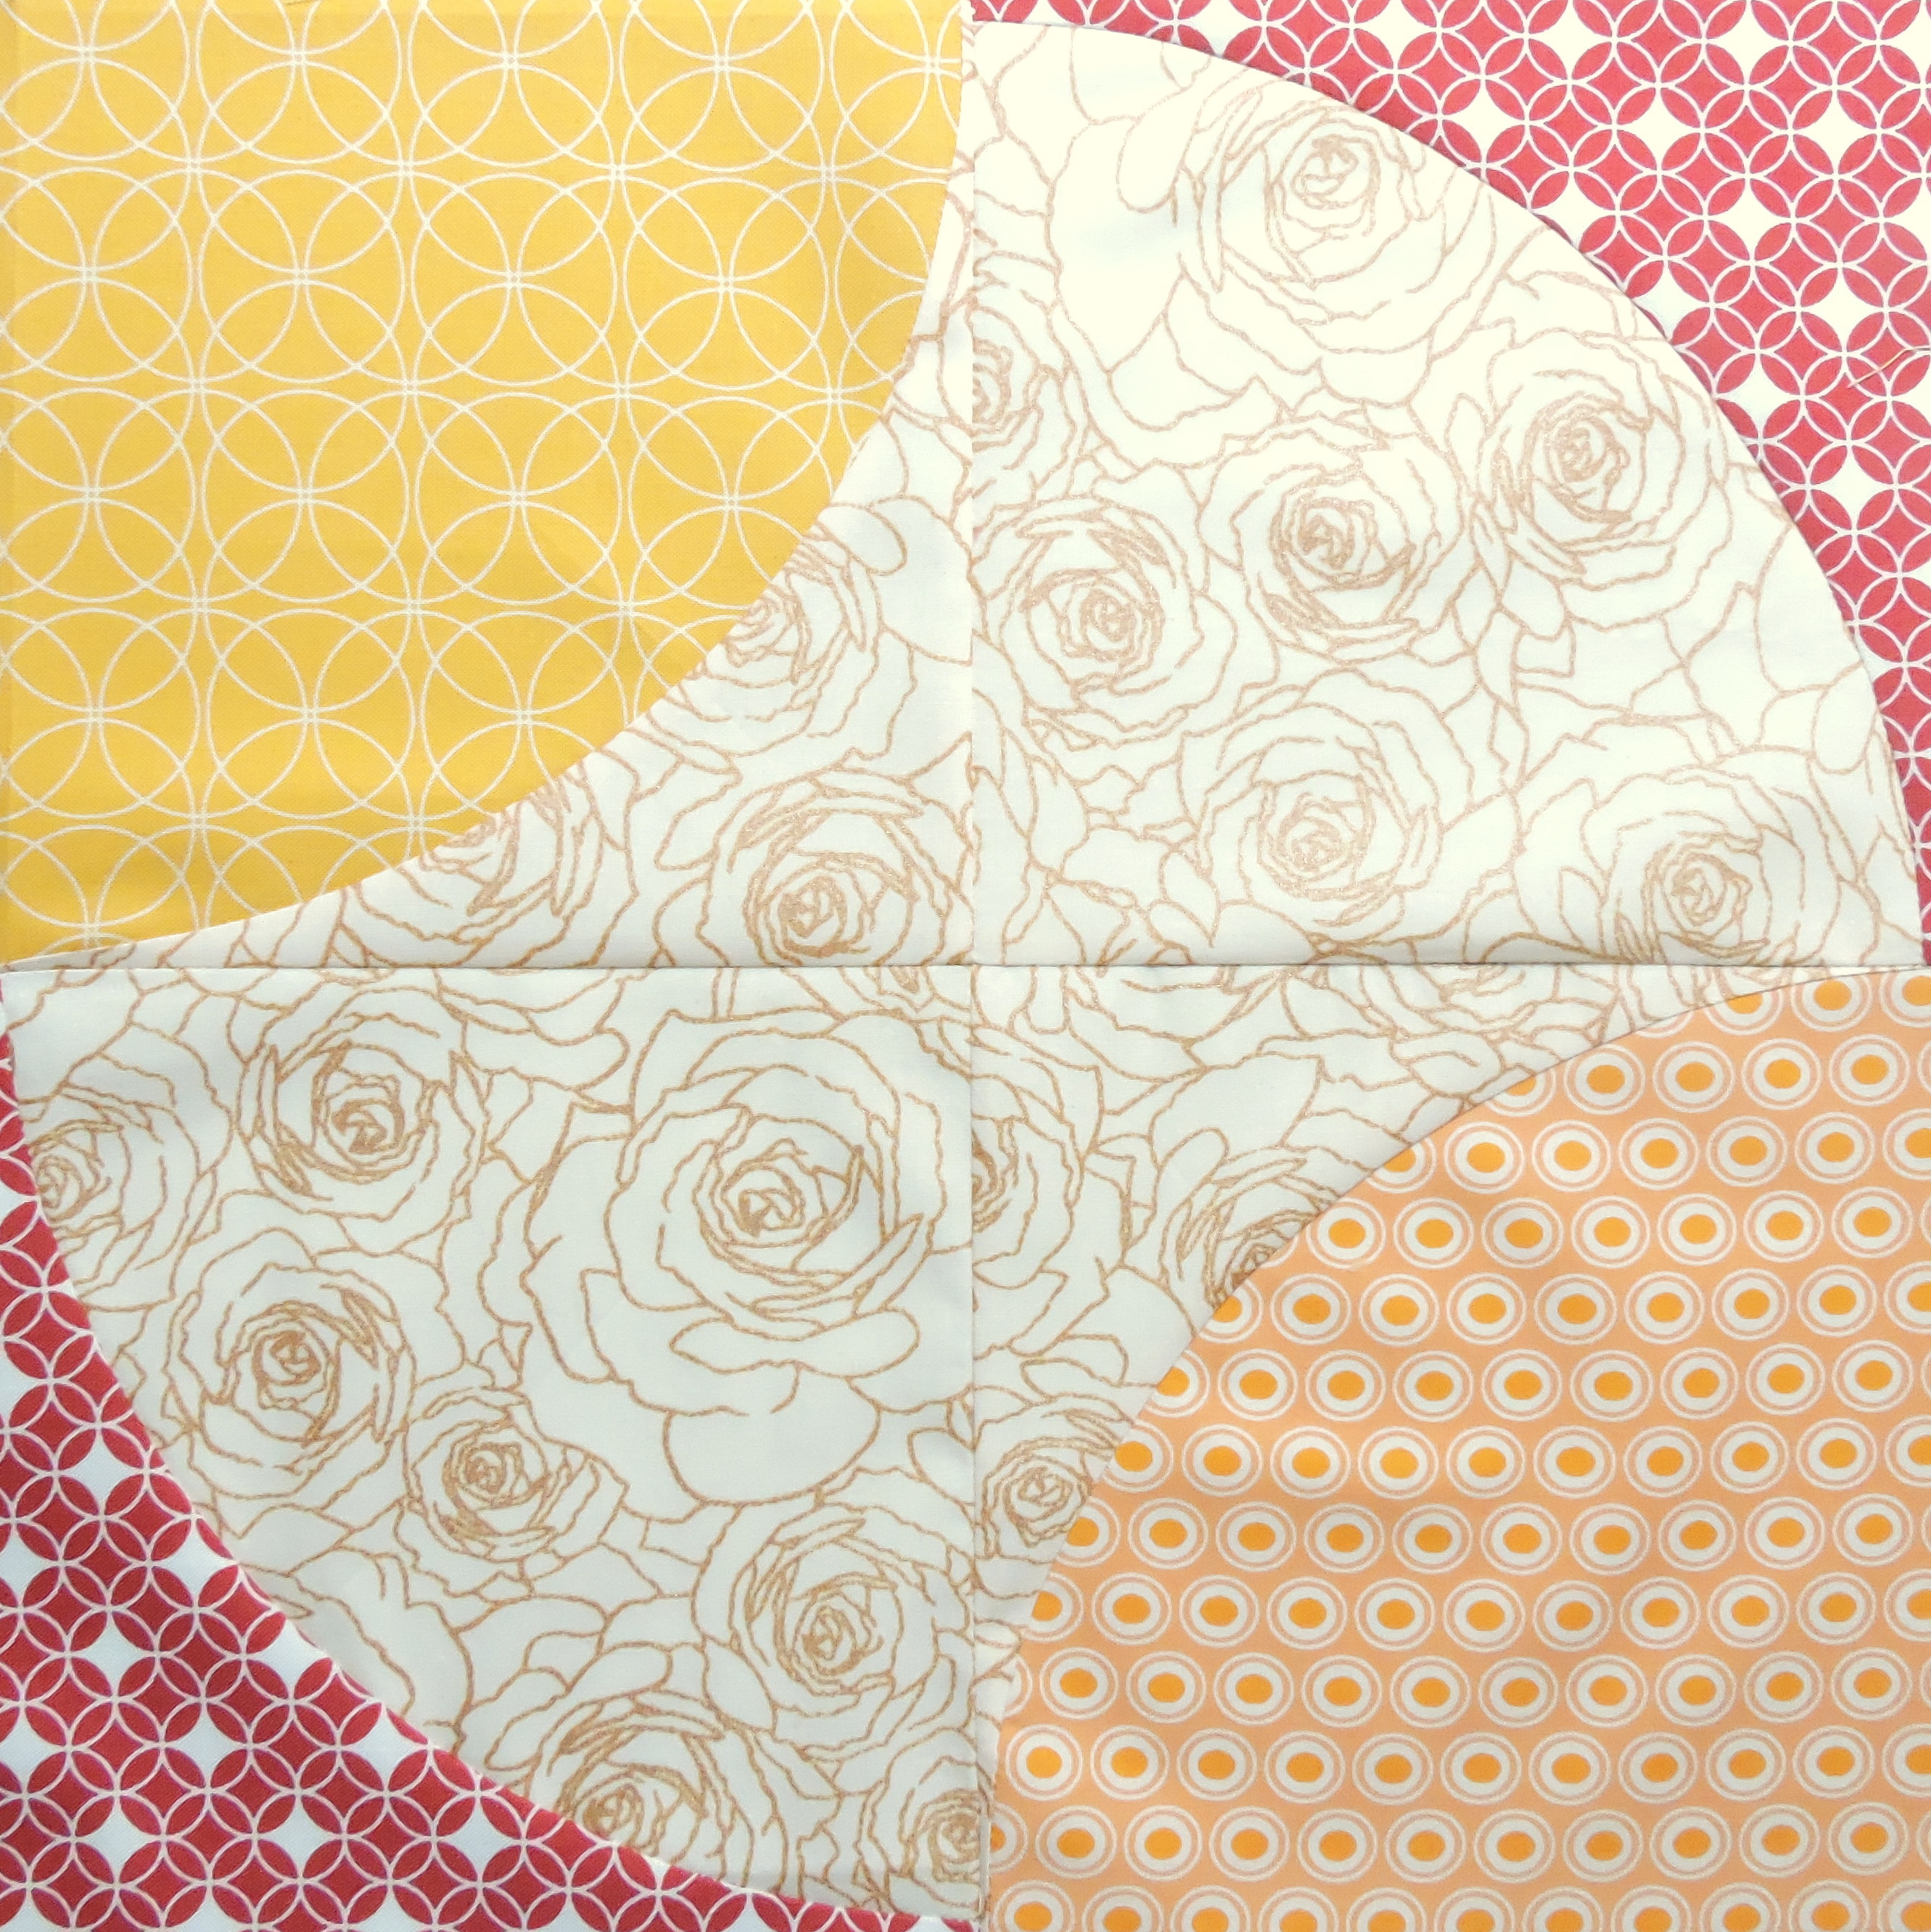
Today I will be sharing with you a fun block I call the Fizzy Block because it reminds me of a fizzy drink with bubbles and sparkles when it’s used as a repeat. It’s a lot of fun to play around with color placement and see what types of effects you can create!
So you’ll probably notice that this block includes curves. There’s a lot of trepidation when it comes to curves, but they’re like anything else in quilting: they’re infinitely easier if you’re relaxed and they get even easier with practice. I use the pinless method that Leanne @ she can quilt shows in a very quick video here on her blog, but there are tons of methods. Many of them are outlined in Angela Pingel’s latest book, “A Quilter’s Mixology: Shaking Up Curved Piecing” and she has a video tutorial going over some of them here. Play around and find the method that works best for you and your machine!
These particular curves are a variation on the drunkard’s path block in which the curve goes right to the edge. I use a set of acrylic templates purchased from Jen Carlton-Bailly’s store (which you can purchase here) which are sized slightly larger so there’s room for mistakes and they can be trimmed down afterwards.
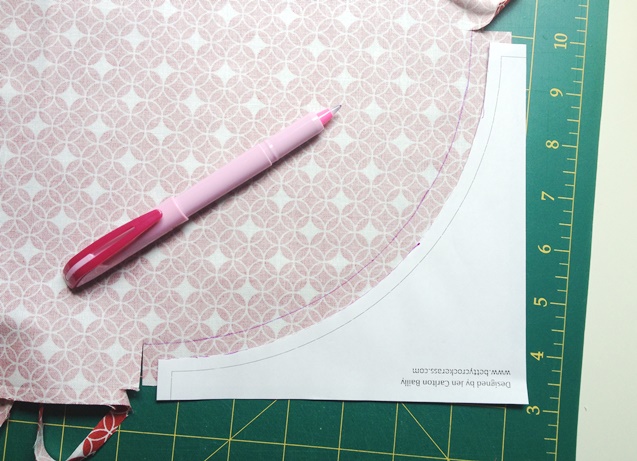
Jen has kindly provided this free PDF template for your use. It works best if you print it out on cardstock, or trace it onto template plastic, but I didn’t have any of those things because of our move, and with regular printer paper and some careful rotary work, it worked fine. If you’re going to make more than one block, I’d consider getting the templates, though!
The good news is that the design itself is very simple, and you only have four curves to worry about so this block comes together super fast.
What you need
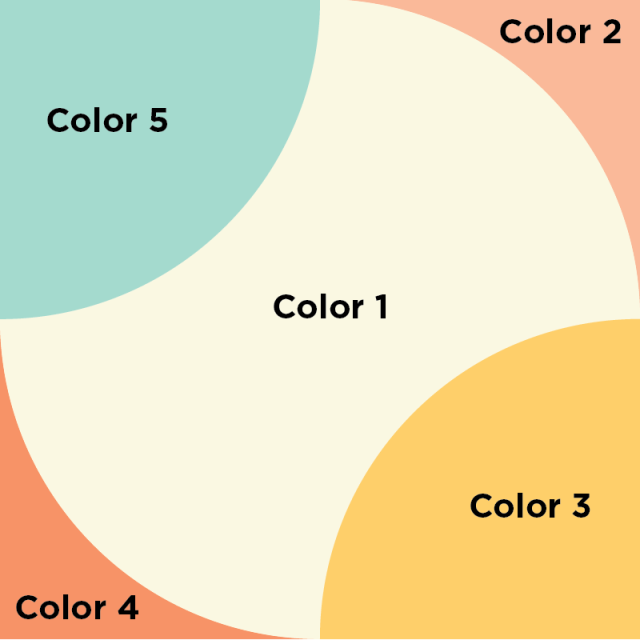
Color 1
1 – 8″ x 24″ rectangle
Color 2
1 – 8 x 8″ square
Color 3
1 – 8 x 8″ square
Color 4
1 – 8 x 8″ square
Color 5
1 – 8 x 8″ square
All seams are a scant 1/4″ and should be pressed as indicated.
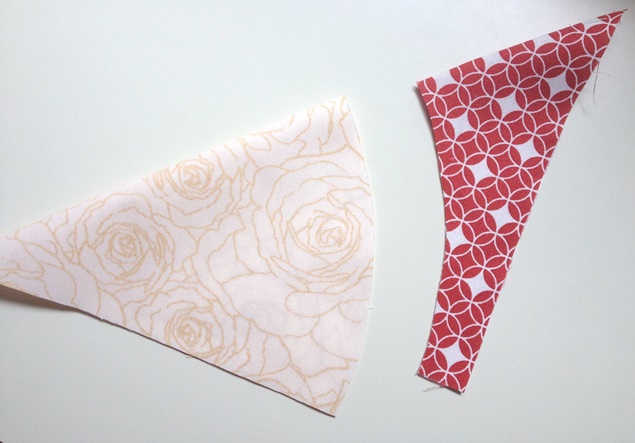
1. Cut out pieces using the template making sure to match the correct template piece to the correct color. There should be 4 inside curve (L shaped) pieces and 4 outside curve (pie slice shaped) pieces when you are done.
2. Sew outside and inside curve pieces together making 4 units. Press seams towards outside (pie slice) curve.
3. Trim units to 6.5″ x 6.5″ trying to keep 1/4″ of the inside curve at the edges.
4. Sew units together to form a Fizzy block. Press seams as desired. And look at you rockin’ the curves!
Alyce’s Take
Guys, I get it, curves are scary! I’m a full card-carryin’ member of the Chocolate Curves Only club 😉 But this is definitely a great block to dip your toes into the curvy water, and I am so happy with my result! Please note my purposely-ironic choices of fabric prints…
I also printed the templates on paper and used that. I used my ruler and rotary cutter to cut the square corners of the fabric, and then traced the curved edges onto the fabric with my Sewline pen and cut them out with scissors. I have no idea if that’s perfectly accurate or what, but it worked well for me!!
Tips:
– Fold your pieces in half to get a small crease line to line up the middle – even if you don’t use pins, this will let you know whether you’ve got them lined up correctly while you’re in the middle (literally!) of sewing the pieces together.
– Use that scant 1/4″ seam! This means that you’re actually sewing just inside the 1/4″ line so that the distance between the seam and the edge of the fabric is actually a sliver short of 1/4″. A scant seam means that when you press your units open, the added thickness of the layers of fabric at the seam don’t add to the 1/4″ to make it slightly over a 1/4″ seam when you measure the seam after pressing it open.
– Take it slowly. Do a couple of test pieces, especially if you’re in a bee! Work out if you prefer working with pins, or without, or with more, or less.
– Talking of bees, if you choose this gorgeous block for your group, do kindly acknowledge that curves are more challenging to piece accurately, especially if you’ve never sewn them before. My first time sewing curves was for a bee block! One option is to ask your bee members to only trim the colour 1 corners before they piece the units together, and leaving the outer edges for you to trim so that you can make all the blocks work together.
July Sponsor
This month, the beautiful Rita from Fabric Please is offering 25% off everything in store (excluding sale items) with the code beehive! Simply shop to your heart’s content and enter the code at check out. She has flat rate shipping, and you can use the code as often as you like!
You can find all the block tutorials on the original The Bee Hive post. If you’re sharing your blocks or quilts from The Bee Hive on social media, be sure to use #thebeehivequilts and @blossomheartquilts and @playcrafts so we can find your awesome work!
If you are in a swarm for The Bee Hive, please see the quilting bee etiquette post for answers to any questions you may have. If it’s Fizzy-specific regarding the block construction, please ask in the comments on this post and I will answer it here so that everyone can benefit from the question/answer.



Jeneta says
Fabulous tips Alyce. I’m glad that acrylic templates are not needed. I love this block!
Julia Smith says
Can you also use the Quick Curves ruler for this?
Anne says
Hi Julia! I don’t own a quick curve ruler (I keep meaning to pick one up but it just hasn’t happened yet!) but from what I can see of the photos, I don’t think it will work. 🙁 The curve looks much more gentle than what is used with these blocks.
Susan Speers says
I made a quilt by hand using the fan pattern (finally finished it this year – a never ending project!) and the curve is easy to handle when piecing by hand. I may try it that way for this Fizzy block for our hive #22. anyone else doing that?
Kelly says
I used the free pdf template but it didnt give me fabric left over to trim it down any.. and my block was wonky. How do I make it slightly bigger to allow for trimming?
Alyce says
Do you mean the actual template? In the print settings, enlarge it. Which is probably possible in your settings by increasing the percentage.
Susanne says
Hello Alyce,
I´m in a bee for the first time ever and first block is the Fizzy.I wonder , what is the rectangle for, caus it isn´t big enough to cut the templates out and you must cut through it anyway.Is it wrong , if i go on cutting 8´´ squares for everything?
Eva says
Hello- Cute block! I am doing this for a bee 🙂 I am not sure what the size for the final block should be exactly. I see to trim the smaller blocks to 6.5 sq before sewing together, but can you share the final block size so I can double check? Would it then be 12.5 sq? Thank you!!!