It seems that Blossom Heart Quilts is currently all about the sampler quilts at the moment! I’m currently working on finishing my quilt top with all the blocks from The Bee Hive tutorial series, I’m (very slowly) working on my 1930s Farmer’s Wife sampler quilt, and next year I’m hosting the Modern HST Sampler quilt along! So when thinking about The Bee Hive earlier in the year and to share ideas for quilt block settings for finishing a sampler quilt, well, it is even more appropriate now! I’ve even started collecting a whole Pinterest board of sampler quilts to help inspire us all.
Finishing a Sampler Quilt
There are three main ways to set your sampler quilt blocks – in rows, on point, or floating (aka alternate grid work). Each option creates a very different look for your quilt, and one may suit your quilt blocks more than the other. The quilt block size, how many you have made, and even the colours of them will impact what setting option you choose.
Rows
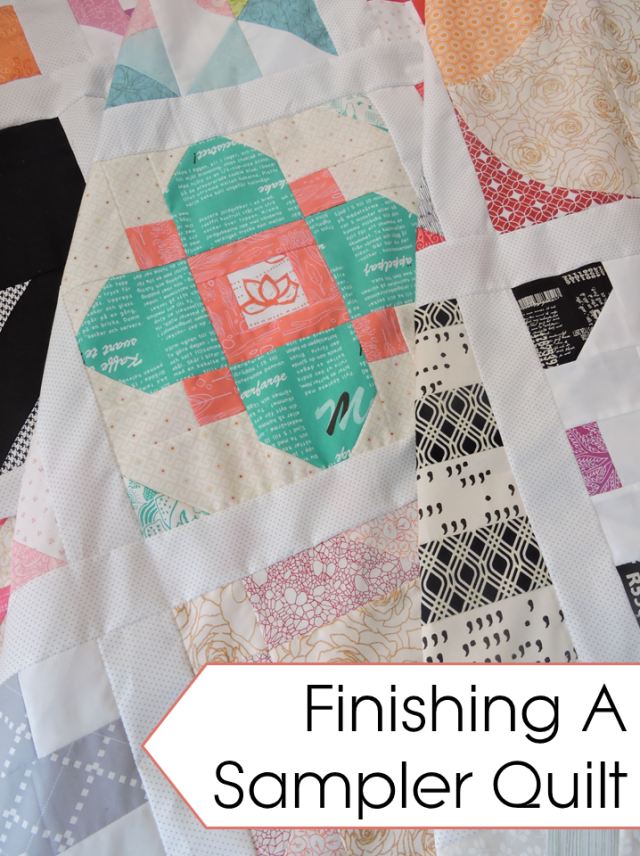
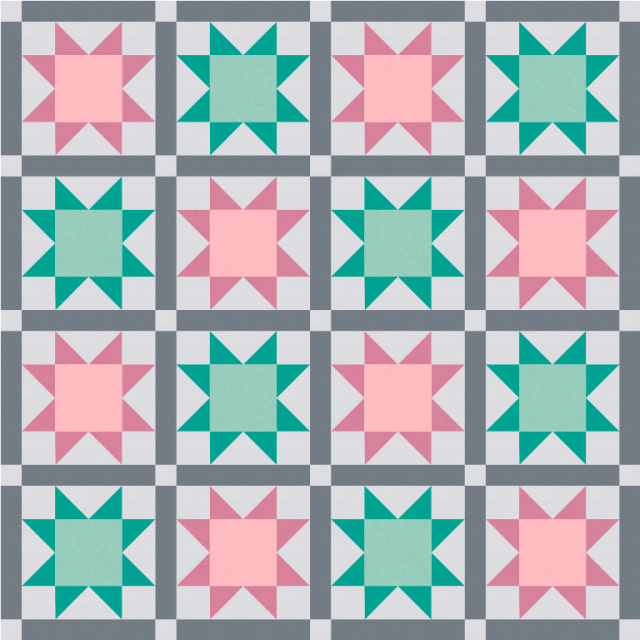
Setting your quilt blocks into rows is the most standard, and simplest, method of putting together a sampler quilt. It’s also usual to sash your quilt blocks first, as it not only adds some size to your quilt, but it also helps keep the (usually very) different blocks separate and distinct such as for The Bee Hive. They are a set of 25 very different quilt block designs and adding the sashing not only helps differentiate each block, but it also adds some space for your eyes to rest between them all. This is especially important if your blocks include a range of colours that makes each block worthy of becoming a “focal point”.
But it certainly isn’t necessary to add sashing! Perhaps your blocks are very unified in the colours, or you’re going for a rainbow effect across your quilt top. If your blocks can gently and aesthetically merge together without the negative space between them, skip the sashing. Or perhaps you just have so many blocks you don’t want the added size that the sashing adds, that’s also a very valid issue (you could also use skinnier than the usual 2″ finished sashing).
It’s important to note that this option is one that suits a sampler quilt where all your blocks are the same size. If your sampler quilt has a range of quilt block sizes, such as the Aurora quilt or one that you’re making to use up orphan quilt blocks, we’ll talk about that later.
On point
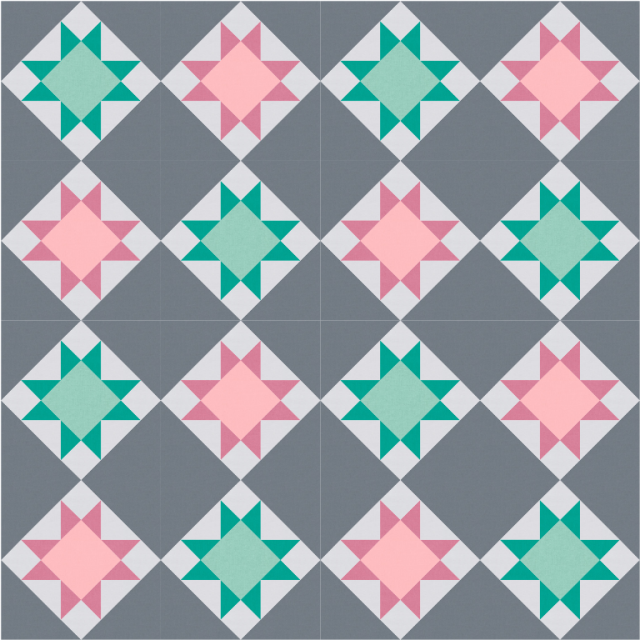
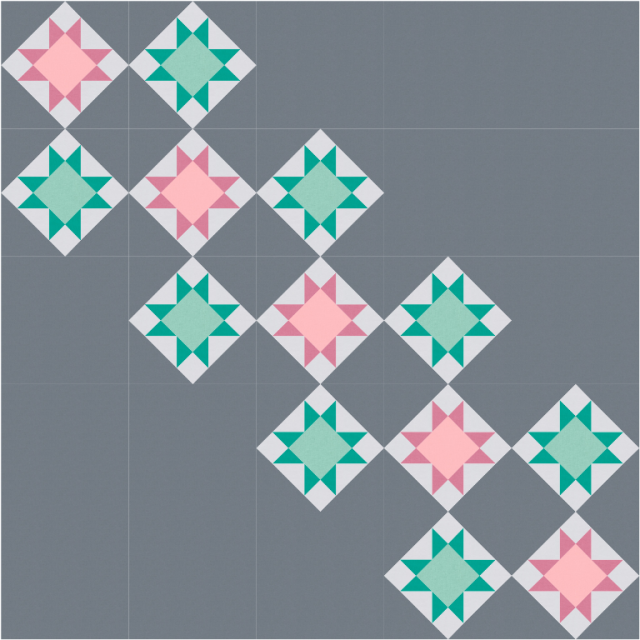
Turning your sampler quilt blocks on point can completely change the look of your quilt. Even if you sash it “normally”, turning quilt blocks 45 degrees can change the effect of the quilt block design. For on point quilts, there are two main options: sashed and setting triangles.
When you sash blocks on point, it’s the same process as if you were sashing quilt blocks into rows, except that you will also need some triangles at the ends to make the quilt top square.
Alternatively, you can add setting triangles to each block and set into rows, either straight or alternating like the book-recommended setting for the 1930s Farmer’s Wife quilt.
On Point + Rows
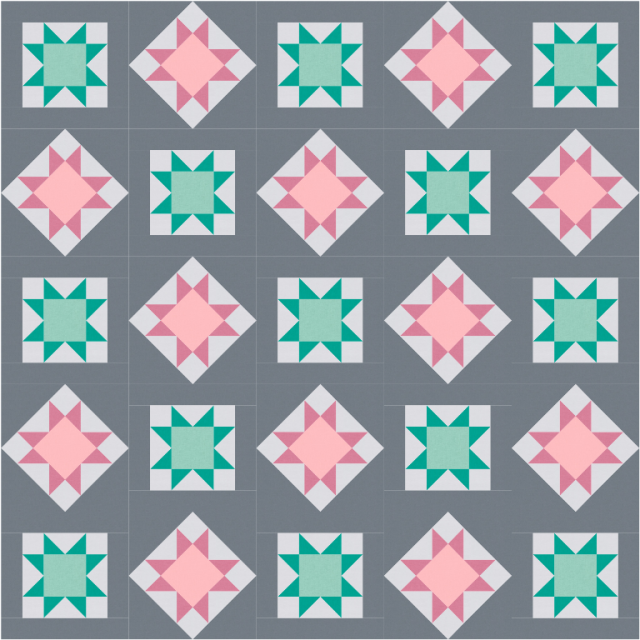
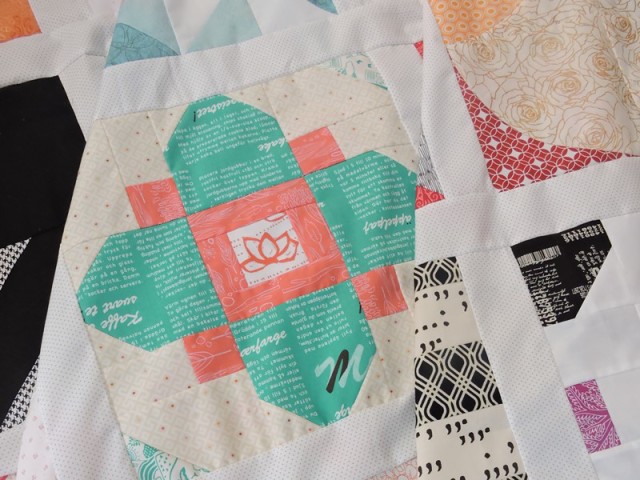
An option that mixes both on point and rows is to do both – alternate between straight and on point blocks. To do so, you add a border to half the blocks, and setting triangles to the other half. Like this quilt!
Floating/alternate grid work
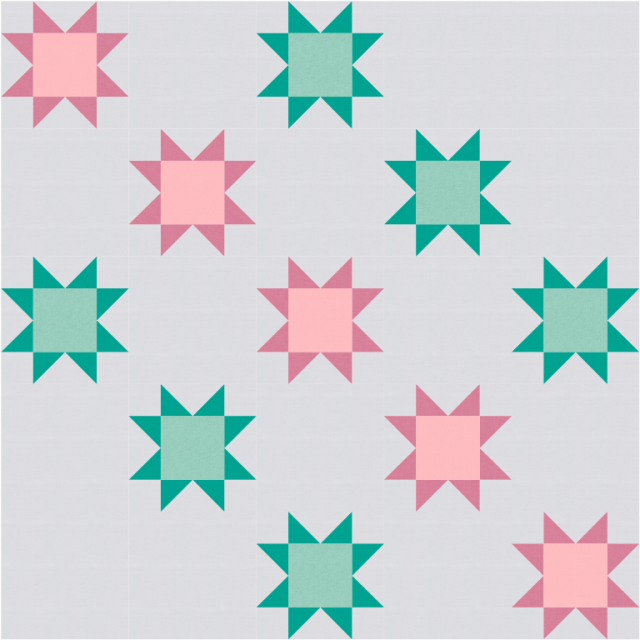
The other option for a sampler quilt setting is to use alternate grid work, or set them so they look like they’re floating. This might mean you alternate a quilt block with a square of negative space.
Or perhaps set them on point and “float” them around the quilt.
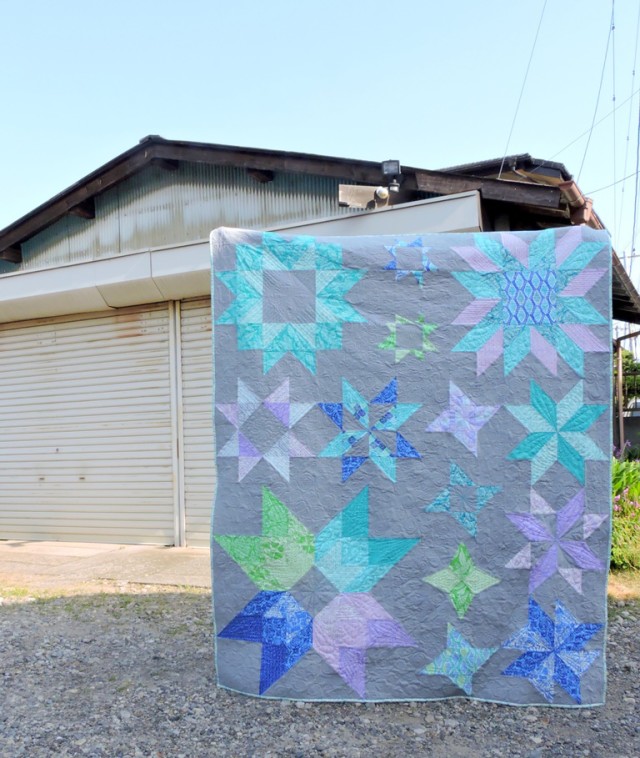
This is also the kind of option you would use if your blocks vary in size. You may be able to make the blocks all fit together without adding any extra background fabric, like the Aurora quilt.
If you’re using an odd assortment of blocks, like using up all your orphan blocks lying around, you’ll probably have to add some more background fabric to fill in the gaps.
So how am I going to be setting my sampler quilts on the go? My quilt for The Bee Hive has been put in rows and sashed with a low volume dot fabric. My 1930s Farmer’s Wife quilt will be on point with setting triangles in a metallic Cotton + Steel print. And the Modern HST Sampler quilt will be set in rows, sashed with the same fabric used in the blocks so that the block designs will almost float! What’s your favourite way for finishing a sampler quilt? Tomorrow we’ll talk more about finishing a sampler quilt – how to quilt a sampler quilt!


Diann Reeves says
I have a lot to figure out. I sure am glad I have a few months. I love the floating blocks. I don’t how it will play into the block I have chosen. This going to be a great experience for me. Thank goodness I am not the only one new to this. LOL
Alyce says
Oh, for the quilts made from just a single block from The Bee Hive, you just sew them together with no sashing! This post is for when your blocks are all different, ie. I made all 25 blocks from The Bee Hive and am putting them together as a sampler quilt. But if you’re in a quilting bee, and getting 12 of the same block from The Bee Hive, don’t add sashing or anything as that will break up the secondary design created when the blocks are pieced together 🙂
Beverly D says
I’m a bit confused, but then I’m still pretty new at this. When you turn the blocks on point, aren’t they then on the bias? How does this affect how it lies?
Alyce says
Rotating the blocks don’t affect how they lie, as the edges are the same any way you put them 🙂 If you’re talking about the triangles to set them, you can cut them on the bias so that the outer edges (once they’re sewn to the block) are on the grain.