Welcome back to the next instalment of the Little Ruby Quilt Along! Today we’re talking about making the quilt blocks. Now, let me be honest, this stage took for.ev.er!
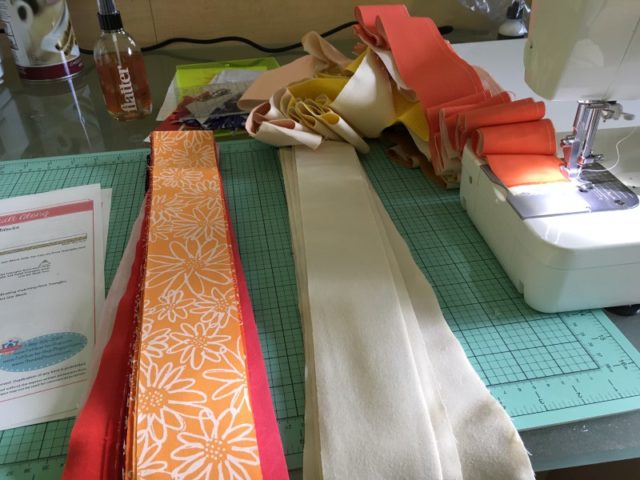
Granted, I added about 10 minutes to this step because I had to cut out my own jelly roll strips from the background material, but put it this way, you’re going to get very good at chain piecing!
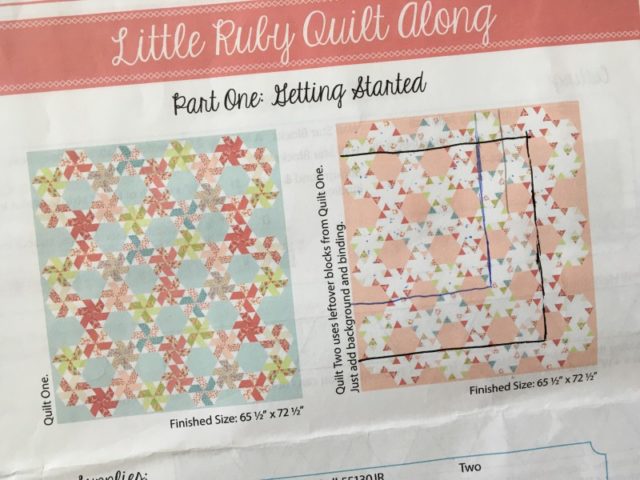
As I mentioned last post, I am making quilt B, and making it smaller. The layout is the same for both quilts, it just depends on what triangles you use to make the star blocks – quilt A uses the print as the strip, and quilt B uses the print as the triangle tips. I decided to piece all the jelly roll strips together and cut them all up to work out just how many triangles I had to work with. So, piece the strips, press the strips open, cut the triangles… I sat down and scribbled on the pattern, and worked out that with a standard 42-piece jelly roll, I could make a decent-sized quilt (the black outline).
I wanted to keep it balanced still, having the same rows at the top and the bottom, and finishing at the same point on either side. So where there is a print triangle on the right, that was replaced with a background triangle. Next, it was time to piece the half hexagons, where I stayed with the mixing of two prints for each hexagon to help create the look I was after for the final product. I know, I stayed with what the pattern said for once!
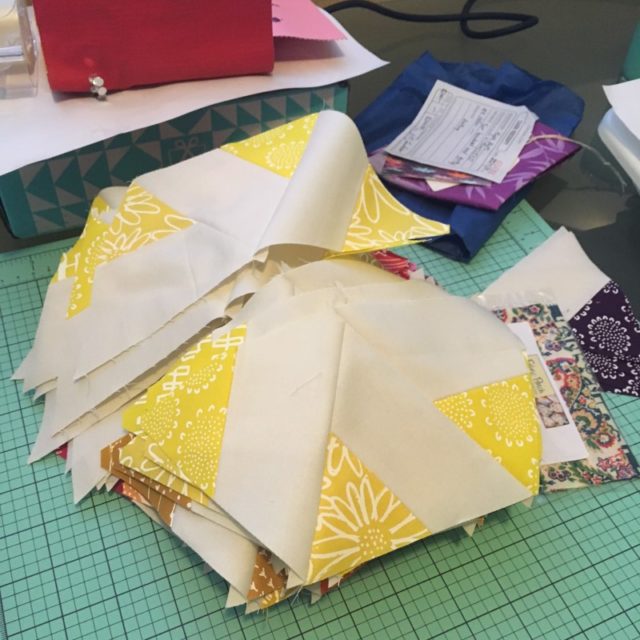
This was actually the first time that I’ve pieced equilateral triangles! So it was a little bit of a learning curve, but I found it fairly smooth going, especially as the Creative Grids 60 degree Double Strip Ruler includes trimming off some of the dog ears (allowing you to line up nicely for the 1/4″ seam allowance). I made a big pile the triangles, arranged in their hexagons already, and slowly worked my way through the pile, chain piecing each half hexagon at a time. I’d piece together the first two triangles from the “top” hexie, then without cutting the thread, piece the first two triangles from the “bottom” hexie. With the needle still in the bottom hexie at the end of the seam, snip off the first pair of triangles, and then keep sewing to add the third triangle (again, without cutting the thread). Repeat to add the third triangle to the bottom hexie, and then start on the next hexagon!
Once that was done, I got to playing with the layout of the quilt, working out where I wanted each hexagon to go, and how I wanted the colours to flow… For which you will have to wait until next week to see more of! In the meantime, check out the video tutorial to go with this step:
To see how everyone else’s quilts have progressed, check them out:
Melissa from Happy Quilting
Angie from Gnome Angel
Erin Cox from Why Not Sew
Andy from A Bright Corner
Heidi from Buttons & Butterflies
Pat from Pat Sloan
Peta from She Quilts a Lot
Heather from Quilt Story
Megan from Quilt Story
Amanda from Jedi Craft Girl
Gerri from Planted Seed Designs
Sherri from A Quilting Life
Rebecca from Bryan House Quilts
Sherri from This & That Patterns
Jemima from Tied with a Ribbon
Alyce from Blossom Heart Quilts
Stephanie from Modern Sewciety
Brooke from Silly Mama Quilts
Carrie from Moda’s United Notions
Fat Quarter Shop is a blog sponsor. I was provided with store credit to purchase supplies, and gifted the rulers. All opinions are 100% my own.


Debbie says
I’d love to make this quilt, but I”m not up for 4 jelly rolls to do it! How big do you think your trimmed down version will be? I’d love to make this as in throw size. When you show Step 3, would you mind showing how you alter the pattern to make the smaller size?
Thank you! 🙂
Alyce says
You can see the black outline I drew on the pattern – that’s the final layout. So I’m making the same size blocks and such, but just using less. The final dimensions are about 51″ x 56″. One option would be to add a border – I’d suggest from the background fabric to keep it looking balanced, or at least a small one from the background and then a print to add more width.
pat sloan says
love your fabrics!!
Alyce says
Thank you! It’s so much fun to work with such beautiful colours.
Erinn LaMattery says
Ohhh!! You have that ruler!! Lovely!! And lovely work too!
Cocopatch says
The original size afraid me! but your idea is great!
Alyce says
Thanks! Yes, it’s a bit more manageable for me at this size.
pat sloan says
Looks great! I love seeing how different we all make them!
Alyce says
Thanks Pat! I’m loving seeing how they’re all coming together!