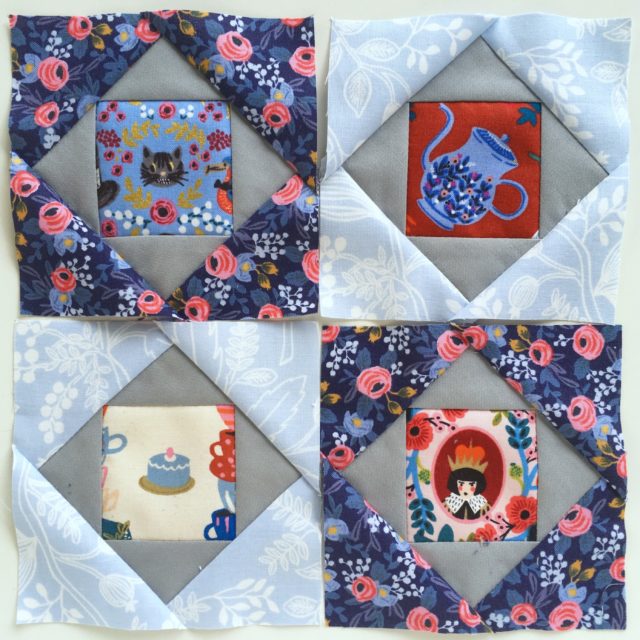
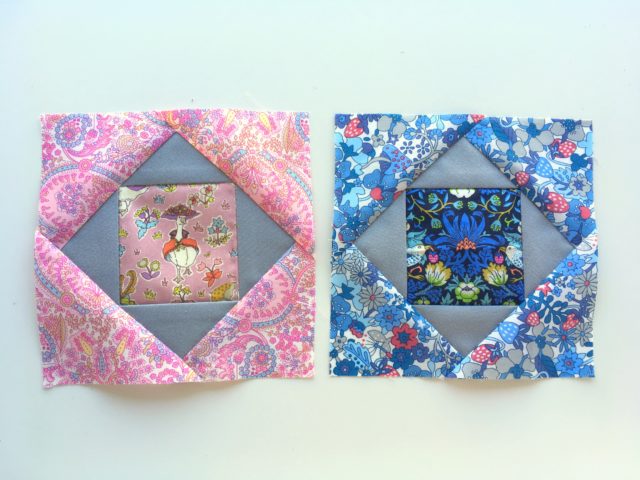
Lately I’ve been having a bit of a love affair with the humble economy block. They’re fun to fussy cut, quick to piece, and look pretty darn adorable! These little blocks are 4″ finished (4 1/2″ unfinished) and perfectly frame the fussy cut square in the middle.
I went for a 4″ finished (4.5″ unfinished) block as it allowed me to fussy cut the centre squares neatly at 2.5″. That’s such a great size in quilting – mini charm packs are 2.5″, charm packs are 5″ (four 2.5″ squares), most scraps can be cut to 2.5″ square… And it also means that the triangles to go around your squares are very scrap friendly as well. Let’s just say that this quilt math nerd loves the maths that a 4″ economy square block uses!
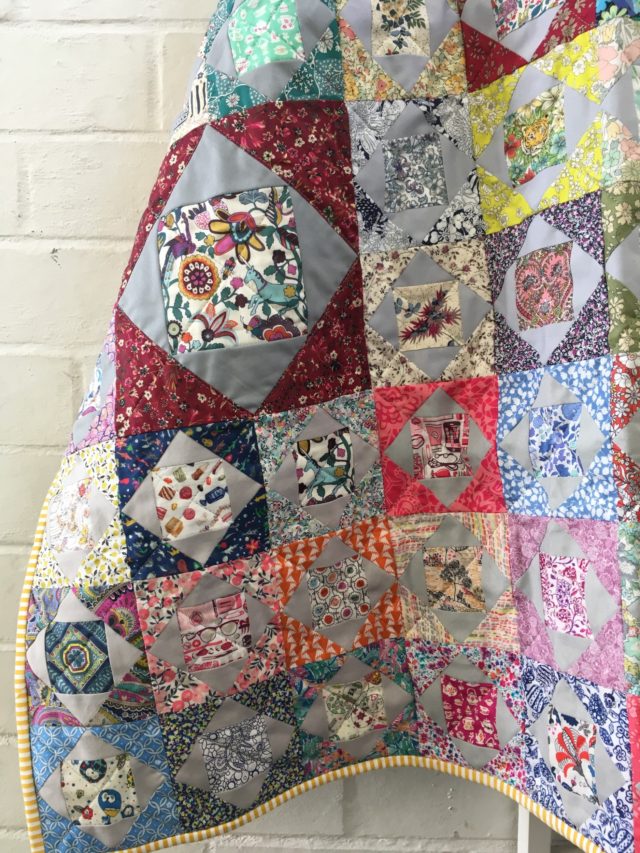
This Liberty I-spy quilt uses a mix of sizes, mostly the 4″ finished block, but a few 8″ finished ones too for something a little different to mix it up! And also to finish the quilt even faster, ha.
Fussy Cutting Tutorial
Before we get into the maths of making these blocks, let’s have a quick chat about fussy cutting. Fussy cutting is where you carefully cut your fabric to feature a particular image or motif. There are some insanely talented quilters out there who work total magic with fussy cutting, but these squares are a safe place to begin.
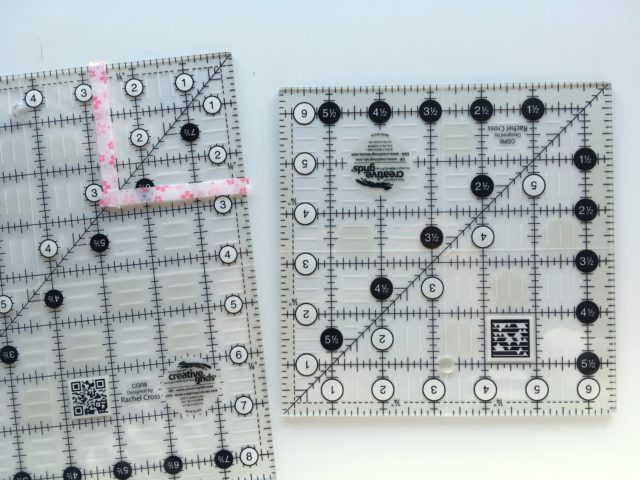
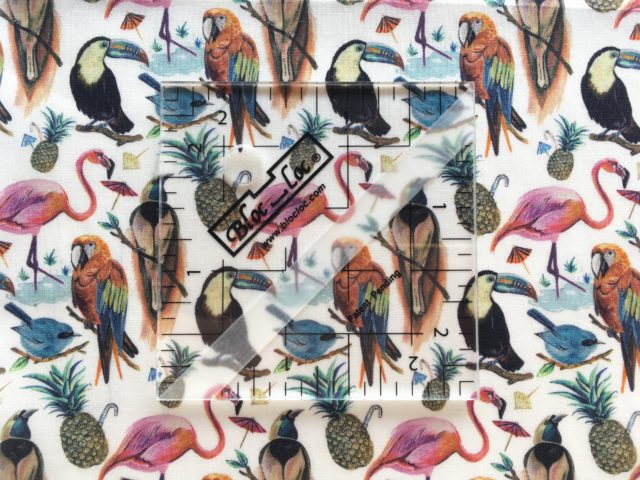
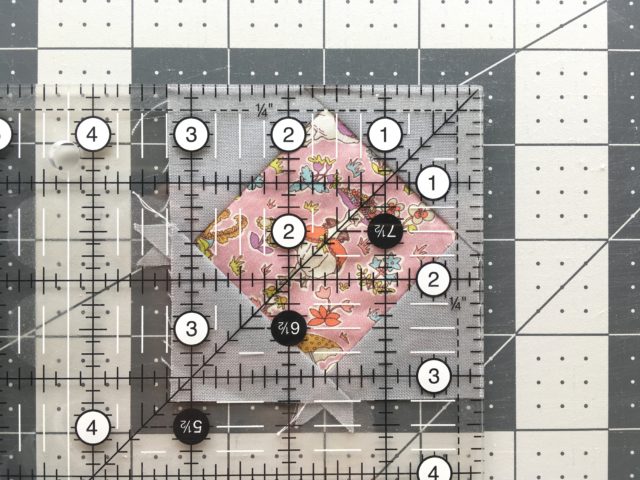
There are plenty of specialty rulers available to help with this, but you certainly don’t need them. Any quilting ruler with 1/4″ markings will work. I will note that the closer the size of the ruler is to the cut fabric size, the easier it will be as there is less ruler to handle, and some washi tape or painters tape can also be useful. But seriously, any quilting ruler will work. In fact, I recently got a 2.5″ HST BlocLoc ruler, which works perfectly for this kind of situation too!
The main thing to remember with fussy cutting is your seam allowances. You will need to allow 1/4″ around each edge of your shape for the seams. For the 4″ economy square block, that means your centre squares will be cut at 2.5″, but the fussy cut image will only be 2″ in the final block.
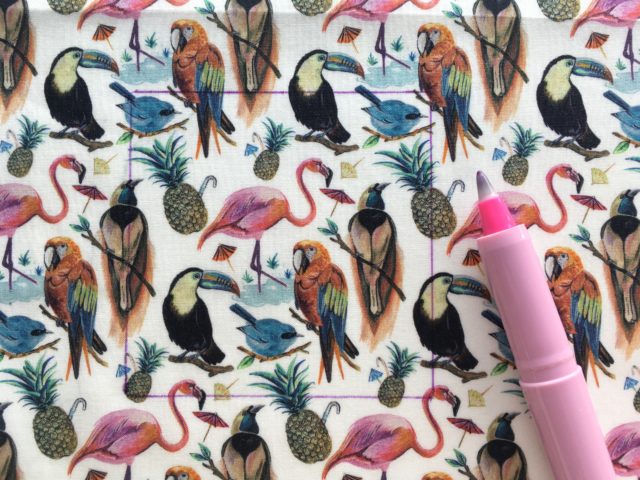
What this actually means when it comes to cutting your squares, is that the centre of the image needs to be in the centre of the cut fabric size, not the finished, sewn fabric size. So for the 2.5″ squares, the image needs to be centred along the 1 1/4″ mark, not the 1″ mark. This is where washi tape on your ruler can help to mark the 2.5″ lines so that it creates a border for your to centre the image within.
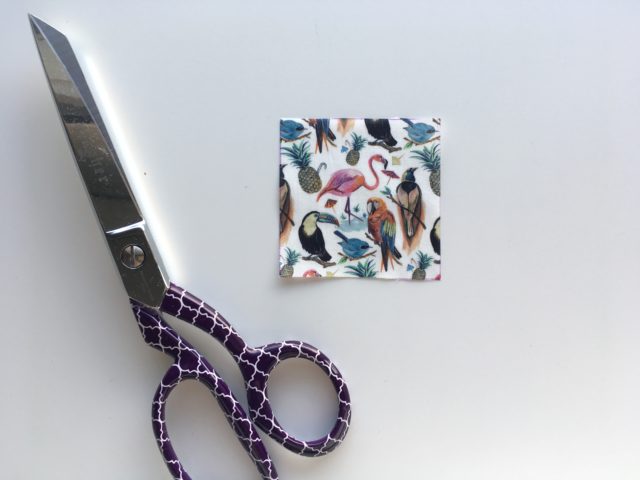
From there, you may like to use a temporary fabric marker to mark the cutting lines, especially if your image is in the middle of the fabric – you can use scissors to carefully cut it out, rather than slicing through the whole piece of fabric to get to that one spot!
The process is the same for whatever size or shape you may be fussy cutting – take into account the 1/4″ seam allowance around each edge of your shape, and centre the image according to the cut fabric size.
4″ Economy Block Pattern
Now let’s play with those fussy cut squares! There are two main ways you can piece economy blocks – machine pieced, or foundation paper pieced. If foundation paper piecing is more your jam, (or if you want to learn, here’s a link to my foundation paper piecing tutorial) click the button below to sign up for my newsletter to receive the templates for 3″, 4″, 5″ and 6″ finished block templates. Included is the math chart for working out how to rotary cut and machine piece the blocks at any size!
As for machine piecing, read on…
What you’ll need
2.5″ fussy cut square
(2) 2 1/2″ squares (solid) for the inner triangles
(2) 3″ squares (coordinating print) for the outer triangles
Use a scant 1/4″ seam allowance. Make a test block first to make sure that your seam allowances are good. If not, I suggest bumping up the size of the squares for your triangles by a 1/4″, i.e. 3 1/4″ for the outer triangles.
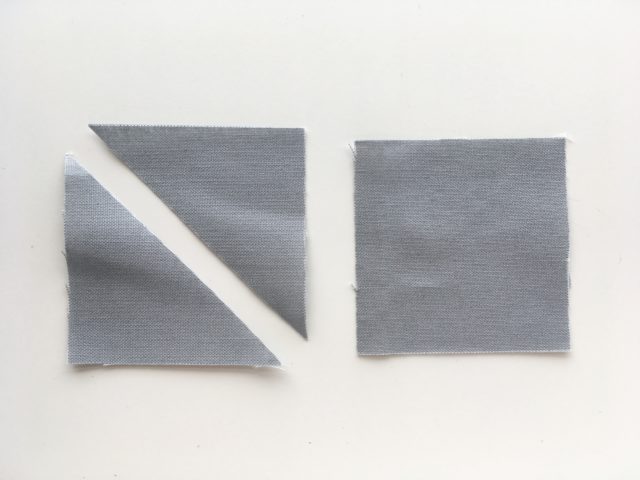
Step 1. Cut your inner and outer squares in half diagonally.
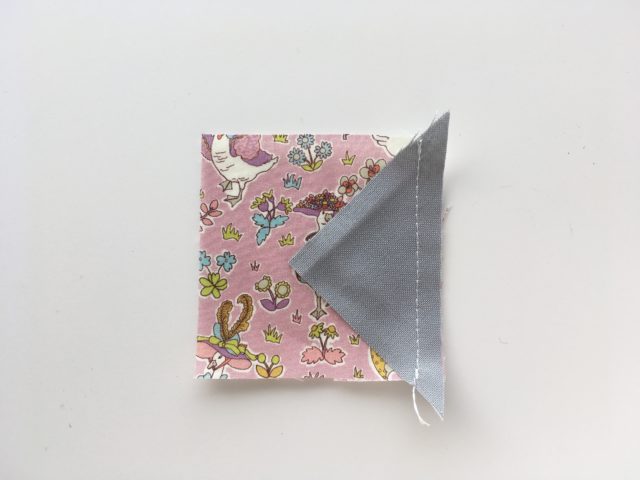
Step 2. Place an inner triangle right-sides together with the centre square, making sure the end points overhang the edges equally on both sides. Sew a 1/4″ in from the edge. Repeat for the opposite side.
Step 3. Gently press the triangles open. Then repeat for the remaining sides.
Step 4. Trim the block 1/4″ from the corners of the fussy cut square. This should be about 3 1/4″ square, but that 1/4″ seam allowance is the important bit.
Step 5. Sew the outside triangles on, following the same method. Gently press the block.
Step 6. Trim to 4 1/2″ square. Chances are that will be more than 1/4″ from the corner points of the inner triangles, but that’s ok.
And there you have your adorable economy square quilt blocks!
Word of warning… they’re kinda addictive. Once you start fussy cutting, you’re just going to be wanting to fussy cut everything and anything and frame them. That’s how my Rifle Paper & Co. blocks came to be! Which I’ve started to piece together into 12 1/2″ blocks.
Other sizes of economy square quilt blocks
You can make these blocks in a variety of sizes using the exact same methods. And fear not, I’ve got you covered! It comes with the foundation paper piecing templates for 3″, 4″, 5″ and 6″ finished economy blocks, plus the rotary cutting instructions and the maths to work it out for any other size! Subscribe to my newsletter, and you’ll receive your free downloads right away.





Patricia says
What if I already receive the newsletter, how do, I get the information?
Alyce says
You should have received today’s newsletter which includes all the details 🙂
Susan says
Alyce~ If you are using an object in the center of your economy block, you really have to think about how you are going to use the block. If you are going to put the block on point in the setting, the object has to be cut differently than if the block is non-on point. I am making a bow tie quilt as a leader/ender project and I don’t get much thought to the blocks for this project. I haven’t made may yet and maybe I need to go back and think a little more about the setting before I continue. I hadn’t even thought about that. I was just excited to think about making a HUGE second quilt as a long term project as I make other quilts.
Thank you for a great tutorial. I see many cute blocks that are used in bees and the blocks are never shared.
Alyce says
Yes, that’s very true!
Hilary McFarlane says
Thanks for the templates Alyce! I really love how your wonderland blocks turned out.
Alyce says
My pleasure!
Linda Cejnar says
I already receive the newsletter, signed up again, but can’t find the template for sizes other than the 4″ economy block…please help! Thank you!
Alyce says
In the last one, I included the details to get to it. And I will do so again in the next couple of newsletters too 🙂
Jayne says
I’m just happy to have someone who loves doing the math…do the math for me!! Thank you for the templates! Your little blocks are adorable and seeing them makes me think I would love to make a batch too!
Alyce says
Haha! Thanks Jayne 🙂
Lynn Harrell says
Thanks for the great tutorial. Never thought much about this topic in the past. Templates were a great bonus.
Alyce says
You’re very welcome!
Susan Nixon says
Thanks for the fun. That’s how I got so many small prints – making fussy cut 1.25″ hexagons! There’s plenty of FQ left after six of those are cut. Maybe I try some of these, too.
Alyce says
Oh CUTE!
Christine says
I also already subscribe to your newsletter. In the last edition I received there were several links to different projects. I can’t get any of the links to work. Any ideas on how I can solve this problem?
Alyce says
I have sent you an email 🙂
Julie Walker says
Your instructions are very easy to understand. You have a real talent for teaching… Thank you !
Beth says
How do I get the pattern pdf?