The pattern sample for your quilt pattern is the cover girl – you want her to look the best she can be so that she’ll sell that pattern! In part 1, we talked about choosing the right kind of fabric for the pattern sample, followed up in part 2 about the work flow of writing a quilt pattern. And while having the right fabric is a big part of the cover girl work, the quilting and photography play a huge part in making the cover girl shine!
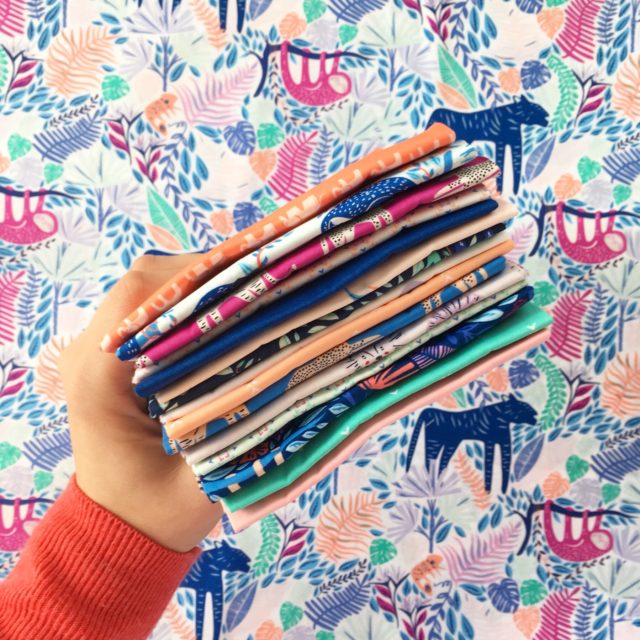
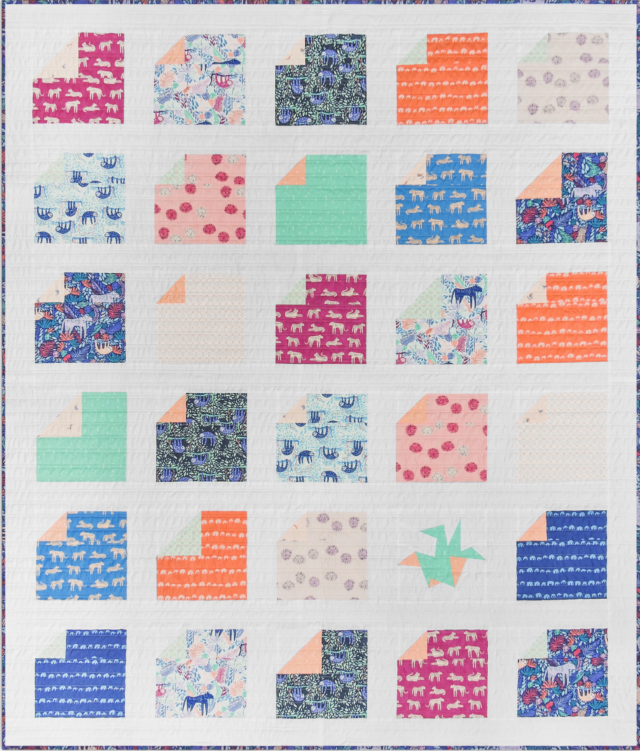
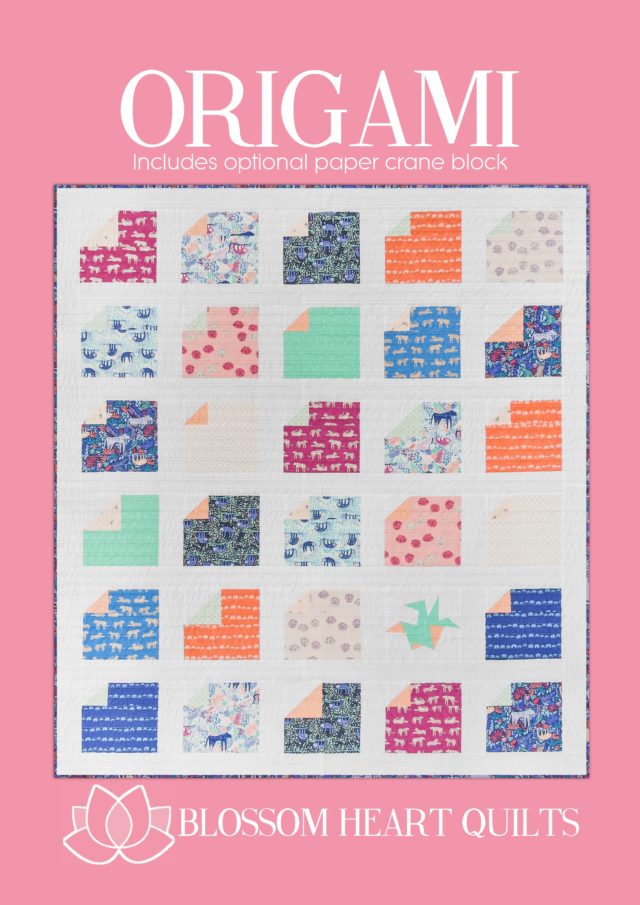
So today, I get to show off my cover girl for the Origami quilt pattern. She’s been made up in the gorgeous Selva by Art Gallery Fabrics. The jewel-toned colours with that pop of coral and aqua?! Hello, me-in-a-fabric range! I chose this range because 1) the prints are a good size to show off in the Origami quilt blocks, and 2) the colours are very on-brand for me.
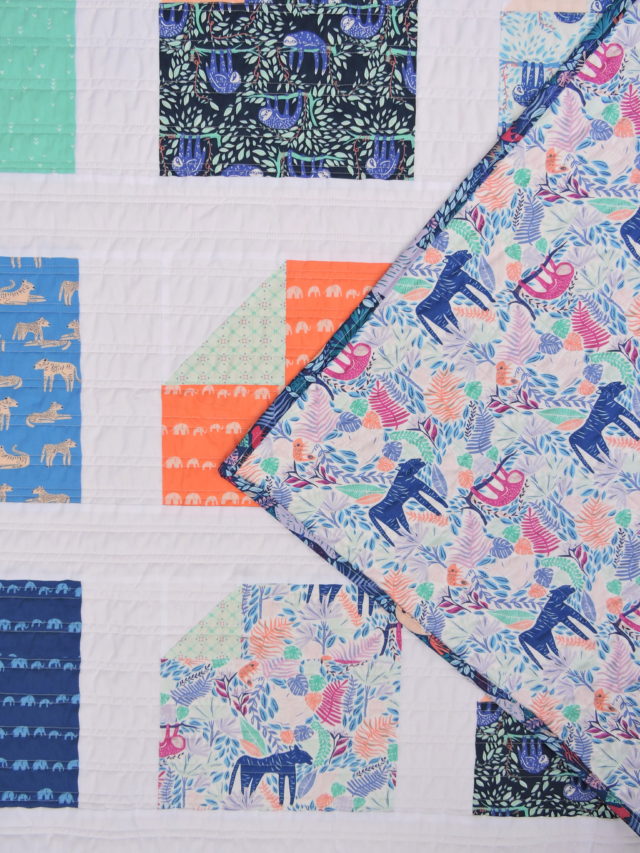
The binding and backing are also from Selva; I just had to feature that beautiful multi-colour Junglen print in both colourways – I love a dark binding (Jolly) to frame the quilt, and the lighter colourway (Joyous) on the back made it easy to match threads for quilting.
Talking of quilting, Katrina did another fabulous job – straight line quilting. Now, I know what you’re probably thinking… “Getting a long-armer to straight line?!” Yes, yes I did. Because of the way her machine works, these lines are perfectly straight. And it means that 1) I didn’t have to baste (ugh!), and 2) I didn’t have to measure and mark and quilt all those lines.
I now get all my pattern samples quilted by a long-armer because 1) it means I don’t have to baste! But also, 2) because I’m good at the designing and piecing part, and not as comfortable nor necessarily have the time (or desire!) to quilt large quilts. And 3) it makes them look so much better than I could achieve. It is more expensive than doing it myself, but again, it’s outsourcing to save my time (and shoulders!).
The final part is to then photograph the quilt for the cover. There are a variety of ways you might choose to do this, and I’ve finally worked out a system I’m happy with:
- I photograph my quilt laying flat on our back deck on a cloudy day. The clouds provide a softer, diffused lighting and means there’s no harsh shadows being cast on the quilt. My super technical set-up is to then stand on a dining chair and use my camera to get the most-square photo I can get.
- I then use a photo editor on Fiverr to straighten the photo properly and crop the background out. The file he provides is full print quality and high resolution so that I am able to use my quilt photos at any size and also print nicely.
Going the Fiverr route is again one small way in which I can outsource something in my business to save myself time (and money… paying for PhotoShop and learning it!). And allows me to show the full quilt on the pattern cover, as I prefer to clearly see the full quilt in quilt patterns.
And that’s how I make my quilt patterns! Want to see the final product? The Origami pattern is now out! You can get the PDF version here, or if you prefer printed patterns, you can order the paper pattern here. Both are currently on sale for just $9 (reg. $12) until Thursday.
This post contains affiliate links, thank you for the support!
Leave a Reply