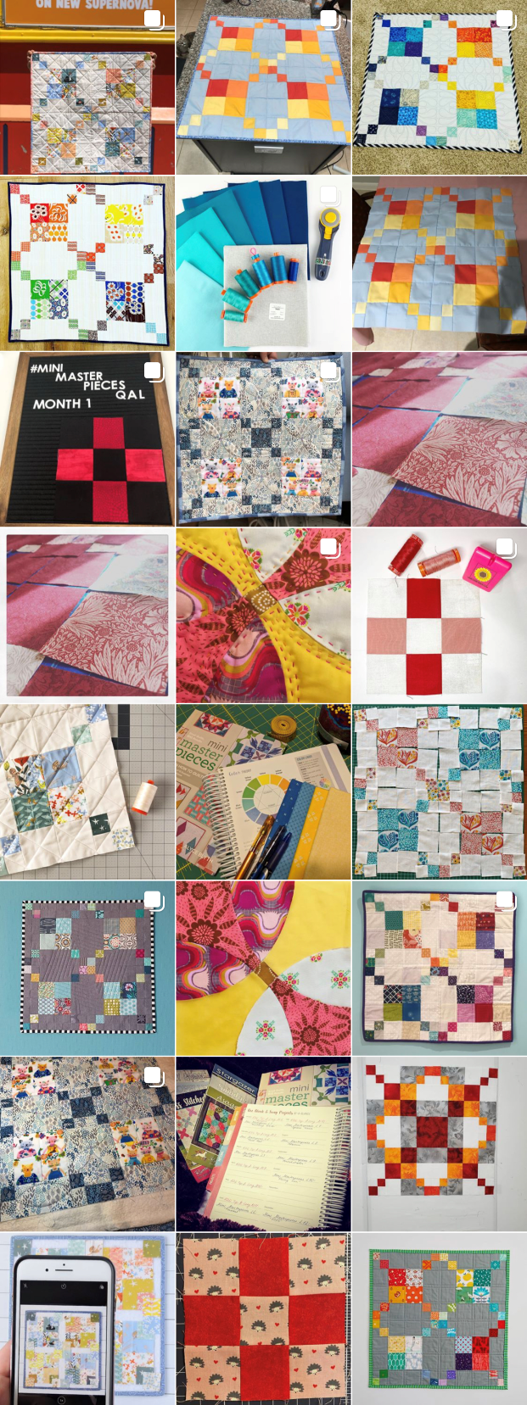
Welcome to February, and month two of the Mini Masterpieces QAL! I have been blown away by the amazing blocks and minis that you creative folk made last month for the Simple Squares lesson. You can find out the winners here, but here’s a quick snapshot of just some of the gorgeous makes shared on Instagram using #MiniMasterpiecesQAL:
You can find more in the Facebook group and also see the Playground version of the Building Blocks quilt I made here.
FEBRUARY – STRIP PIECING
This month is all about the quilting technique of strip piecing – a method where you piece quilt units by first sewing longer strips together and then subcut into the required size.
Why strip piecing, you might ask? It saves time.
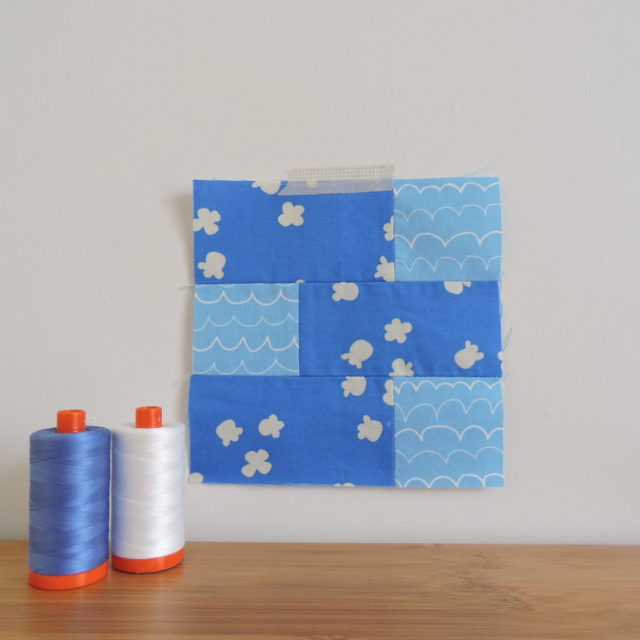
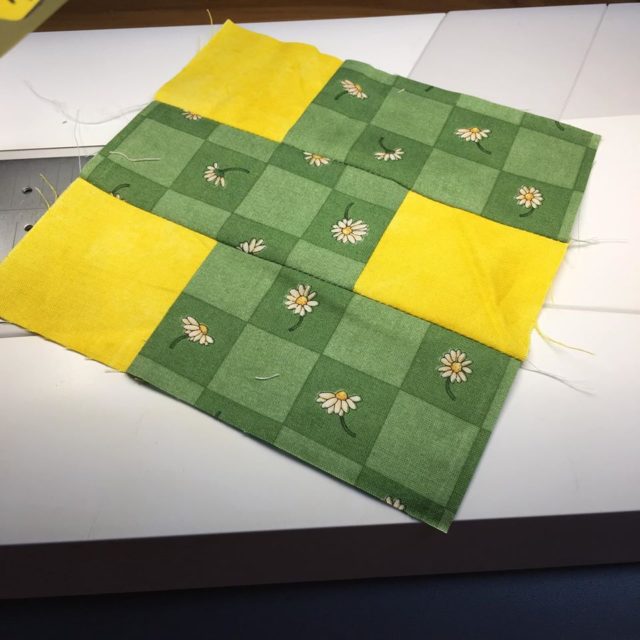
Take a look at the block below. If you were to cut it as squares and rectangles, you would be sewing 5 seams to piece the block. By strip piecing, you’re sewing only 3. Multiply this out by a whole quilt of blocks like this, and that’s a lot less seams to sew!
The Strip Piecing sampler block is great for growing these skills:
- Accurate seams
- Accurate (careful) pressing
- Strip piecing
Image by Page + Pixel for Lucky Spool
The Third Rail mini quilt is also good for trying out:
- Effective contrast in fabric choices
- Warm vs cool fabrics
FEBRUARY PRIZES
To enter, you can either post a photo of your month’s project in the Blossom Heart Quilts group on Facebook in this month’s photo album (not sure how to do that? Click here to find out how), or post it on Instagram using the QAL hashtag #MiniMasterpiecesQAL. Either method is acceptable, just be sure to do it by February 29th, 2020 (in your timezone). Monthly winners will be selected at random, and announced by updating this post + in the Facebook group + on Instagram on March 2nd, 2020.
For all the QAL details including prize eligibility, read this post here.
Block Prize
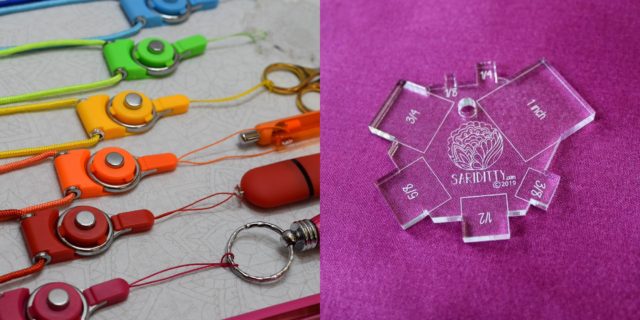
If you’re sewing along making the sampler blocks this year, that’s awesome! Each month, there’ll be a mix of patterns, notions, and other little goodies on offer. This month, the prize is a notion necklace and a spacer tool from Sariditty.
Quilt Prize
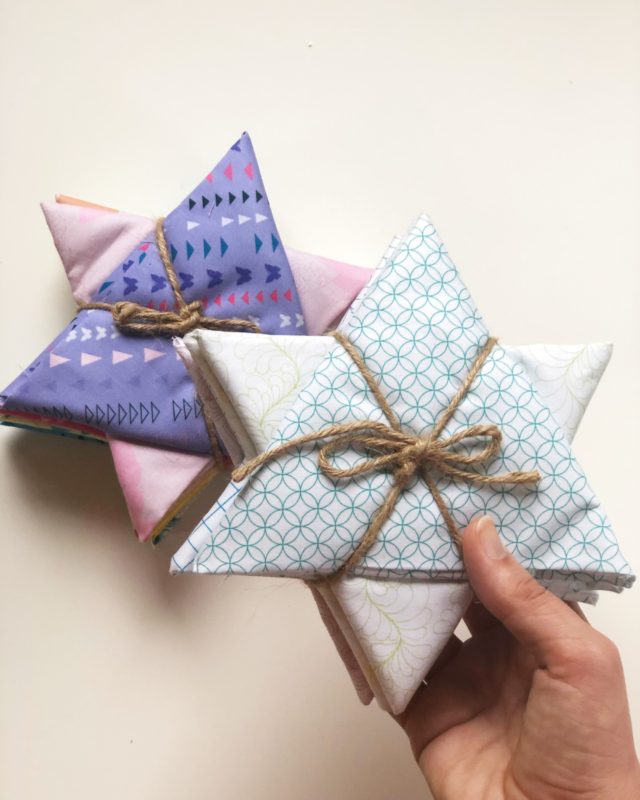
If you’re making mini quilts or some other type of fully finished product with the mini quilt pattern or turning the sampler block into a finished product (pillow, bag, zippered pouch, etc), this month’s prize is a fat quarter bundle of Paradigm Shift by Sariditty, and yes, it’s what I’m sewing with this month to make my Third Rail mini quilt.
WINNERS
Congratulations to Colleen for winning the block prize.
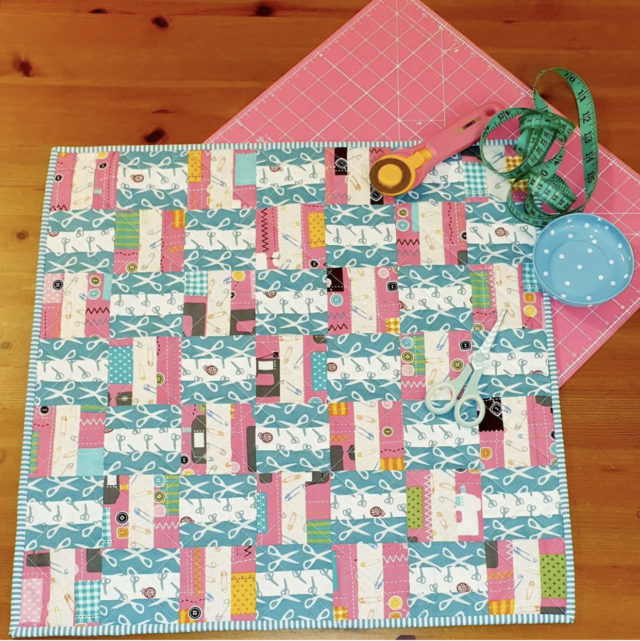
Congratulations to Renate for winning the quilt prize. She made a sewing-themed Third Rail mini quilt to use as a sewing machine cover!
What you need
- A copy of Mini Masterpieces – you can buy a copy from these various stockists, or a signed copy from me here
- A sewing machine (or hand sewing supplies!) and basic quilting supplies
- Your favourite fabrics – all the fabric requirements are listed on pages 26-28 for the block and mini quilt
Recommended
- Colouring sheet planner*
- 6 1/2″ x 12 1/2″ ruler
- Washi tape or quarter-inch machine foot
- Finger presser or seam roller
- Starch or starch alternative spray
I have had many requests for a colouring sheet for the mini quilts to help personalise and plan your mini quilts. I love to include these in my quilting patterns, and being a big pre-planner myself, I understand this request on a very deep level, ha! Click here to fill in your details to be sent the planning pages for the first two quilts and to be notified when the rest are released (very soon!).
TIPS FOR STRIP PIECING
Strip piecing builds on the accurate seams you practiced in the first chapter of Mini Masterpieces. Keeping those seams accurate through the pressing process is also important so that your pieced strips don’t go all wavy. I highly recommend finger pressing the seams open first, whether that’s using your finger, or with a finger presser tool or seam roller. This starts the seam-pressing process more gently.
When you then use your iron, be careful to not push and pull on the seams as you press. This typically means using an up-and-down motion instead of the typical back-and-forth ironing motion you might be used to.
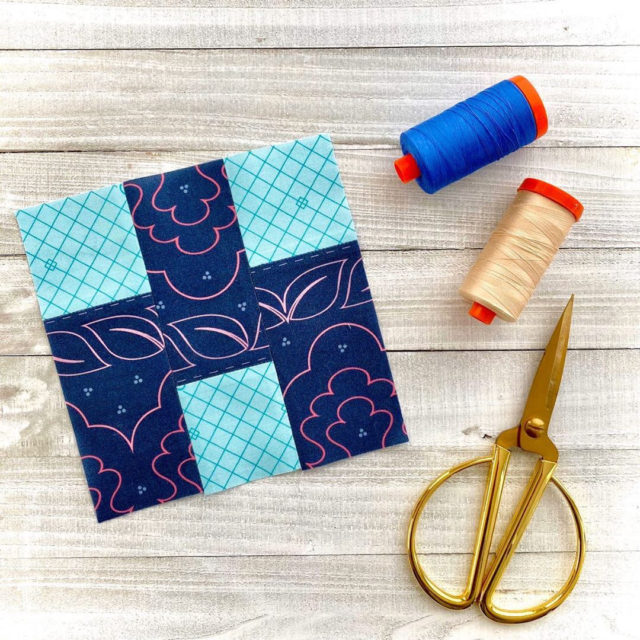
Strip Piecing sampler quilt block by @sariditty
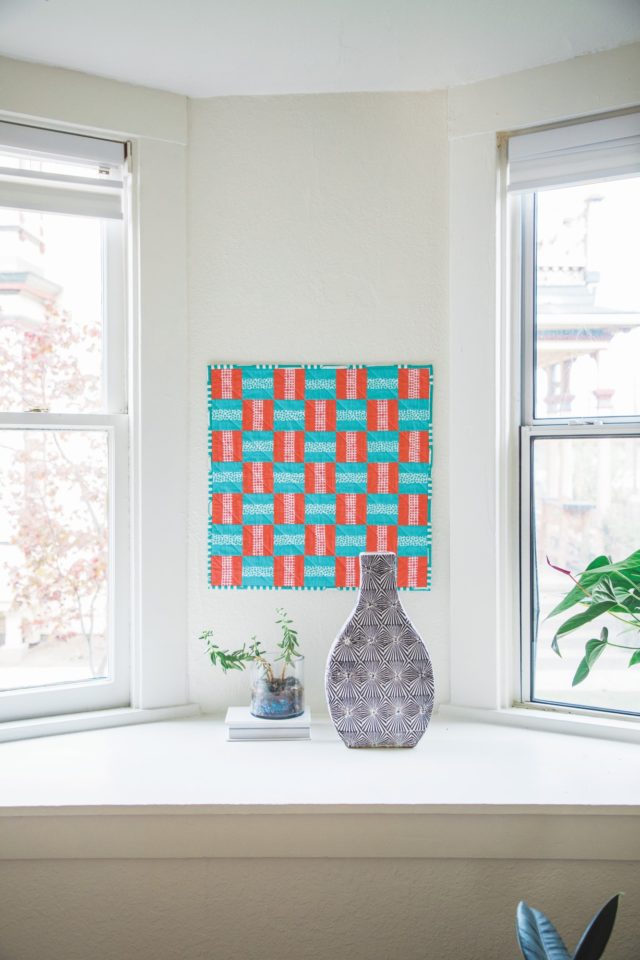
TIPS FOR THIRD RAIL
If you are making the Third Rail mini quilt this month, here’s a couple of tips to help you get the result you’re wanting:
1. Choose fabrics with contrast. This is where the colouring pages come in handy. There are a few different ways you could interpret the design, but you want to make sure that you can clearly “read” the lines in the quilt. My book version uses both warm/cool (between the alternating blocks) and light/dark (within the blocks themselves) – both of those options are an easy way to get contrast happening so that you can see the strips.
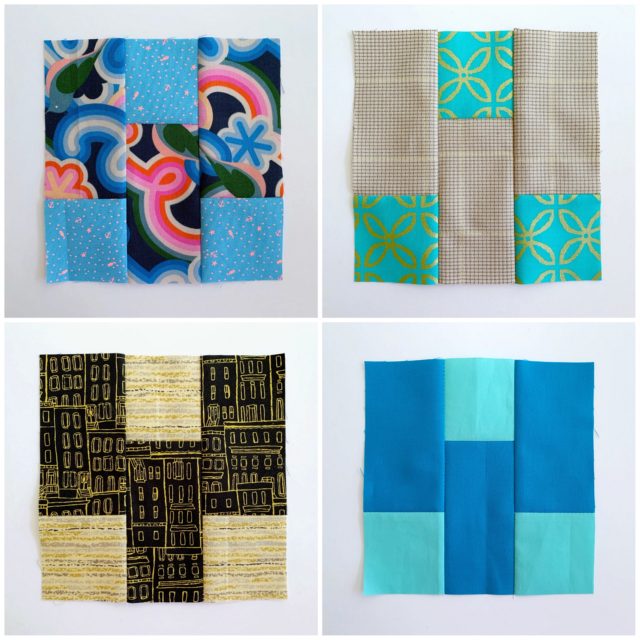
Strip Piecing sampler quilt block by @mollisparkles
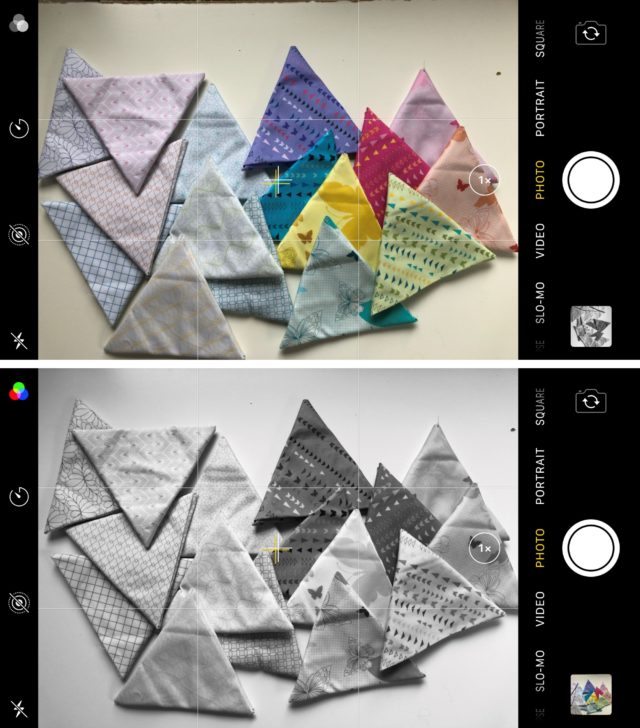
If you’re wanting to check contrast between fabrics, using the black and white filter on your smart device is a great way to quickly check it out. If you have an Apple product, open the Camera and tap the little overlapping circles icon in the top right corner.
2. You can use fat quarters. The book references 1/4 yard cuts of fabric, but fat quarters will work too – simply skip the WOF strip cutting part and go straight to the “subcut into” instructions.
3. This is a great size to turn into a pillow. Third Rail finishes at 21″ square, which is a good, slightly-oversized pillow measurement! Instructions for turning mini quilts into pillows can be found on page 17 of Mini Masterpieces. Guess what I’ll be doing with mine this month 😉
So let’s get stripping, ha! I’ll be sewing along too and sharing as I go on Instagram – @blossomheartquilts – and in the Facebook group. If you have any questions, don’t hesitate to leave them in the comments and I’ll respond to you there.

Leave a Reply