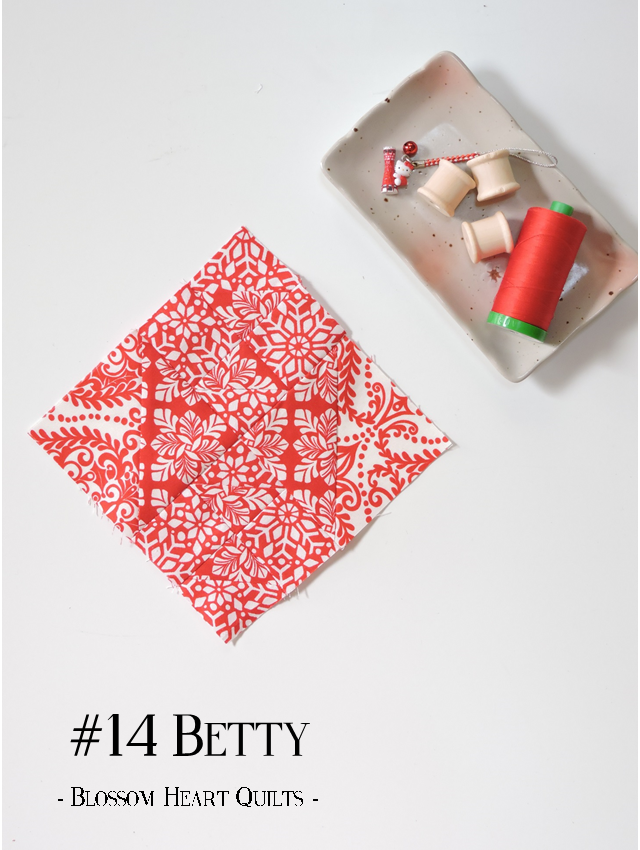
Today is my turn to share the Block 14 Betty tutorial for the Farmer’s Wife 1930s Sampler Quilt quilt along!
Betty is a great block for trying out some DIY quilt maths. It can be pieced by foundation paper piecing, or with templates, but this is one of the few blocks in the book that can easily pieced by rotary cutting and machine piecing like any other normal block. It consists of half-square triangles (or HSTs) in two different sizes, and squares. I pieced the larger half-square triangles using the traditional method, and the four smaller HSTs using the alternative method. And that’s what I’m going to walk you through.
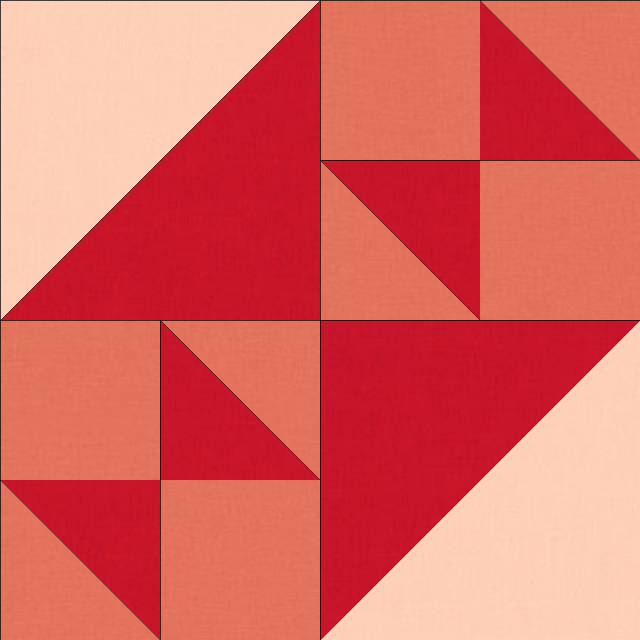
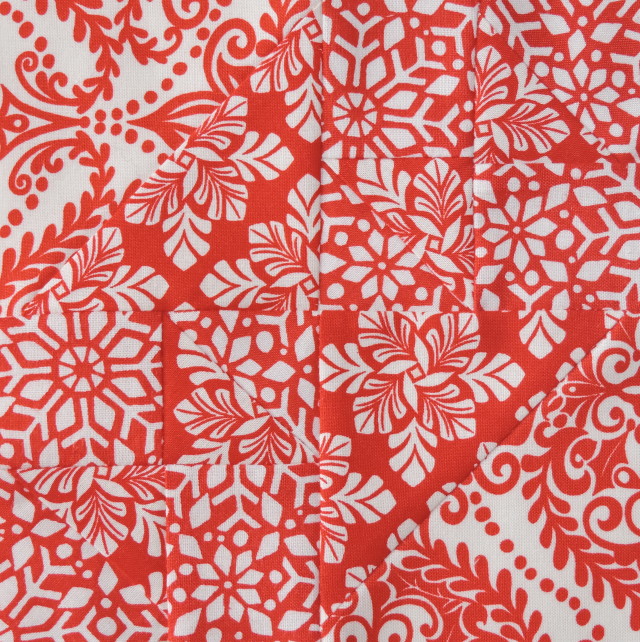
Why yes, I did choose a bad time to use these reds for my Kate Spain quilt, so here’s what the block looks like when it has a lot more contrast – two large half-square triangles, four small HSTs, and four small squares. And for the rest of my tutorials, I’ll be much more discriminating with my fabric choices!
The Letter – A Dream Come True
What I love most about this letter is that it reminds us that dreams do come true, but not immediately like a Disney movie fairy wish. Most dreams require you to work hard, be patient, and persevere when the going gets tough. Which is exactly what my quilting career dream has been and is like, between raising my young kids in a foreign country! Balancing and juggling; late nights and early mornings, to make this passion into a successful business that I can pursue even when we return to Australia next year.
Tutorial
Refer to the Rotary Cutting Instructions on the CD. With this method, it is vital that you use an accurate 1/4″ seam. If you wish to have a little bit more wriggle room, add a 1/4″ to the measurements, and then be sure to trim the pressed-open HSTs down to the nearest 1/2″ increment.
If you are using From Marti Mitchell templates, you can use set A for this method too.
CUT
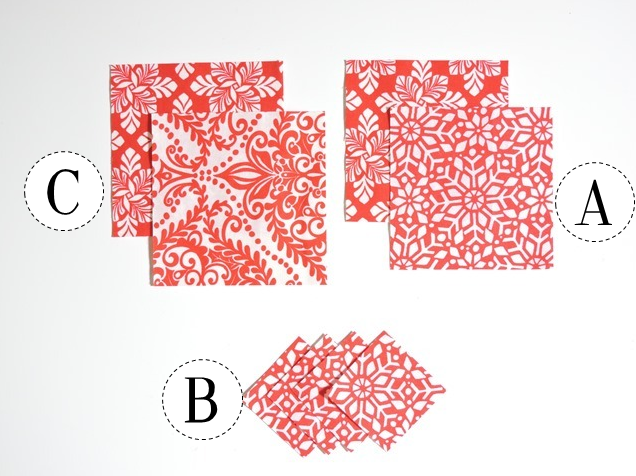
A: Instead of triangles, cut two squares 1″ bigger than the rotary cutting instructions specify; or, cut two FMM A1
B: Same shape, same amount, same size; or, cut four FMM A5
C: Instead of triangles, cut two squares the same measurements as rotary cutting instructions specify.
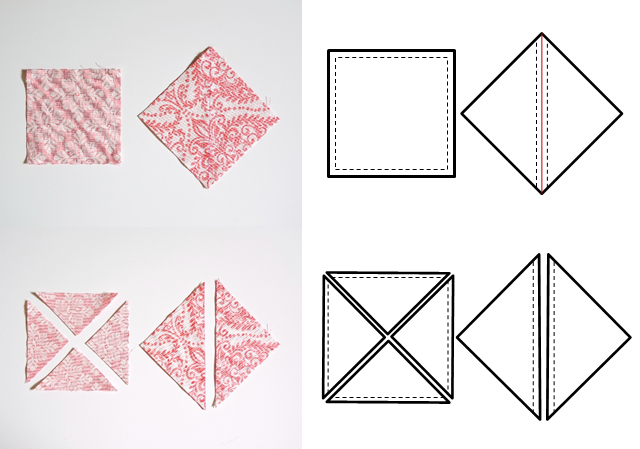
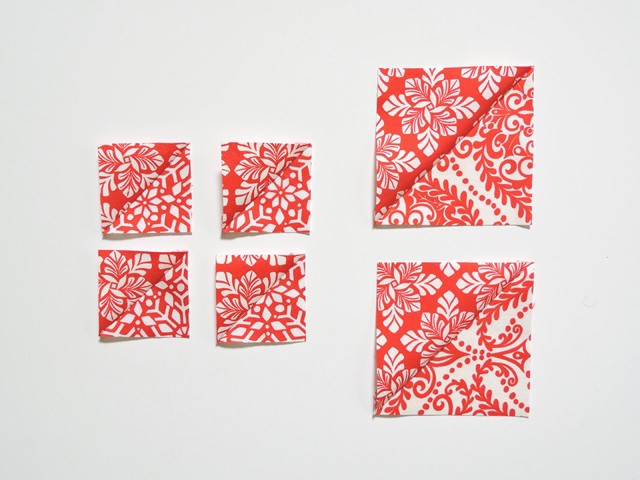
Step 1. Place your A squares right-sides together and use the alternative half-square triangle method. Sew around the outside edge 1/4″, then cut diagonally twice to create four HSTs. Press them open, pressing the seams to the darker print. Trim to the nearest whole inch if necessary; or, use FMM A5 to trim to size, ensuring the seam is centred.
Place your C squares right-sides together and use the traditional half-square triangle method. On the wrong side of one square, draw a line across the middle diagonally. Sew 1/4″ away from the line on both sides, then cut along the line to create two HSTs. Press them open, pressing the seams to the darker print. Trim to the nearest 1/2″ if necessary.
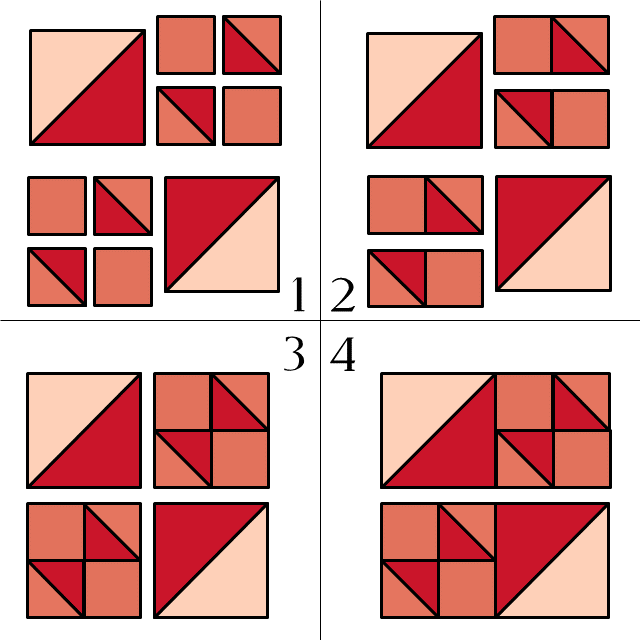
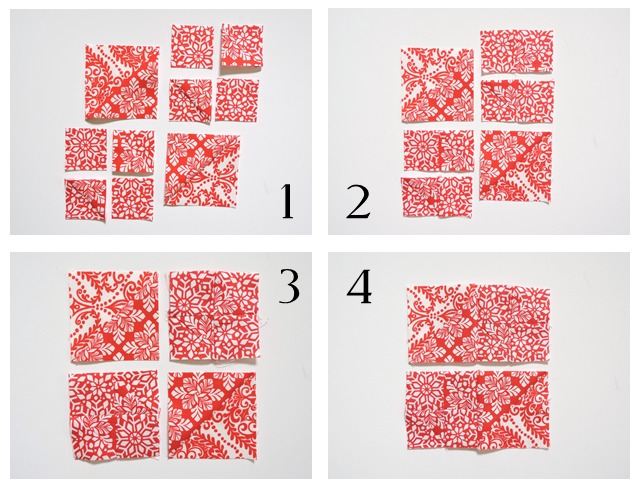
Step 2. Arrange the HSTs and B squares (fig. 1) like the diagram on page 173, or refer to Angie’s tutorial too.
Sew the A half-square triangle units and B squares together (fig. 2), pressing the seams towards the squares, then sew those units together (fig. 3). Press the seam open.
Sew each A+B unit to the large HSTs, pressing the seam towards the HSTs (fig. 4). Sew the rows together, pressing the seam open.
And you’re done! Your block should measure 6.5″ x 6.5″, meaning that it will be 6″ finished (once it’s sewn into place in the quilt top).
You can follow my progress on Flickr, or on Instagram – @blossomheartquilts and #thespanishfarmerbhq – and see all my blog posts for my Farmer’s Wife 1930s Sampler Quilt.
But why make HSTs like this?
I am personally more comfortable working with squares, than pre-cut triangle bits, especially at these small sizes. It also means that by adapting patterns to use well-known methods of creating half-square triangles, you can recreate those patterns to fit whatever size you need!
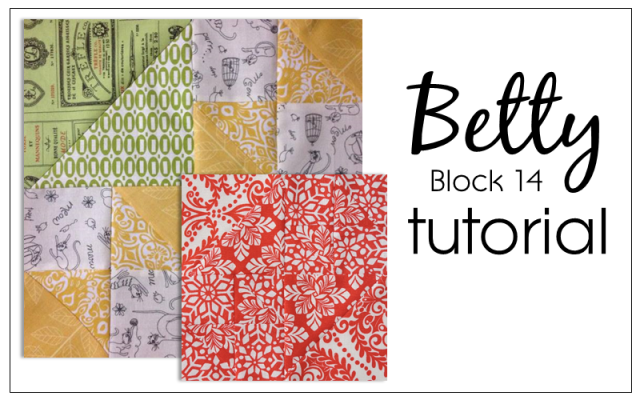
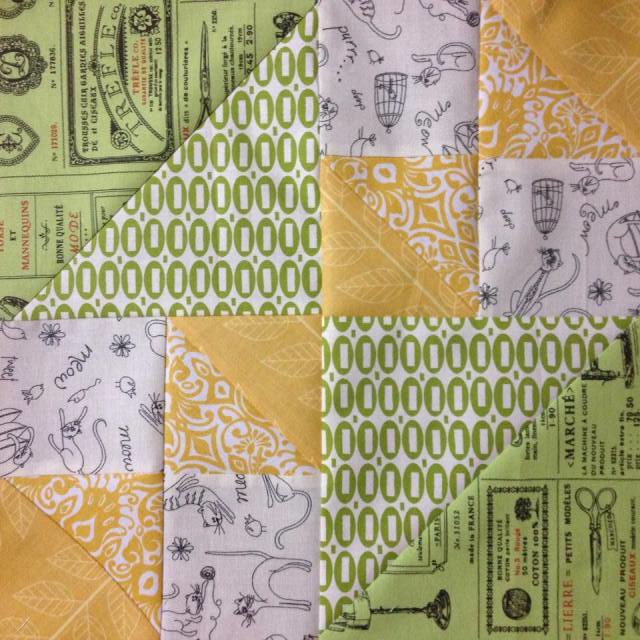
This green and yellow block?? That’s actually a 12″ finished block I made for my friend in a quilting bee. I just resized the HSTs using my maths charts! The other way to easily re-size any of the blocks from this book is to use the paper piecing templates included on the CD and print them larger, ie. at 100% it is the standard 6″ finished block, so 150% will print it at 9″ finished because 6 + (half of six = 3) = 9. If you need any more paper piecing tips, I can highly recommend Elizabeth Dackson’s class on Craftsy that I did earlier this year, and for which Craftsy has given me an exclusive 50% off voucher link! Sale ends soon, be quick.
Sew Along
The other bloggers this week are:
06/10/2015: Angie @ GnomeAngel.com
07/10/2015: Alyce @ Blossom Heart Quilts
08/10/2015: Angie @ GnomeAngel.com
09/10/2015: Jess @ Elven Garden Quilts & Sedef @ Down Grapevine Lane
Important Links
- All the block tutorials by Angie and bloggers.
- Any and all FAQs for the sew along.
The Farmer’s Wife 1930s Sampler Quilt: Inspiring Letters from Farm Women of the Great Depression and 99 Quilt Blocks That Honor Them by Laurie Aaron Hird for Fons & Porter/F+W; RRP $28.99 – Click here to purchase.
I was gifted the From Marti Mitchell templates as a part of being a blogger for the sew along. All opinions are my own. Post includes affiliate links which means I get a small commission to help keep this blog running and my fabric stash happy!
Suesews Too says
Thank you thank you thank you! Finally some instructions that make sense, none of this template triangle cutting business!
Susie says
Thank you. I need to brush up on maths full stop – let alone quilt math. Yet to start my blocks but so glad we have these tutorials. Thanks!
Marsha Boykin says
Thanks for showing this method. I made my block using this method before I saw your blog entry. I have a terrible time with bias edges when I just use triangles!
Gretchen says
Thank you so much for these instructions. They are easily understood and don’t involve complicated theory to get started. Again, thank you so much.
Sue says
When I went to the rotary cutting instructions I was hoping that there were instructions for cutting squares but two of the cuts were for triangles and I couldn’t figure out how to size those up two squares and make them an inch bigger 😢
Alyce says
When you cut the triangles individually as per the rotary instructions, what you are actually doing is cutting a square to those measurements and then cutting it in half on the diagonal to make triangles. So ignore the “triangle” word, and just use the measurements, but add an inch. Does that help?