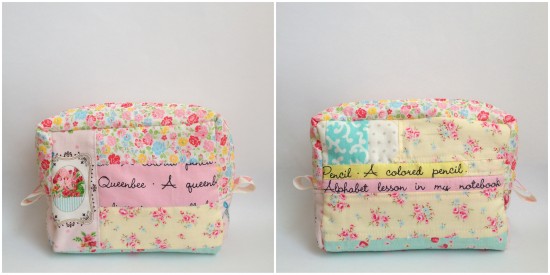
This week I tackled my Sweet Pouch Swap pouch. I made the panels, and then decided what pattern to use – the Triangle Patchwork Box Pouch from Patchwork Please. Just obviously without the triangles and using my panels instead.
I hadn’t tackled such a “3D” pouch before, but having made the Super Tote, I thought I could do it. I picked out sweet Japanese fabrics and did a little fussy cutting. The pencils are Patchwork Please-inspired!
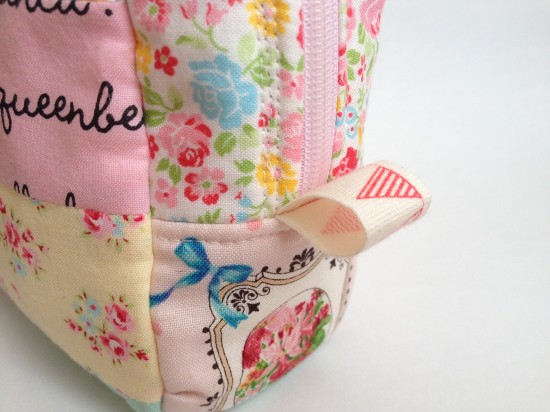
I chose adorable bunting ribbon to use on the sides.
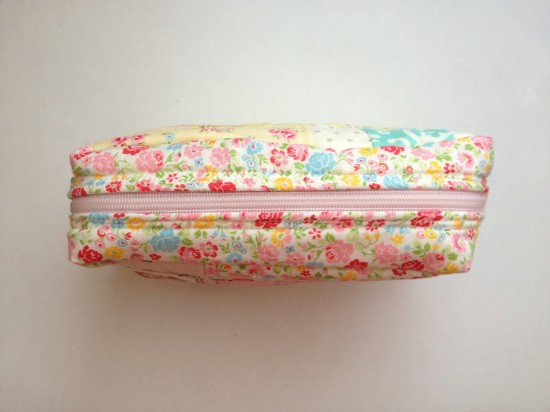
And the perfect shade of pink for the zipper. I started sewing it all together, so happy with how it was going.
Until I used the wrong pieces, irreparably, for the top panel, throwing out all measurements, and botched up sewing all the external panels together. Which meant that while sewing all the lining bits together worked well, it was too big and is now all loose and floppy inside. Sweet Pouch Fail.
So, what would I do different next time, and what should you do should you attempt it?
– Read the whole thing twice or even thrice – the instructions are hard to follow in between the diagrams and requires quite a brain work out to bend your mind around the instructions.
– Don’t use fluffy batting – I used scrap cotton batting which had gotten a bit fluffy. Good support but still a soft structure, except it meant there was no way I could unpick anything because fluff went everywhere and just pulled apart. The instructions say to use fusible batting, which I don’t have on hand. Next time I would try a mid-weight interfacing for support and some flannel for squishy factor.
– Pin, pin, pin – take 5 minutes to go all the way around pinning and getting it all prepped ready to sew, making sure all your marked middle points meet and the corners are ready to go.
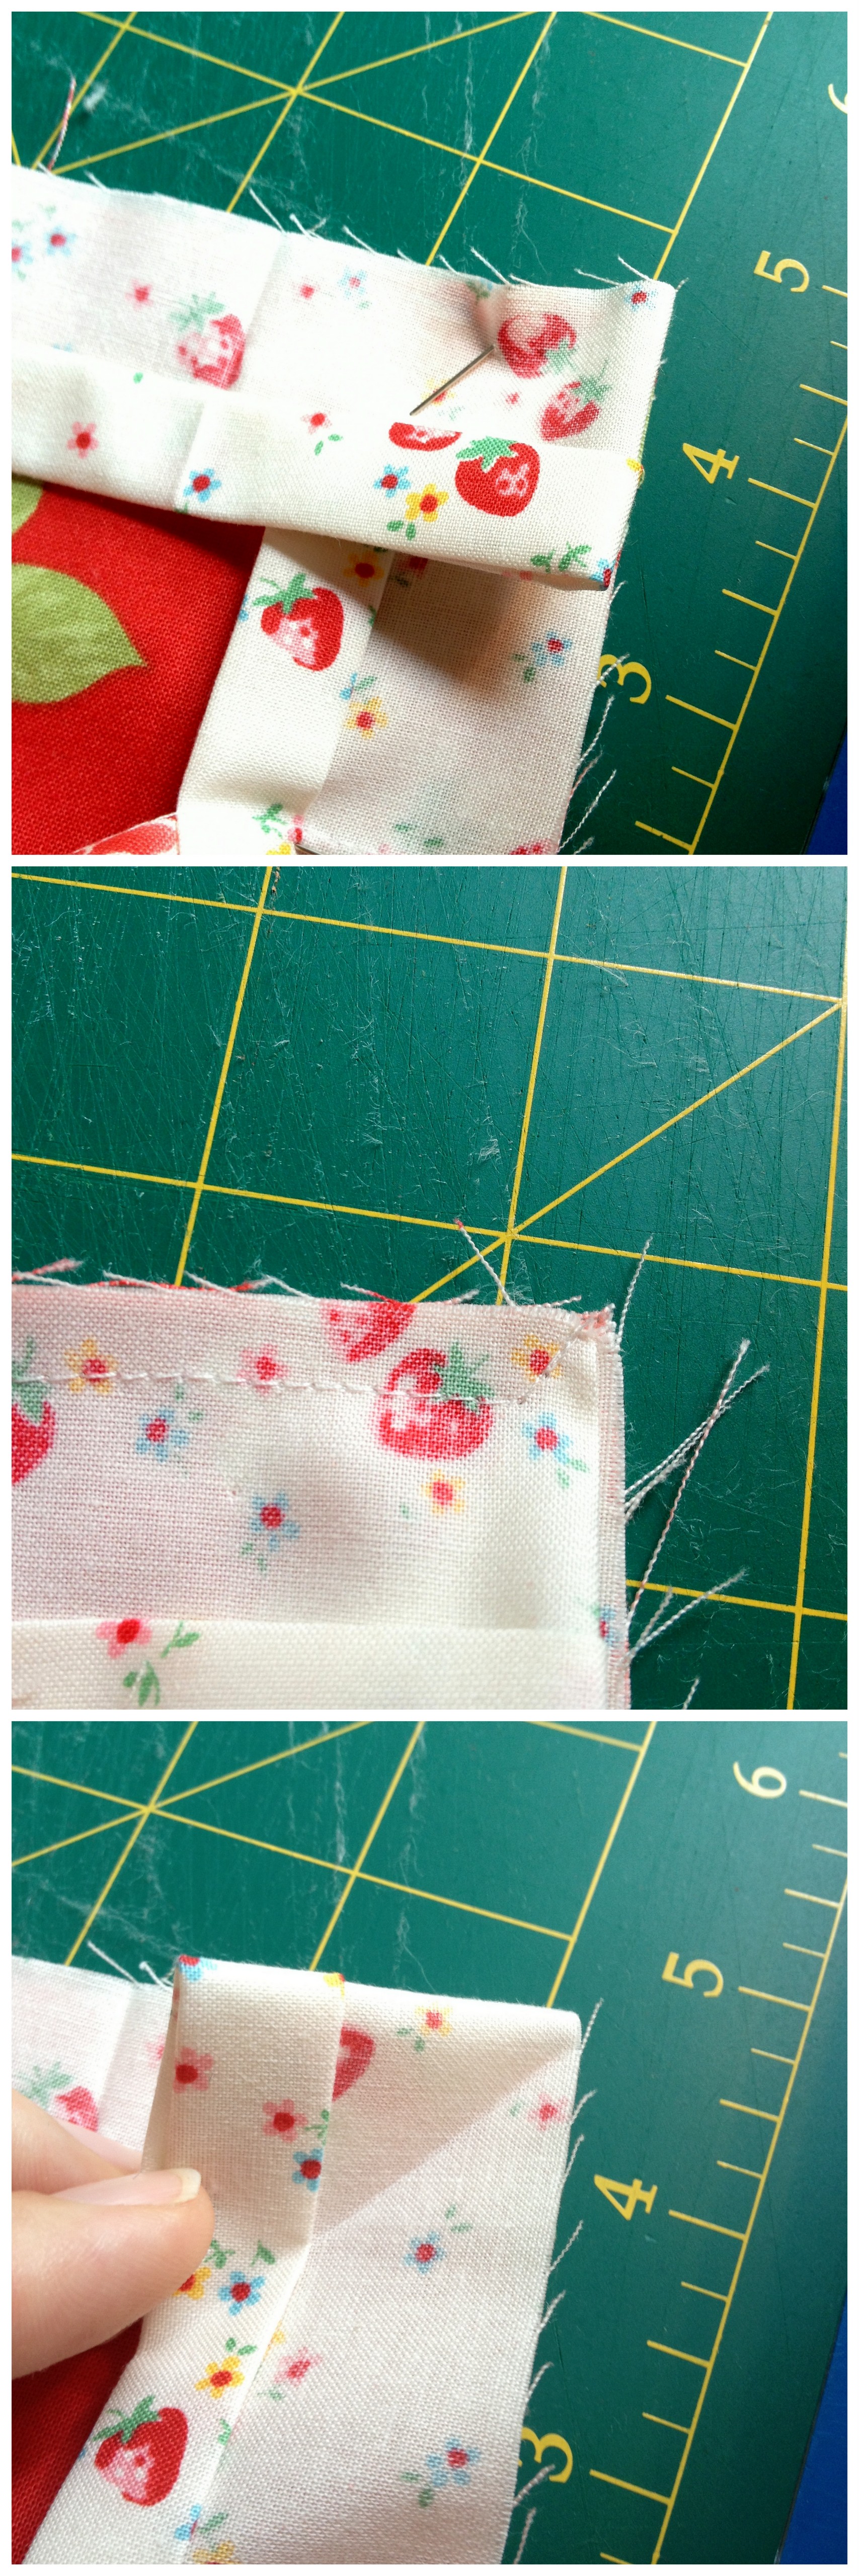
– Treat the corners like you would for mitred corners on binding – I learned this while sewing the lining together, which was too late for the external, but now I know for next time! At each corner sew to 1/4″ from the edge, stop and pivot to sew 45 degrees to the corner. Lift the needle and clip the thread. Fold the fabric on that 45 degree line and lay the unsewn strip back down in line with the edge and put your needle down 1/4″ in from the corner, aiming for the spot where you stopped and pivoted:
I really would like to try and make this correctly sometime, but not for this swap. I need some more personal practice, I think. But I now have a super sweet pencil case for my Frixion collection that has been needing a new, bigger case for quite a while now! So it wasn’t a total lost cause.
Linking up to TGIFF!


Lindsey@HappierThanABirdQuilts says
Well it is still very pretty. =)
DeborahGun says
I agree – still pretty! Thanks for all the tips – I have looked at this pattern quite a few times and still can’t get my head around it – I think I definitely need photos and diagrams to help me follow instructions!
Laura says
AW, it’s still pretty. Much better than my finish!!! I think I’ll avoid that pattern. 🙂 There are much easier ones out there.
Serena @ Sewgiving says
Yes it’s definitely still a VERY pretty pouch … I’m with you though, I’m a pictures person!
Amy's Crafty Shenanigans says
Good advice – I am hoping to tackle that project soon so I am glad I can learn from you!! Thank you for linking up to TGIFF Alyce 🙂 It is such a pretty pouch.
Marie Lismore says
Love the pouch! It looks gorgeous in the photo. Thanks for sharing!
stacy says
félicitations ! this little pouch is absolutely perfect and so cute ! thanks for the advices, it can be very useful have a nice day !
made by ChrissieD says
Dropping by from TGIFF – your pencil case looks beautiful and if you hadn’t shared your ‘tips’ no-one would have had a clue. I’m glad you did bare all and share though, it’s so useful to hear the pitfalls to look out for when making something, thanks C 🙂
Yvonne Campbell says
I laughed out loud to the bending your mind around it. I know exactly what you are talking about! Sometimes, patterns I know are written in English seem like another language. Haha! All kidding aside, it looks super!
Lucy @ Charm About You says
I love it! So so cute! Never mind the inside 😉 To be honest I haven’t looked at this pattern yet but I will be sure to read all those tips again should I attempt to make it!
Gemma @ Pretty Bobbins says
It’s super cute Alyce despite the difficulties you had 🙂 I just finished my pouch for the swap and am considering making a second…
Catherine says
It’s definitely a super-gorgeous pouch Alyce, and I’d be very happy keeping it too!
I’ve looked at that pattern a few times, and thought it was a little tricky for me. I am BAD at following patterns, so really need lots of steps and photos to break it down and make it really easy to follow.
Looking forward to seeing what you make for the swap – and in the meantime, you can be very happy using that sweet pouch yourself. 🙂
Jeneta says
It’s lovely Alyce! That bunting ribbon is ADORABLE!!
Jodie says
I think it looks great, I can’t see anything wrong with it!
Lisa in Port Hope says
Thank you so much for sharing your learning and very timely, since I am making the triangle patchwork pouch right now and throwing my own curveball by using hst’s left over from another project, which changes the measurements…..come by and visit in a week or so and see whether I finished it or threw it out the window.
Jeifner says
It’s adorable! I’m glad you get to keep it 🙂
Stacey says
*cough* ahem…. maybe i am blind, but your pouch looks pretty dang cute! try not to worry so much 😀
Debbie says
So sorry you had a few mishaps, but your pouch turned out just darling!
Indianna says
Thanks for this, as soon as you said mitre the corners like a quilt binding….then it makes sense. Still struggling to make the lining fit together…that’s before I’ve tried the outer :o(