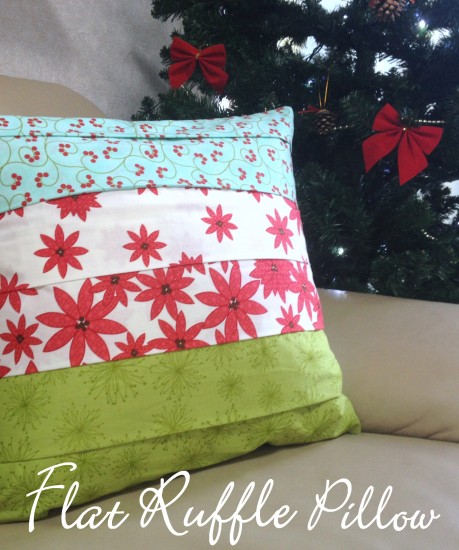
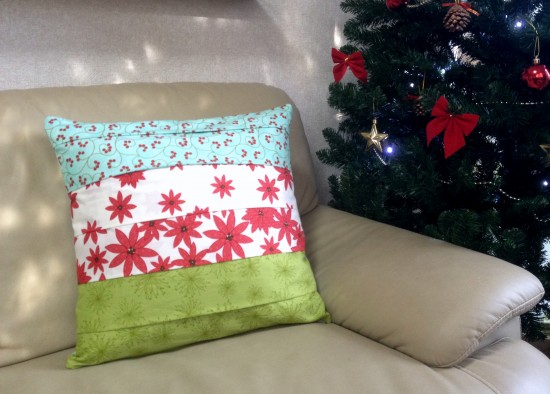
I was so excited when Melissa asked me if I’d like to join in the Cushion For Christmas blog hop – just the boot up my butt I needed to start my Christmas sewing! And I’m just as excited to share with you my flat ruffle pillow tutorial. No gathering, no elastic, no nothing needed for this textural ruffle cushion cover other than a little bit of careful pressing. Not to mention a very versatile pattern for however many ruffles you like or the width of your ruffles. I’d love to adapt this slightly make a flat ruffle pillow using jelly roll strips – lots of fun texture! Or you could change it up and use 6 different prints instead of the 3. Get creative!
What you’ll need
2 ruffle prints:
2 – 9.5″ x 18.5″
1 ruffle print (the top ruffles):
1 – 9.5″ x 18.5″
1 – 6.5″ x 18.5″
1 front backing fabric (behind ruffles):
1 – 18.5″ x 18.5″
1 backing fabric:
1 – 18.5″ x 18.5″
1 zip min. 20″
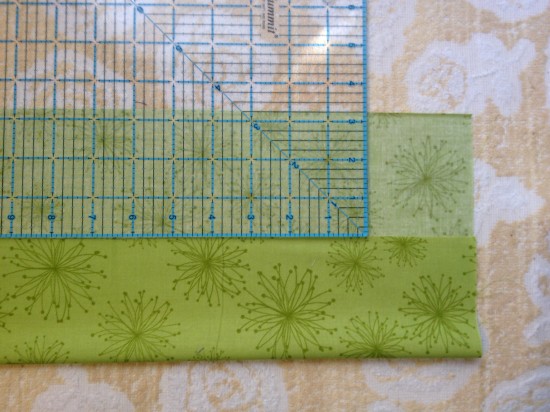
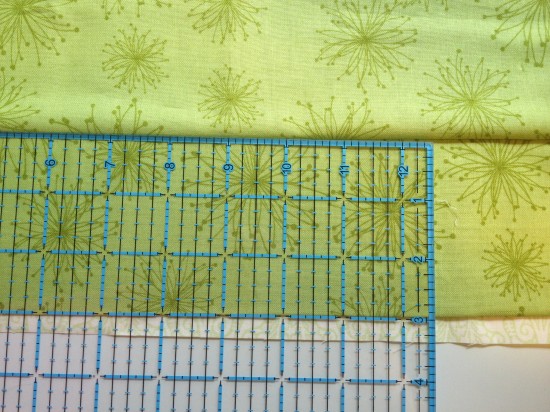
Step 1. Lay your ruffle strips right side down. Fold the bottom edge up 3 1/4″ from the top edge and press. For the final, top ruffle strip, simply fold in half and press.
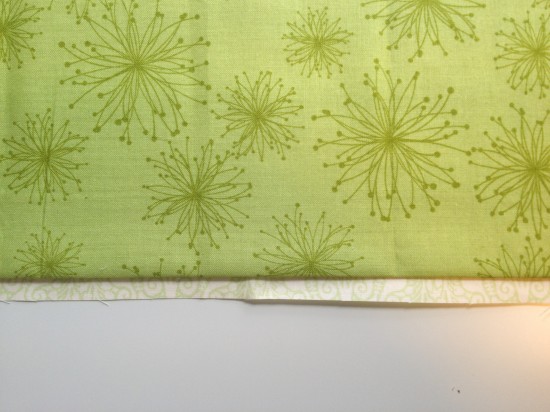
Step 2. Place your bottom ruffle strip 3/8″ from the bottom edge of your front backing fabric. The folded piece is on the bottom.
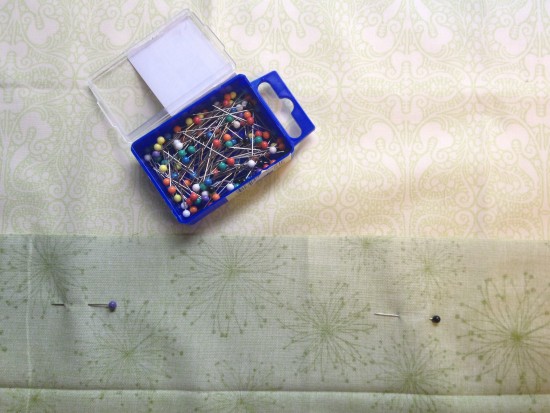
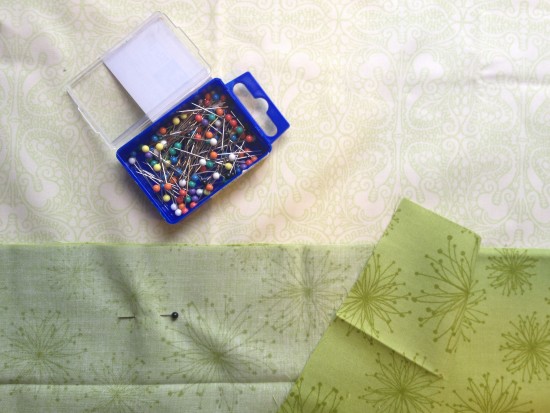
Step 3. Open the fold and pin the ruffle in place. Sew a 1/4″ seam along the top edge of the ruffle then press the ruffle back in place.
Step 4. Place the next ruffle strip 3″ from the bottom edge of your first ruffle.
Step 5. Open the fold and pin in place. Sew a 1/4″ seam and press the ruffle back in place. Repeat for the remainder of your ruffle strips.
Step 6. Your final ruffle should align with the top edge of your front backing piece. Sew a scant 1/4″ seam and then machine baste 1/8″ in from the edge of the cover on both sides. Leave the bottom as-is.
Step 7. Finish off your pillow using a zipper enclosure (or any other method you prefer). I attempted my first zipper enclosure for this pillow following the tutorial from Gemma at Pretty Bobbins. It worked a treat! With any method you choose, pin the bottom ruffle up and out of the way so as to not catch it in the bottom seam… trust me on this!
Sunday 1st December – Melissa at Ms Midge
Monday 2nd December – Gemma at Pretty Bobbins
Tuesday 3rd December – Kristy at Quiet Play
& Melissa at Ms Midge
Wednesday 4th December – Joshua at Molli Sparkles
Thursday 5th December -Rachel at Little White Dove
Friday 6th December – Fiona at Finding Fifth
Saturday 7th December – Abby at Things For Boys
Sunday 8th December – Lauren at Molly & Mama Makes
Monday 9th December – Jodi at Tickle & Hide
Tuesday 10th December – Adrianne at On The Windy Side
& Melissa at Ms Midge
Wednesday 11th December – Alyce at Blossom Heart Quilts
Thursday 12th December – Gina at Party of Eight
Friday 13th December – Jane at Quilt Jane
Saturday 14th December – Round up of Blog Hop and link up YOUR projects!
Wednesday 18th December – Winners Announced!
And now it’s your turn! Make a cushion by this Saturday and link it up to win some fabulous prizes. All of the pillow covers shared on this blog hop can be made in less than a day – mine is definitely in the 2 hour or less range! So go check out the rest of the amazing tutorials for some inspiration!

Lorna McMahon says
Cute! I am sharing this, with a link back, on my facebook page at http://facebook.com/sewfreshquilts
Hope you don’t mind!
Teje says
Hi Alyce! I’m happy to hear your sewing machine is back! Looking for to see about your new bee! Thank you for hosting this great linky party! x Teje
Kristy @ Quiet Play says
Sweet cushion! Love the texture idea! Oh and Winter’s Lane – perfection!
Ms Midge says
Gorgeous! Thanks for joining in! x
Melissa says
Adorable, Alyce! Thanks for sharing!!
gina says
cute, fast, and fun!! You are so clever 🙂
DeborahGun says
very sweet – and I love the Winters Lane too 🙂