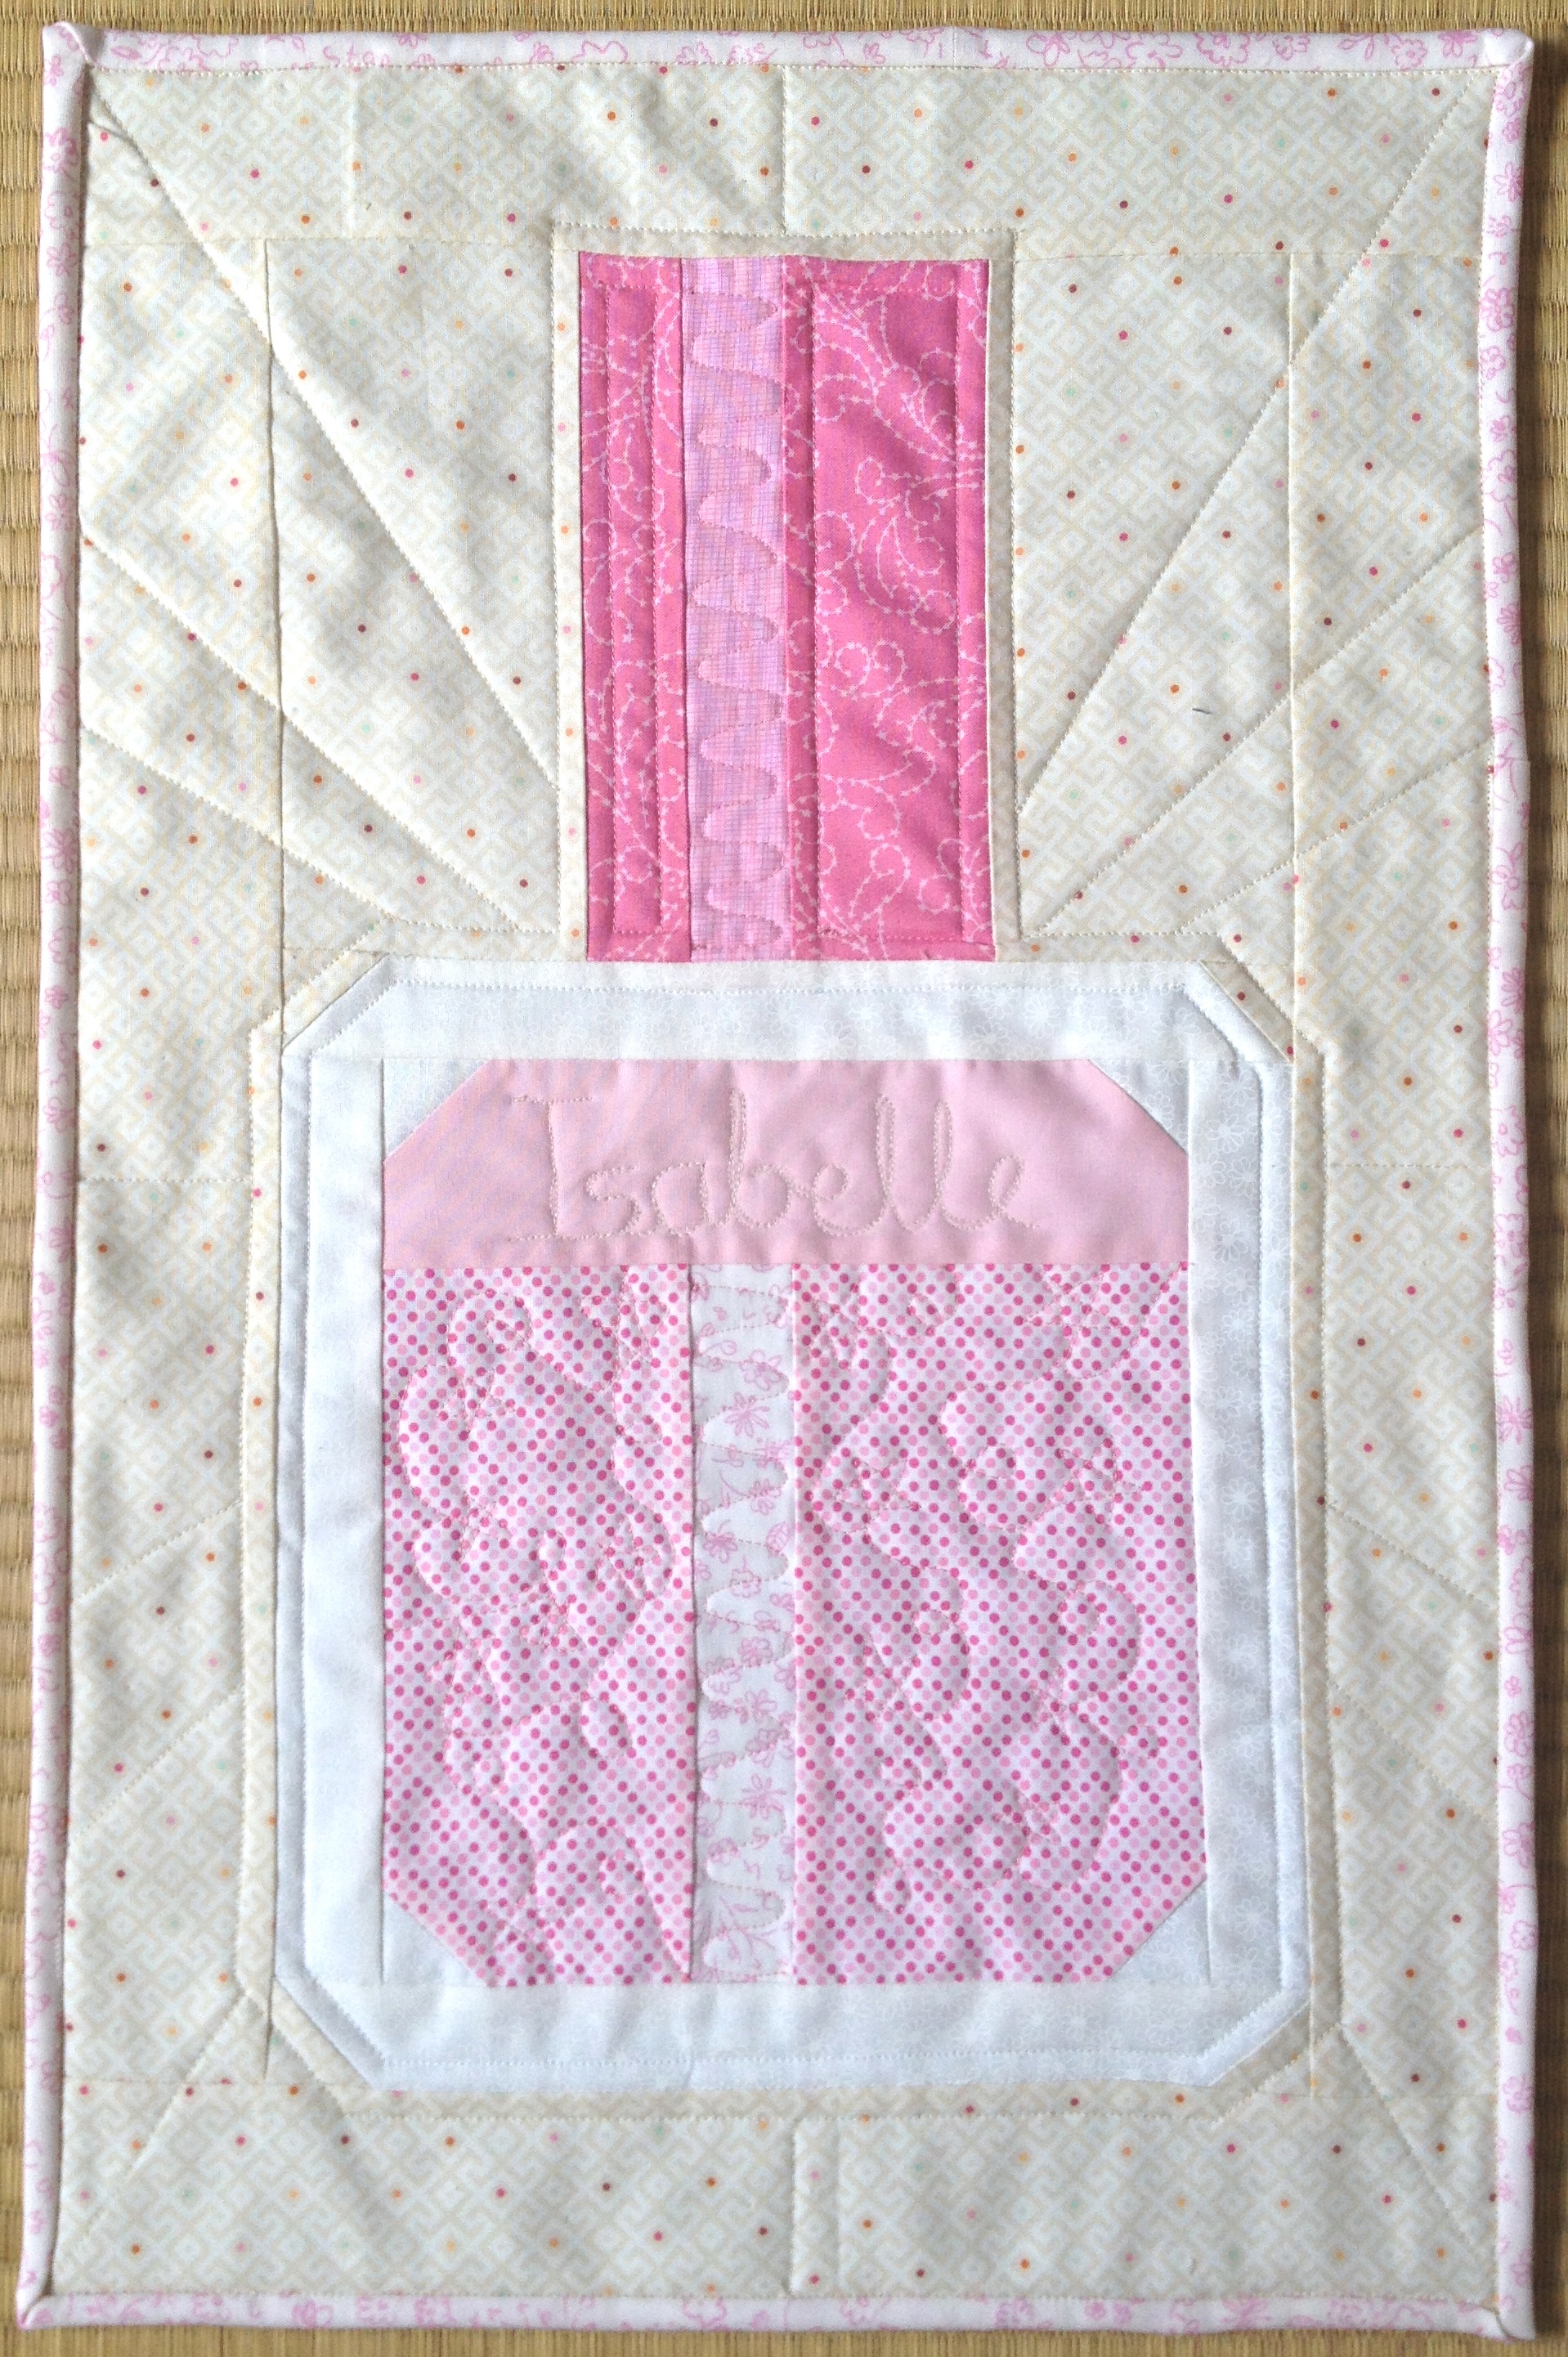
I’ll be honest, when the Fat Quarter Shop first emailed me asking if I’d like to make their latest free pattern for a nail polish bottle mini quilt and blog about it, I was a little hesitant because I only like to sew things for which I have a purpose. And I’m not a huge wearer of nail polish. But then I remembered something sitting in a plastic bag on the kitchen bench… A little bottle of sparkly pink nail polish I had bought a few days beforehand ready for summer holidays and having some fun with my daughter. Well then, what better way to memorialise a girl’s first time wearing real nail polish for longer than day than with a mini quilt?! #youknowyoureaquilterwhen That and the Fat Quarter Shop patterns are always so well written, they’re a breeze to sew up. Plus of course there are their Youtube videos that go with the pattern to walk you through “in person”. That still didn’t stop me sewing the lid section on upside down at first, oops!
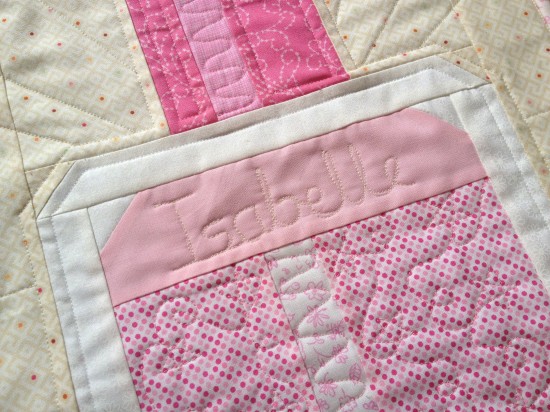
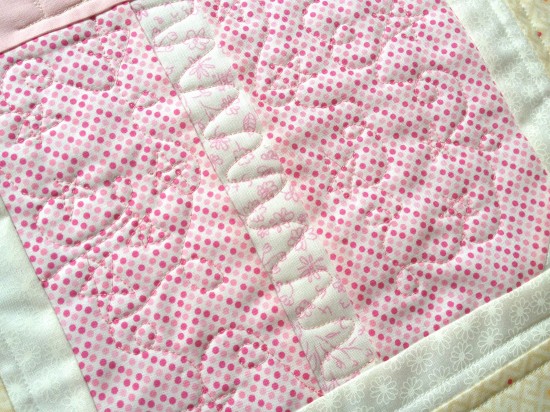
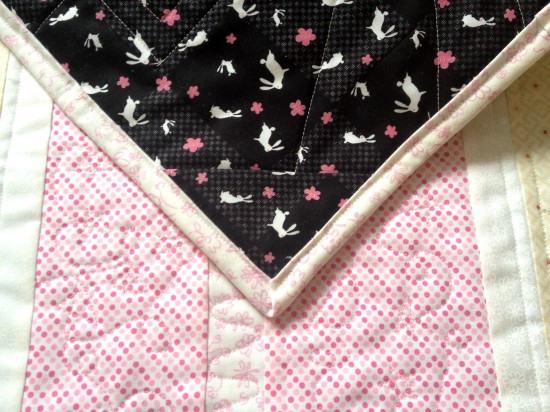
I went digging in my stash and found the perfect dots to use as the nail polish, and some Posy to use as the light reflection (and also the binding). I decided to go full on pink and do a pink lid too, using an unknown Moda print for the lid and some Timeless Treasure Sketch for the light reflection. Add a white-on-white tonal for the bottle itself, and some Fox Field background, and you’ve got yourself a special, sparkly pink nail polish bottle!
But being a mini, there’s a few sneaky shortcuts I like to take to make the process go even faster. Because who doesn’t like a quick finish? Or annoying quilt police?
1. I don’t always use batting. Nope, sometimes I just use some cheap flannel. It quilts up just the same and may even actually be a bit better as it’s slightly stiffer so it holds its shape better when hanging on the wall in my experience. I could use frankenbatting to use up scraps, but if it’s for hanging on the wall, I want a smooth finish.
2. Straight-joined binding. Quicker, less thinking and uses less fabric! I always do this when using a striped binding for a smoother visual finish, and sometimes even on normal quilts because I can, but definitely always on minis!
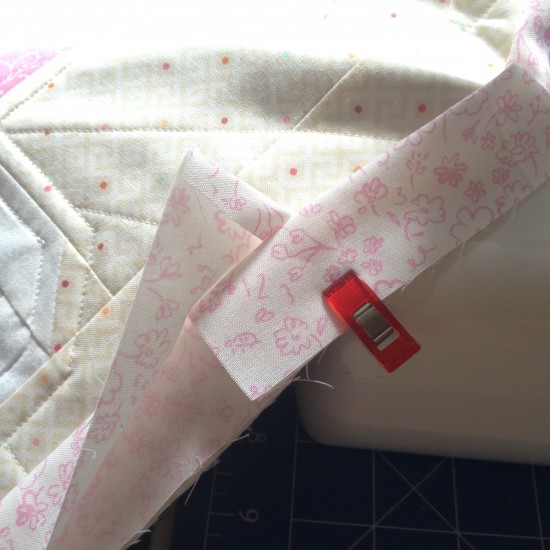
3. Sneak-joined binding. When I’m sewing on the binding, I tuck one end in 1/4″-1/2″ and then slip the tail end in so it overlaps about an inch and sew right on ahead. No fiddly measuring, marking, stop/starting, just keep on sewing. Want to know another secret? There’s a way to do this for the normal angle-joined binding too, and I always use that too!
4. No hanging sleeves. Ain’t nobody got time for that! Just some backing scraps to make triangles for the upper corners and we’re done.
My daughter is thrilled with her special new “picture” for the wall! Especially because it matches her pretty, sparkly nails!
I was compensated with a gift certificate from the Fat Quarter Shop but all opinions are my own.
DeborahGun says
this is so pretty Alyce. I especially love the quilted lines radiating out – definitely gives it a sparkle. I do my binding the same as you too 🙂
Leanne says
So gorgeous – and even more special to treasure one of those “first girly” moments !!
pam says
Super cute!
Vicki says
Thank you so much for the link to this darling pattern! I have bday gifts for 3 special ladies now.
rosa says
Pretty nice and thanks for sharing the link!
Nesta says
Beautiful! This version is perfect for a girl’s bedroom!
The Patchsmith says
My favourite nail polish is sparkly pink. I also use quick corner triangles for hanging mug rugs and mini quilts.
Susan brennand says
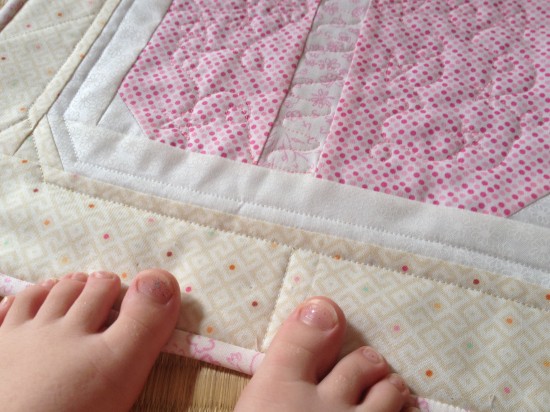
I love the picture of your daughters toes! I have 6 granddaughters so I think your shortcuts are going to come in handy!
Glenda says
This is super cute!! I love the fabrics you used for the polish, and that you embroidered your daughter’s name on the bottle. My two youngest nieces had their first manis/pedis this past weekend and LOVED it, and I immediately thought of them when I saw this blog post =).