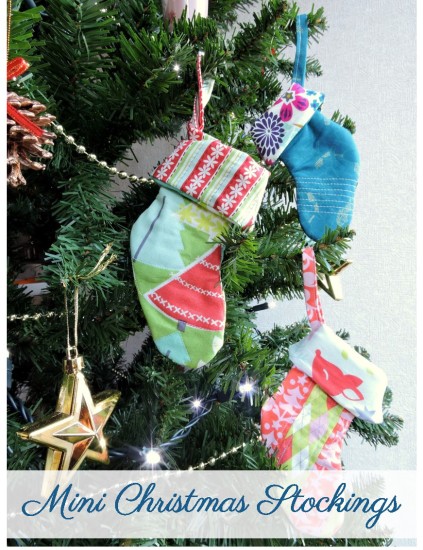
This was the first year that both kids have really gotten into decorating the Christmas tree. It was an absolute joy to see them excitedly pull out each decoration from the box and loudly discuss what it was or who had made it or who was in the picture… before piling them all onto the lower right quadrant of the tree… So we had a little discussion about how we need to space them out so we can see each one easily!
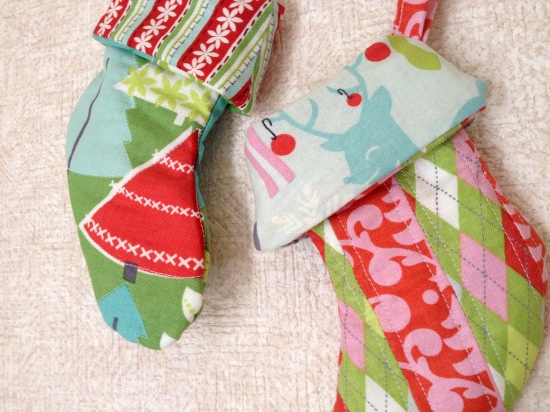
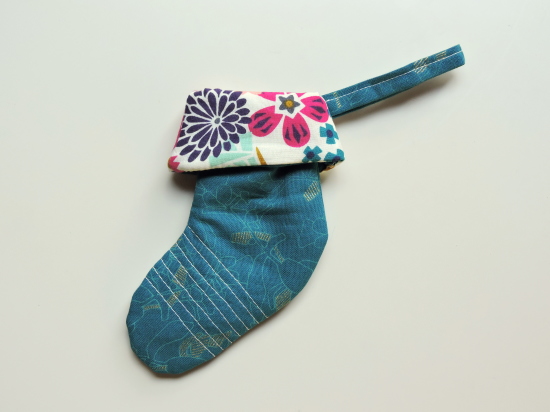
A big hit with my daughter were these two mini Christmas stockings. She of course had to see if they actually fitted on her feet (they don’t) before trying to stuff a bauble inside (which also didn’t fit). These stockings were actually my first published pattern in a magazine – Fat Quarterly Issue 13 – for a Stocking Challenge, and now I wanted to update the pattern and share it with you all – a mini Christmas stockings tutorial!
These Christmas stockings tutorial is so versatile – you can use pieced (scrappy, improv, other) blocks for your front, you can embellish with initials, or even add numbers and make enough for a mini Advent calendar! Plus these mini stockings are the perfect size for stashing your favourite candy cane inside and hanging it up high enough on the tree to keep away from the kids.
All seams are ¼” unless otherwise stated. Download your template here.
What you will need:
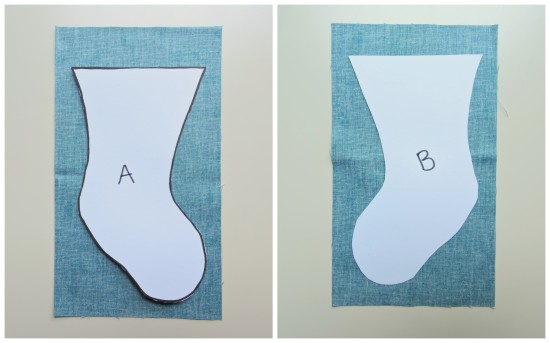
1 – template (print ‘actual size’) – label one side A and the back B
2 – 5”x8” fabric – front
2 – 5”x8” coordinating fabric – lining
2 – 5”x8” flannel (batting will work too, but flannel is thinner and not as bulky)
1 – 1.5”x6” fabric – hook
Step 1. Trace the A template onto the wrong side of one front fabric piece. Flip the template to side B and trace on the wrong side of the remaining front fabric piece. Repeat for the lining.
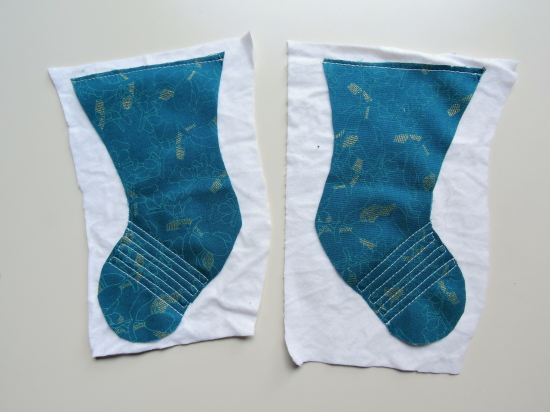
Step 2. Quilt your front pieces to your batting/flannel as desired. You could also add applique or other embellishments at this stage!
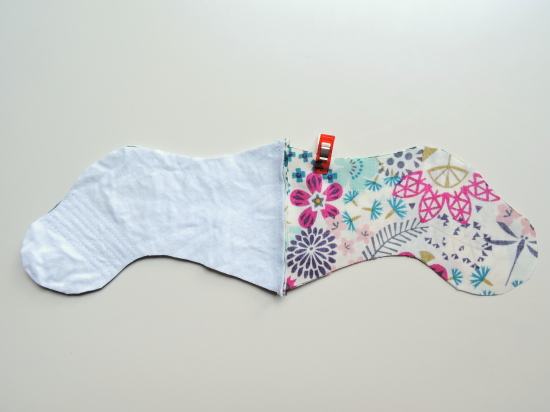
Step 3. Layer the A front and B lining pieces right sides together so that the toes are facing the same direction. Sew along the top edge of the stocking. Repeat for the B front and A lining pieces.
Step 4. Fold your strip of coordinating Christmas fabric in half lengthwise and press. Fold the raw edges in to meet the crease, creating a double-fold tape. Press and sew a 1/8” seam along the open edge. Fold it in half to create a loop and press.
Step 5. Layer the stocking pieces right side together, aligning the middle seams. Insert your loop into the lining approximately 1” from the middle seam on the “back” of the stocking where your heel would sit. The raw, short edge should be aligned with the edge of the lining with the rest of the loop in between the two lining pieces. Pin in place.
Step 6. Sew a scant ¼” seam around the stocking, ensuring to leave approximately 3” along the bottom of the lining open to turn out. Backstitch a couple of times over the loop to keep it secure.
Step 7. Turn out the stocking, press and stitch the opening closed – a scant 1/8” machine stitch will be fine as you won’t see it at all. Push the lining into the stocking and wriggle it about to get it sitting nicely.
Fold down the top of the stocking to reveal the loop and press if needed.
Step 8. Hang it up!


Tiffany says
These are so cute! Your method for making the cuff (and loop) is genius! And so simple!
Lorraine VanWhy says
Love the stockings will definitely mae so n e this v year for Christmas. Thank you