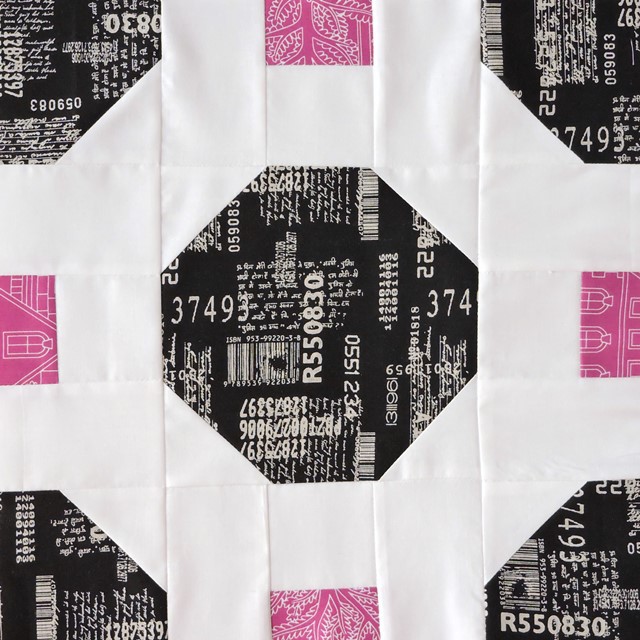
My blog has turned out to be all about the quilt blocks this year, with The Bee Hive tutorials every second week! And that’s awesome, because I love designing, and I love teaching! Today I want to share you the design process repeating quilt blocks by showing you the evolution of October’s block from me – Magic 8 Ball.
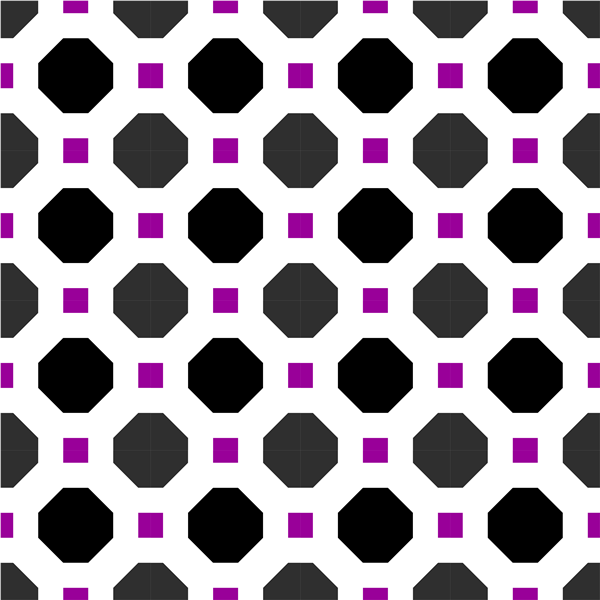
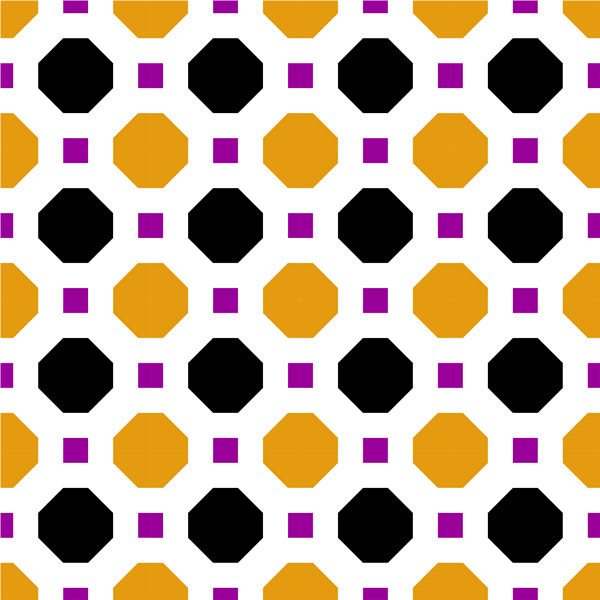
This is Magic 8 Ball – when it repeats, it create a quilt that looks like this, where the corner units create more regular octagons, and the purple rectangles become squares.
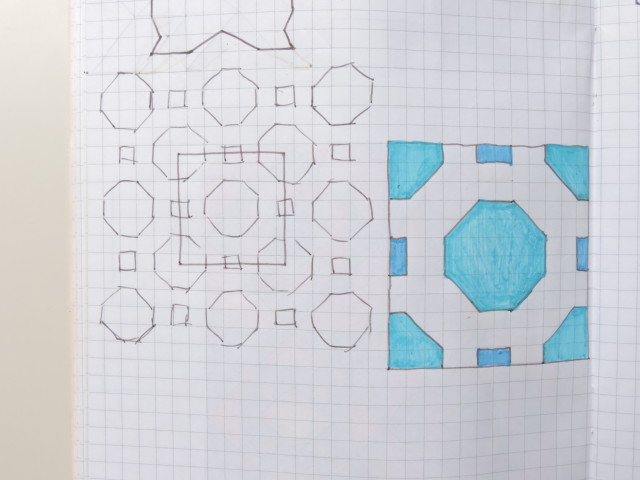
This design was inspired by a paving stone arrangement at the mall near the English school where I teach. The repeating relationship between the octagons and squares fascinated me, and I needed to sketch it out to see how it could become a quilt block.
Once I had done that, I was then able to narrow in on where the repeating design was in the drawing. You can see that I drew a box around the repeating design, and then redrew it out at a 1:1 scale beside the design. I took that sketch and put it into Electric Quilt 7, which allowed me to break it down into the various units I needed to be able to successfully make the block. It also allowed me to see what happened if I changed the colours of the corner units.
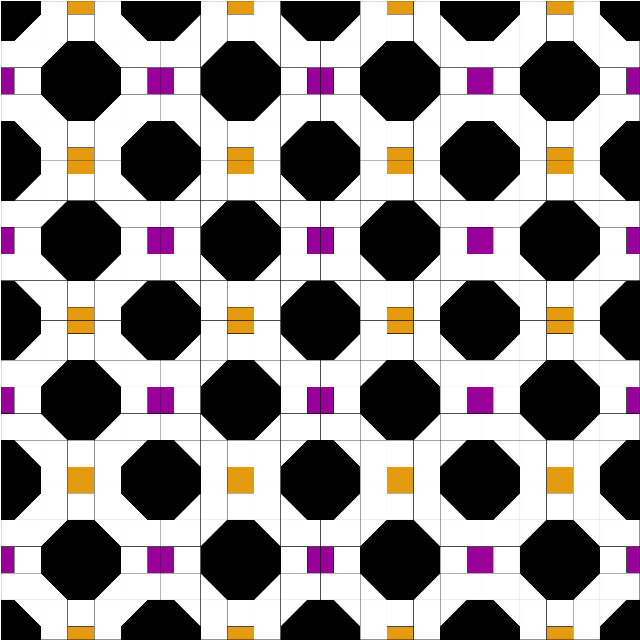
Or if I changed two of the squares on opposite sides of the block.
Two of last week’s expert designers shared the behind the scenes process of their block design for The Bee Hive too! Jane talked about her Mineral block and how your purpose or desire for the outcome of your quilt block will effect the end design of your quilt block, ie. what happens when it’s set on point?
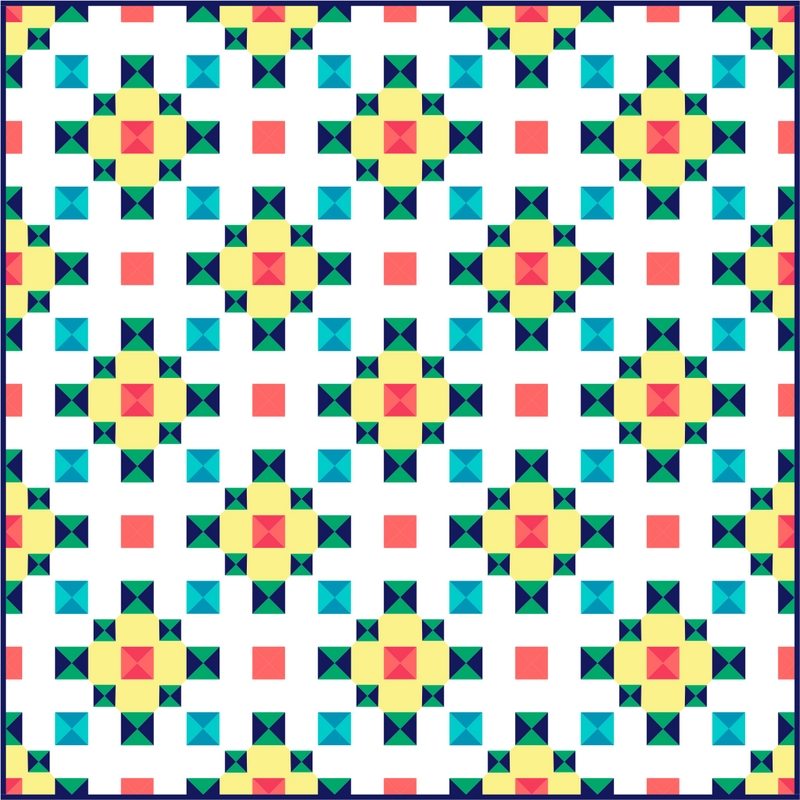
Jennie shared her design process for Quatrefoil, from inspiration to finished block!
And if you want to see quilts made from The Bee Hive quilt block tutorials, then be sure to check out #thebeehivequilts on Instagram! Such good eye candy showing off the power of repeating quilt blocks!
Stephie says
Thanks for the insight into your process – I love hand drawn designs the best, it’s much easier to think that way!