Welcome to week 3 of My DIY Block Design – the month-long blog hop and challenge to get you designing and making your own quilt blocks! Our beginner designers shared , and the expert designers had some great tips and tricks to go along with quite the inside peek into their design processes!
Sketches Winners
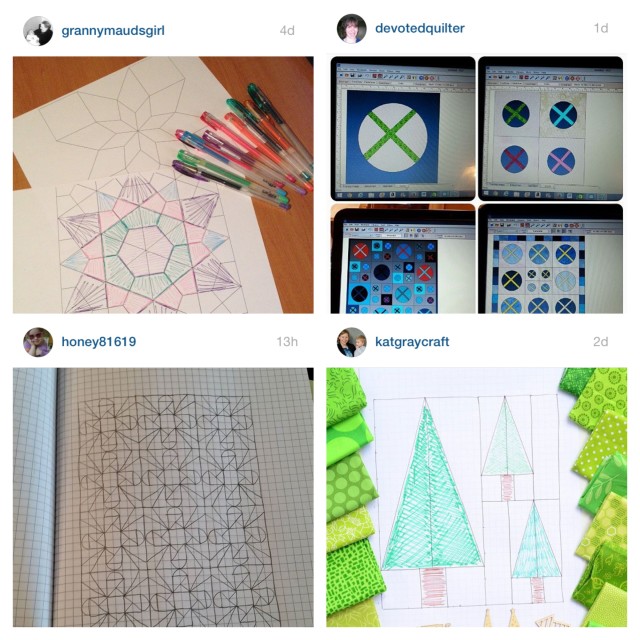
Last week’s sketches winners are:
Congratulations guys, I’ll contact you on Instagram!
Making
This week is all about now acting on those sketches (or something completely different) and start making your very own quilt block designs. Yep, put the pencil down and reach for that rotary cutter, because it’s time to see your blocks come to life!
Let me start off with the fact that you are not in this alone. I am right here to help, that’s what this is all for! For starters, that’s what my book DIY Block Design is for: walking you through each and every step, especially the quilt maths you need for cutting out your fabric. It has all the maths charts for 4 methods of making HSTs, 2 methods of making quarter-square triangles, and 2 methods of making flying geese! It even covers the various things to take into consideration when deciding what size to make your block. Told you it covered everything 😉
You can also leave comments on the blog, or tag me on Instagram (I’m @blossomheartquilts), and even better/faster, join the Blossom Heart Quilts group on Facebook and tag me in there. Ok, so now that you know you’re not alone, let’s talk about the process of making your own quilt block design.
Cutting
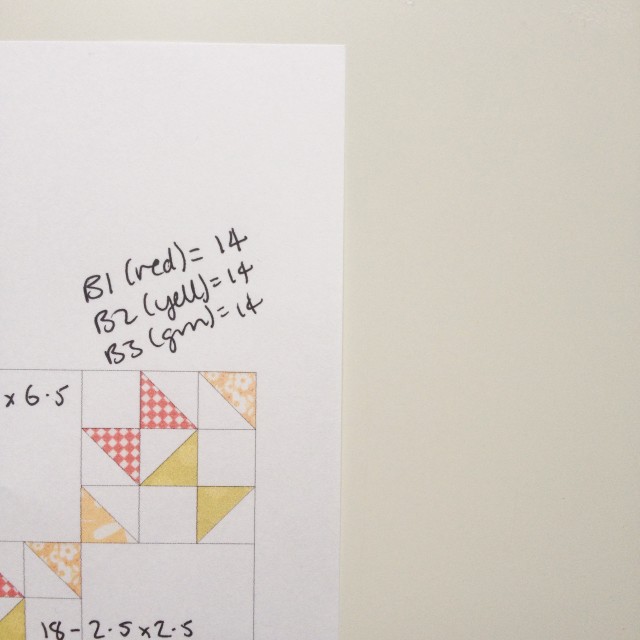
So, you’ve got a sketch on graph paper or a printed out copy from the design on the computer. The next step is to work out what to cut. For instance, here’s a pic I shared on Instagram earlier this week, showing a peek of a design I’m working on right now.
I printed it off from EQ7 and started scribbling notes on it. Here you can see how many of each half-square triangle I need for the second row, and down the bottom you can seem how many small squares I need as well as what size I’m cutting them at. Now, here’s a question for you… If I’m cutting those background squares at 2.5″ x 2.5″, what size will they finish at? And therefore, what size HSTs will I be making?
If you said 2″, ten points to you! Next question – what size is my block finishing at? Another ten points to you if you said 6″!
Patchwork Units
One thing you’ll want to consider is how you’re going to construct the smaller units within your block design – HSTs, flying geese, etc. What method you choose will determine what fabric you need to cut.
For example, in my quilt design above, you can see that I need 14 of each colour of half-square triangle for the second row. I could make seven lots of the traditional HST method, or I could make four of the alternative method, or two of the eight HSTs at a time method. In fact, this quilt is actually going to be made with a jelly roll, so I’ll be using the strip pieced HSTs method which makes even more from the two pieces of fabric, just to really confuse you all, haha!
DON’T FORGET YOUR SEAM ALLOWANCE
For the love of all things quilty, do not forget to include your seam allowance. If your background squares on your sketch would come out at 2″ finished, this means you cut at 2.5″ to allow for the 1/4″ seams you will be sewing all around it. If you cut your fabric at 2″, it will finish at 1.5″ and make your block a lot smaller than you had intended!
Instagram Challenge
To enter this week’s Instagram giveaway, all you need to do is share at a picture on Instagram, sharing your quilt block making progress – fabric pulls, your cutting all done, sewing, etc – and using #myDIYblockdesign. Four winners chosen from the hashtag feed will each win a Honeymoon by Sarah Watts charm pack.
Next Sunday afternoon, at 4pm JST to be precise, I’ll share the winners on Instagram, and then on the blog as well, where I will also share more about the last week’s challenge… although if you’re making this week, you’ll be set – it’s “finishes”!
And remember, you’re not making these blocks alone – you’ve got me on here, or on Instagram – @blossomheartquilts, my Facebook group, and the book, to all help with the maths and getting these blocks made! You CAN do it!


Leanne Parsons says
Thank you so much, Alyce! This design challenge has been a lot of fun, and winning fabric makes it even better!!