Welcome to week 2 of My DIY Block Design – the month-long blog hop and challenge to get you designing and making your own quilt blocks! Our beginner designers certainly rocked their quilt blocks, and the expert designers had some great tips and tricks to go along with the behind the scenes look at their design processes.
Inspiration Winners
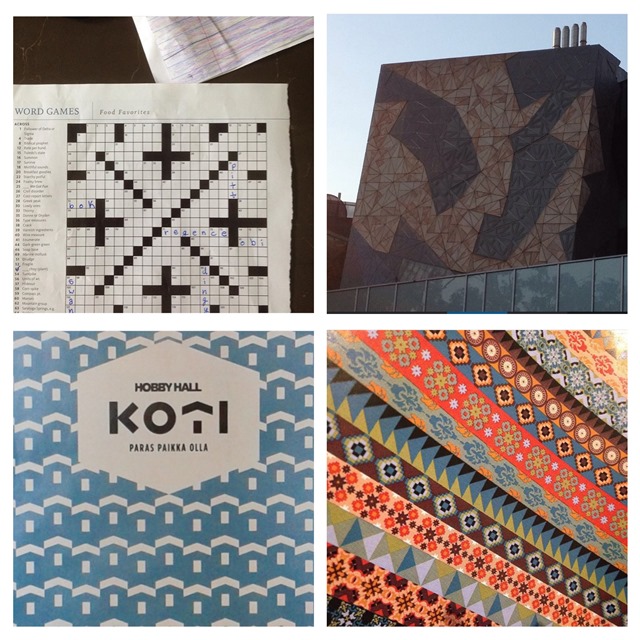
Wow guys, you really brought your A-game on Instagram when it came to spotting quilt designs in the wild! From tiles and walls, to posters and baskets, it was so inspiring to me too. Through the power of random-scrolly-finger, the four winners chosen from #mydiyblockdesign for this week are:
@raincitysews, @geometriquilt, @nerospost, @magdalenadetz
Congratulations, guys! I’ll contact you on Instagram.
Sketches
This week, I want to see you sketching your blocks out!! Whether it’s paper and pencil, or even getting technical and using your computer, this week’s goal is to get designing. In fact, I shared a few different quilt design tools the other week, which may help you work out what option is best for you and your designs.
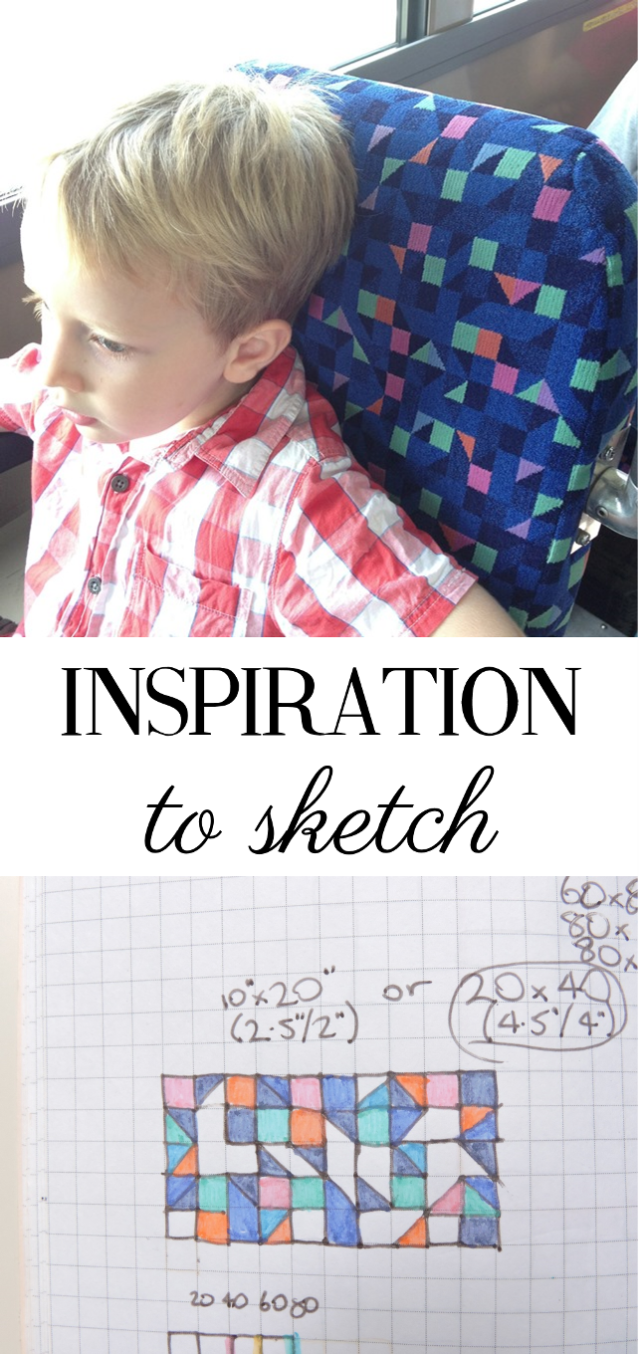
So what is the point of sketching? Well, it’s the part of the process that helps you to visualise your block – the proportions, the shapes, how you can break it down to actually sew it. It’s also important to note here that you do not have to literally interpret your inspiration. Remember the bus seat upholstery photo I shared last week? I sketched it out, but not literally copying every shape in the fabric. Instead, I took the colours and the randomly placed half-square triangles and came up with a rectangular block. You’ll see that I noted two size options as a part of my thinking – if I made 2″ finished HSTs, the block would be 10″ x 20″, and if I made them 4″ finished, it’d be 20″ x 40″… Depends on the purpose of your block!
Let me share more about my quilt designing and the process I go through, and hopefully that will give you a better idea of what I’m talking about. Note – all pictures have been uploaded at a large size so that you can zoom into it to see details better if you like.
Proportions
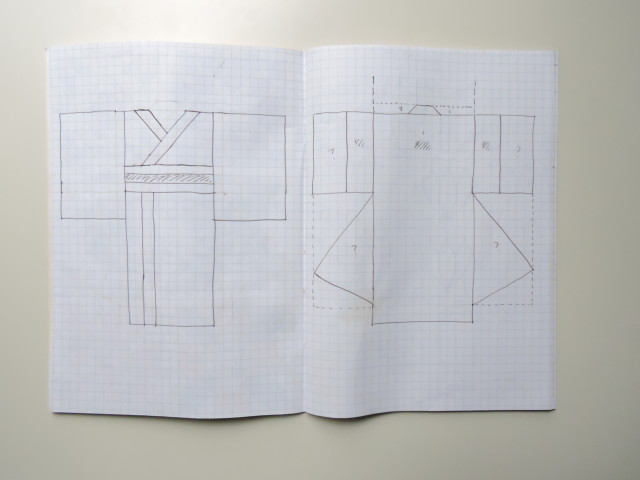
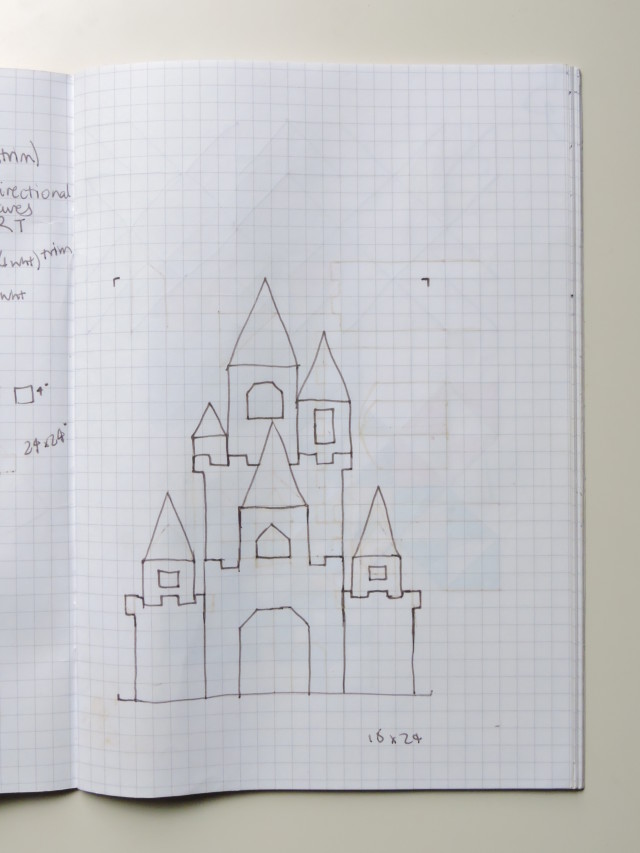
Here is a design I sketched out a long time ago, at the start of designing my paper pieced kimono pattern.
If you look carefully, you can see erased lines – I used a Frixion pen – as I tried to get the shape and proportions right. I then used this to transfer the design into Electric Quilt 7 to draw up the paper piecing pattern. I did the same process with my Fairy Tale Castle quilt pattern, where I sketched it out first to get an idea of the proportions and shapes I wanted to use, before transferring it to Electric Quilt 7.
Colours and Construction
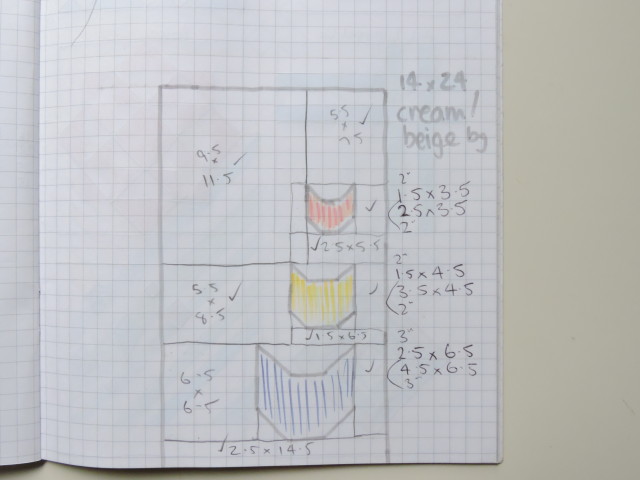
I’m the kind of person who needs to visualise something and work it out on paper to fully grasp it in my head. Which means that once a design in my sketchbook is going to come to life, it turns into something like this… Full of scribbles and notes on what sizes things are, and coloured in to help me choose what colours to use in the block.
I cannot recommend highly enough how incredibly useful it is to use graph paper for quilt design. Draw your designs at scale, so that one grid square = one inch. Or two, or three, or four! For my cat quilt block, it was a 1:1 scale. I go through this discussion in a lot more detail in DIY Block Design if you want to find out more about this process!
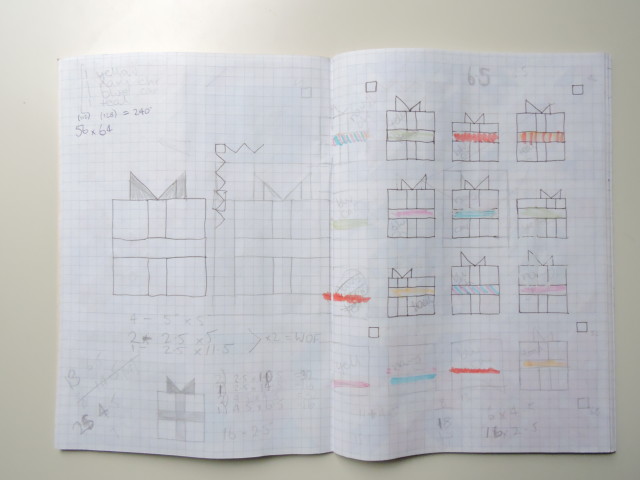
Another good example is for my Wrapping Paper quilt, that is sketched, roughly coloured, and plenty of math notes!
So many notes! Now, whether you decide to tackle the maths now or next week when it comes time to making, that’s up to you. I will be talking more about that side of things next week, to break it up into more manageable chunks (and because this post is long enough!).
The Weekly Challenge
To enter this week’s Instagram giveaway, all you need to do is share at a picture on Instagram, sharing your quilt block sketches and designs (whatever format that’s in) and using #myDIYblockdesign. Four winners chosen from the hashtag feed will each win a charm pack of their choice!
Yes, that’s right, the Fat Quarter Shop is offering four of you to pick your own charm pack for your prize! Next Sunday afternoon, at 4pm JST to be precise, I’ll share the winners on Instagram, and then on the blog as well, where I will also share more about the third week’s challenge.
Go get sketching, and I’ll see you on Instagram! I’m @blossomheartquilts, so be sure to follow me to see the sketches I’m sharing, and feel free to tag me so I can be sure to catch your’s too.

Caroline says
wow, thank you so much, random-scrolly-finger! i’m so excited. and even more fired up to continue on with this week’s challenge!
Teje says
Thank you Alyce! I had to look twice to realize that it is my house-photo there! This idea could have been burried under lots of idea-pages, but now I’m enthusiastic to continue the design – thanks to you!
Thank you for sharing your inspirations and knowledge! x Teje
allison says
Wow – very interesting!