At QuiltCon last year, I took a ton of lectures and three 3-hour workshops – embroidery, applique, and learning Yoshiko Jinzenji’s silhouette technique. A couple of friends did fabric printing classes, and I was rather envious! I decided that when I next went to QuiltCon, I was going to do less lectures so I could socialise more, and do a fabric printing class. Thankfully when I registered (late) for QuiltCon 2016, there was still space in Valori Wells’ block printing class! And I only went to one lecture (mostly because a lot of them were repeat topics from last year, though!). And I was not disappointed with my class.
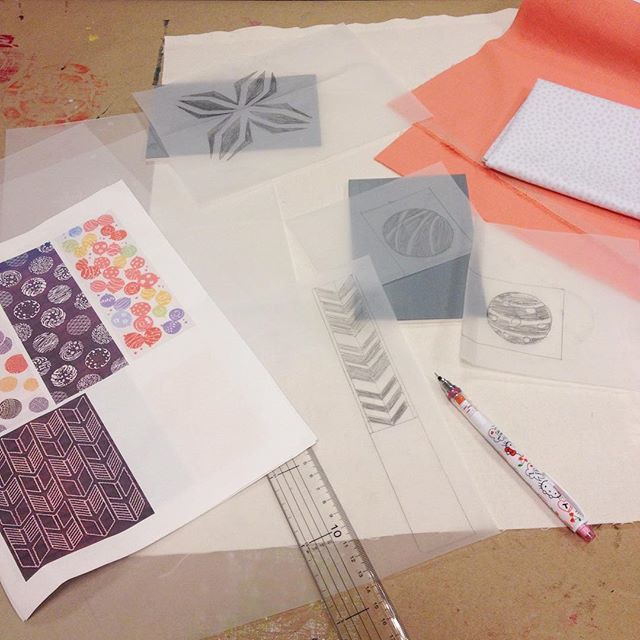
It was a 6-hour class on the final day of QuiltCon. We were all a little tired but it was a perfect finale to the conference – spend the day in a (relatively) quiet room, creating and making! The day was structured really well, with Valori sharing about each step of the process before giving us time to do it. We started with 45 minutes to draw out designs, sketching on tracing paper ready to transfer to the blocks.
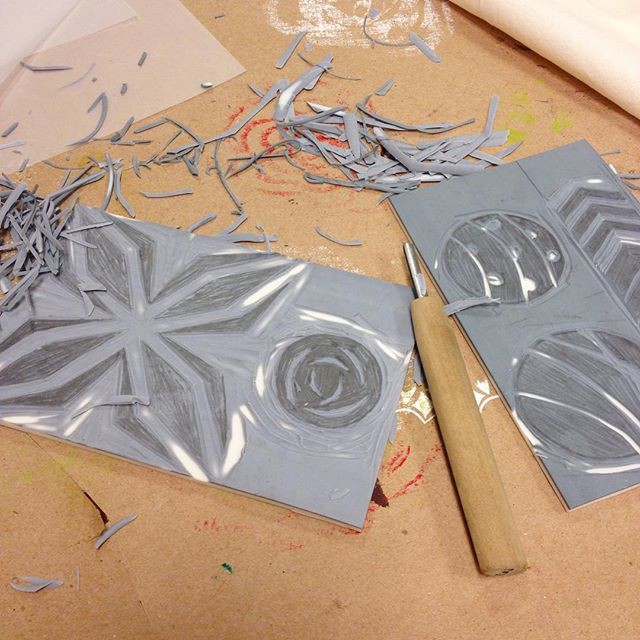
And then it was time to carve! Oh boy, this step is so much fun – there’s something rather cathartic about peeling away the block, seeing your design come to life.
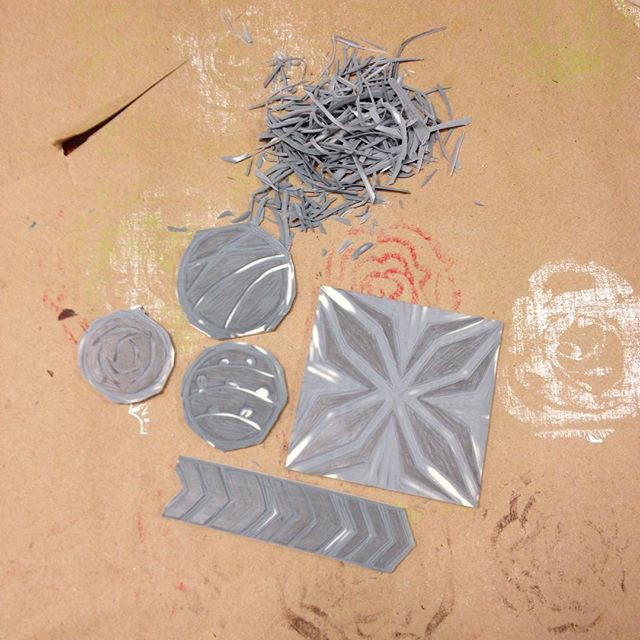
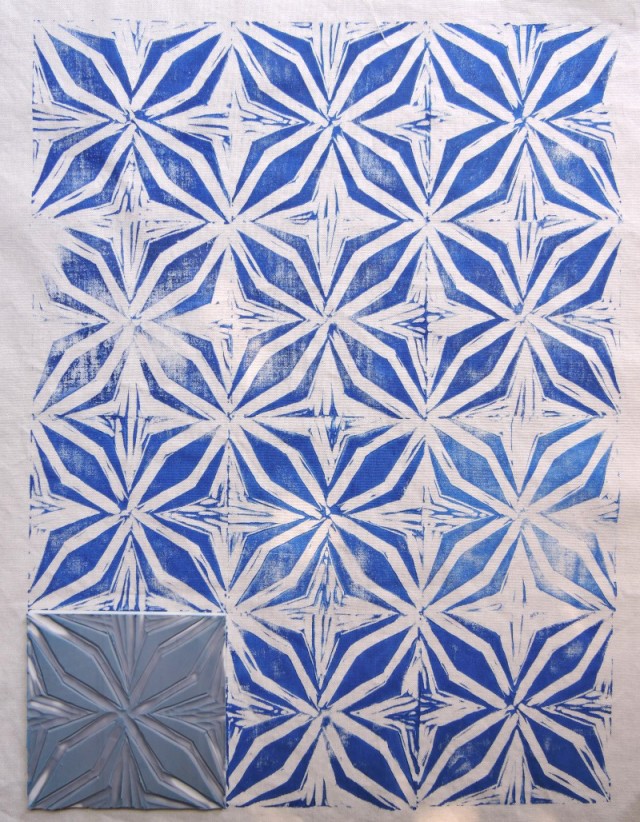
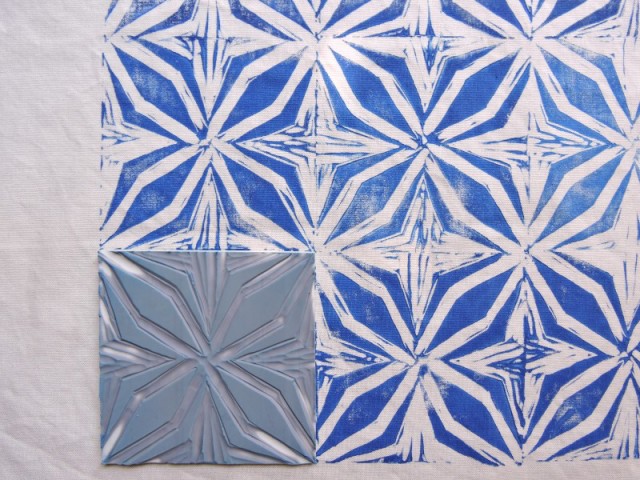
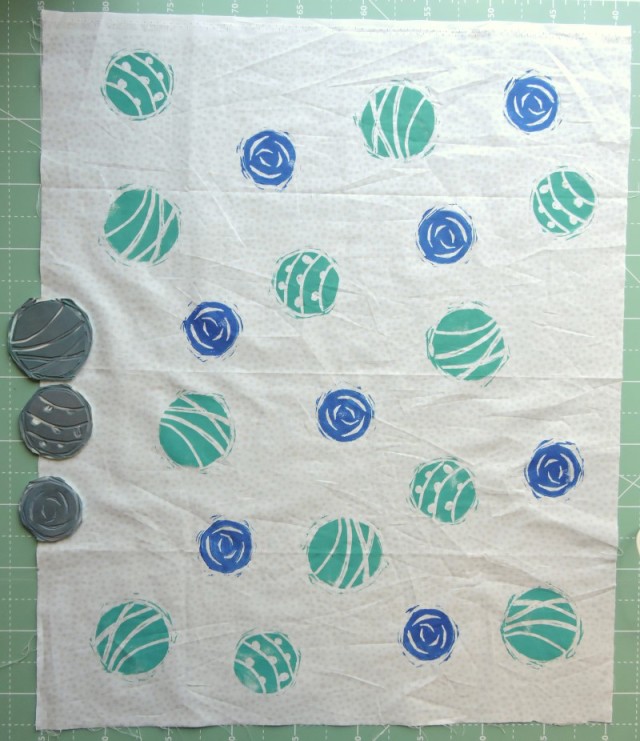
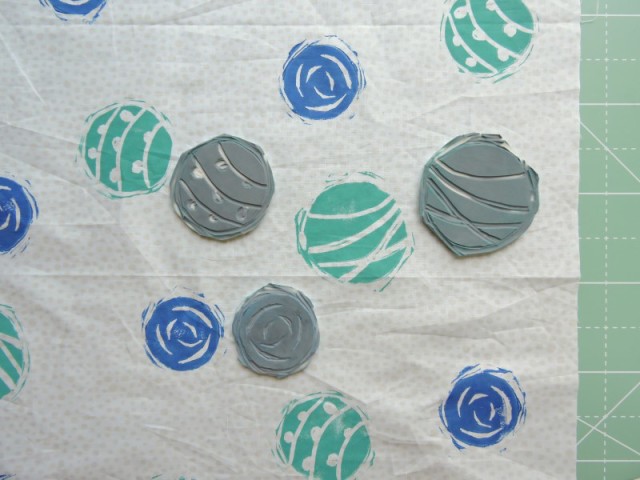
We had two 4″ x 6″ blocks to carve, and you can cut them down further, so I went for a square shape to create a large repeat, 3 different-sized circles to play with a random layout, and the strip to create some stripes.
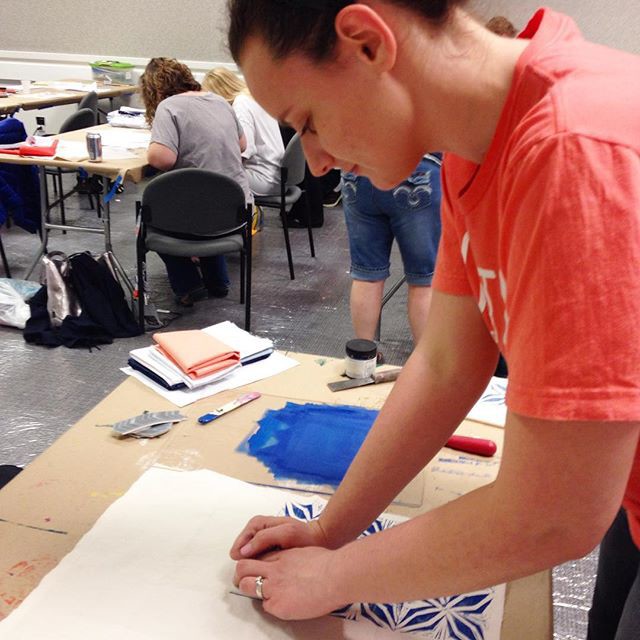
After lunch, it was time to get inking. Valori had already pre-mixed the colours for us to use, so we were able to just get straight into it. Get a good coverage of ink onto the brayer (the roller), cover the block with ink, and press. Repeat. I got my tablemate to get an in-action shot!
Block printing is so satisfying! Seeing your designs come to life on the block, seeing the fabric design appear after each print of the block. All the designs were inspired by Japanese patterns.
To create as accurate a repeat as I could, I first drew it out on graph paper, and then traced it onto the tracing paper to transfer to the block. I started printing it on this linen-type fabric first to test it out, but I liked the effect, so I kept going.
The second print was inspired by the designs placed on balloons here in Japan. These balloons are then filled with a bit of water and a long rubber band attached to the closed neck. They’re called “yoyo” and are sold at summer festivals for children to play with, just like a yoyo!
Valori provided us with some fabric to use, one of which was a tone on tone dot print. I swapped the pink one I got for this neutral, which provided the perfect background for my own “dots”!
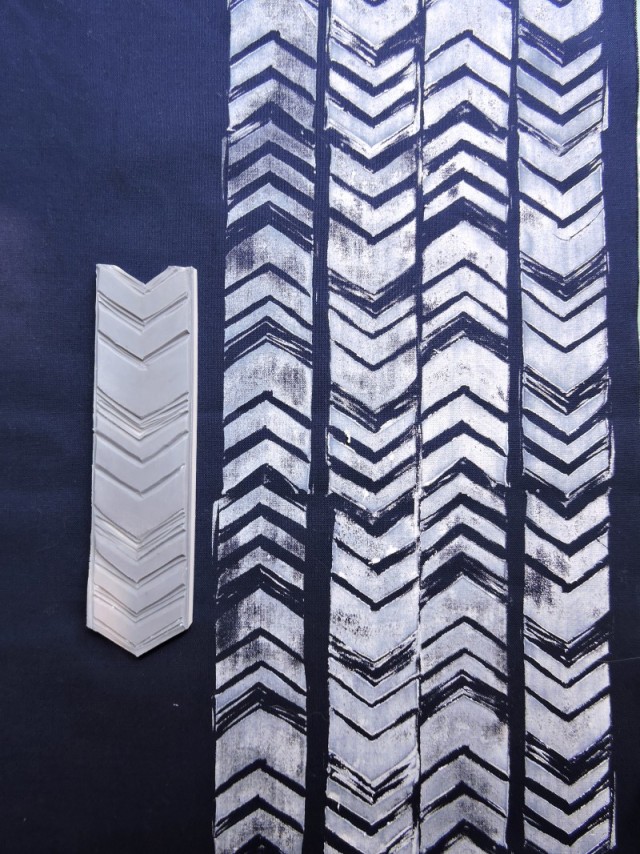
The last is the stripe, inspired by a chevron-like sashiko pattern (you can see it in the very first photo on my inspiration papers). I swapped the direction of the block for each row. I ran out of energy to do any more than 4 rows. Block printing requires a surprising amount of energy! Vigorously rolling the ink out, keeping it moving and spreading it out, quickly pressing and re-inking, giving the tools and blocks a good scrubbing in between… And all on the final day of QuiltCon!
I was a little disappointed at how quickly the white ink dried, making it a bit more tacky and clumpy, but hopefully once I’ve ironed and washed it, it’ll clean up a little bit more. But either way, I’m excited to come up with a project to use it in! All of them, in fact!
Helen Summers says
Oh, this looks great. Great job! And it looked like you were really having fun.
Cassandra says
Oh how fun! Now I want to try block printing on fabric. Your designs are beautiful and so perfect for this technique.
Jennie says
I love all of your designs. It does take a lot of energy to do the printing. I carve the Lino blocks and print on paper. Once I do a run of 30 or 40 I’m done physically. I’ve not done it on fabric though. I see you print upside down. On paper you place the paper over the Lino block instead of using the block as a stamp. What brand of fabric paint did you use, I’d love to try this. It might be fun to use one of my 8×10 blocks on fabric to use on the front of a bag.
Alyce says
Thank you! Glad to know it’s not just me, haha! Yes, this method is different from lino printing – I did some of that in uni and loved that too! Valori premixed the colours for us, using a mix of Speedball and…. something else. She mixed screen printing and block printing inks to get a good consistency. The white I used was just the block printing ink, and I could tell the difference!
Laura says
Really lovely (and I know I’ve said this before on your blog but I LOVE the circles so so much)! I’m also curious if you know what fabric paint you used.
Teje says
Hi Alyce! Wow, these look so beautiful! I can imagine how much fun you had creating them! First one is my favourite – you made perfect shape to use it or alone or to repeat and fill all the fabric. Thank you for showing. x Teje
Afton says
This looks like such a fun class, and your block designs are really great!