Welcome back to the Geode quilt along! It’s week 2 of the QAL and first up, I need to announce the winner of the Keera Job set of Aurifil threads… Congratulations, @mlspaeth! I’ll DM you on Instagram to get in touch.
There’s still plenty of time to grab the pattern – from my store and also on Craftsy – and get started, as there’s even an entry option for making a Geode cushion. Be sure to check out the Geode QAL announcement post for all the details about the dates and prizes. A quick recap of the dates and topics I’m covering along the way (although you’re more than welcome to work ahead at your own pace!):
October 2 – Choosing Fabric
October 9 – Cutting and Test Blocks
October 16 – Piecing Blocks
October 23 – Piecing Quilt Tops
October 30 – Final Quilts
November 28 – Winner Winner!
Alright folks, it’s time to get cutting and sewing! Week 2 is all about getting everything ready to sew your Geode quilt. So this means fabric placement and cutting, and perhaps a test block, which we’ll talk about in a minute.
Errata – if you are making the baby size, please note the pattern correction in regards to the background fabric cutting for piece G.
Fabric Placement
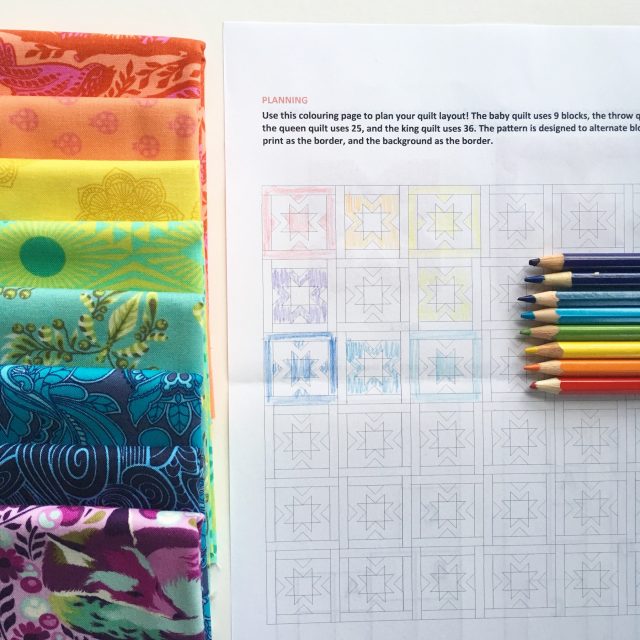
If you’re anything like me, the longest part of making a new quilt is choosing fabric, and then where to put it. This is why the Geode quilt pattern includes a black and white outline to colour and play around with where you want to your fabric placement! You can print/photocopy it as much as you like to okay around with different options. The important part to remember is that the blocks alternate in whether the background or the print feature as both the star and border.
This is what I started playing around with when the idea first came to mind. The fabrics have changed a little since, because I realised from this playing that I needed something more pinky in the mix and not so much green/blue.
Cutting
With a pattern like Geode, where the blocks are repeated multiple times, it’s the perfect time to cut everything ahead of time. But with one caveat – wait until you’ve made a test block if need be before cutting everything (more on that next)!
As Geode is a fat quarter friendly pattern, it was important to show what and how to cut from a fat quarter. You can find the diagram for cutting your fat quarters on page 3, and remember that this method doesn’t allow for fussy cutting pieces E and D to be directional if you are wanting your borders to be directional. As for what order to cut them in, start with the border strips first, and then work on the other pieces.
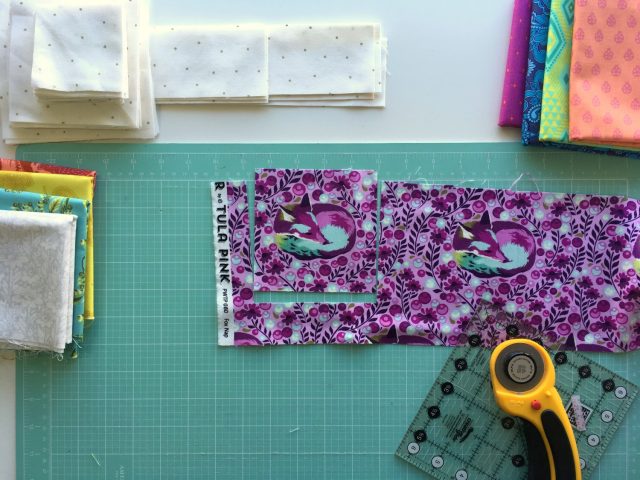
And don’t forget that you can include some fussy cutting! The centre of the star is a great place to fussy cut a feature from your fabric like this little fox I carefully cut out. The rest of the block will feature bits and pieces of foxes, but there’ll be at least this one kept whole!
Making Test Quilt Blocks
Geode uses the no-waste flying geese method, which may be quite new to you. Either way, I highly recommend you make a one test block before going ahead and cutting the rest of your fabric to make sure that you 1) understand the method, and 2) can test your seams. You may find that you will need your pieces A/F and C/H to be a little bigger (try a 1/4″ bigger) to get the accuracy you need. Grab some scraps and cut them to the size listed in the pattern, and try this method out to see how you go.
It’s certainly not a method I was used to sewing, and I found that I needed my seams to be a more on the scant side than the full 1/4″. Scant seams means that you are sewing just a little under the 1/4″ mark so that when you press the fabric open, it takes into account the thickness of your thread and the little fabric folded back on itself in the seam.
What Weight Thread To Use
It’s because of this seam accuracy that it does matter what thread you use. You want a thread that is strong but fine so that it doesn’t take up as much space in your seam allowances. When it comes to threads, you want to look at what weight it is – the weight is the thickness of the thread, where the higher the number, the thinner the thread. It’s generally recommended to machine piece with 50w thread, which is what I use in a cone of Aurifil 2021.
Week 2 Prize
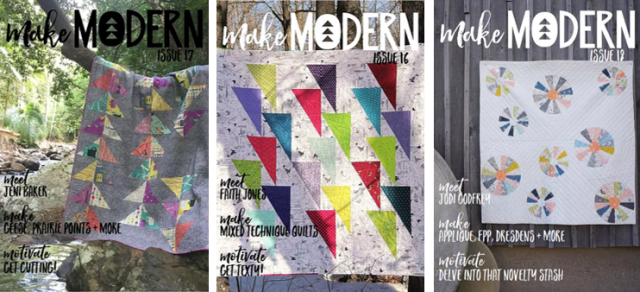
This week we have Make Modern on board. They have kindly offered TWO prizes! Two QALers will win a 6-month subscription each to Make Modern magazine. That’s three jam-packed issues of patterns, articles, inspiration, and more!
To enter, simply share your progress on Instagram using #geodequilt and you could win! I will post an Instagram post each Monday morning at 7:30 (AEST) which will announce the previous week’s winner, and that post marks the start of each new week’s prize.
Side note – by the way, did you know that if you tag me IN the picture – I’m @blossomheartquilts – that makes it much easier for me to find and comment on your posts? Tagging me in the caption is awesome and I love that too, but the way notifications work means that it can get lost in amongst the comment and like notifications. And I hate to miss out on your work!
Ts&Cs: Open internationally, all photos posted using hashtag between now and 7:30am AEST 16/10/17 will be entered, winner selected at random and announced on Instagram.
This post contains affiliate links. It means that if you make a purchase via one of my links, I may make a small commission at no extra cost to you. Thanks for your support!


Chelsea says
If I’m using fat quarters, I need to use one fat quarter to make both Block 1 & Block 2, correct? So there would be a total of eight “A” squares cut from one fat quarter.
Thanks for the clarification! I’m about to start chopping fabric!
Alyce says
Nope, you need one fat quarter per block – one for Block 1 and one for Block 2.