Binding. The finishing touch on a quilt, not only in the literal sense of being the final step to finishing our quilts by encasing all the raw edges neatly and safely, but also in an aesthetic sense as it’s the final design choice to make. Do you go for a contrasting binding, creating a frame for the quilt? Or do you choose something to blend in and practically disappear, so as to allow the eye to only see the quilt top design? I’ll leave that in your capable hands, and instead address the math of working out how much binding to make, before showing you how to attach it to your quilt, and finish it by machine. Including my cheat method of joining your binding strips together when sewing it to the quilt! Which is definitely not one for quilt shows or the quilt police, but neatly gets the job done.
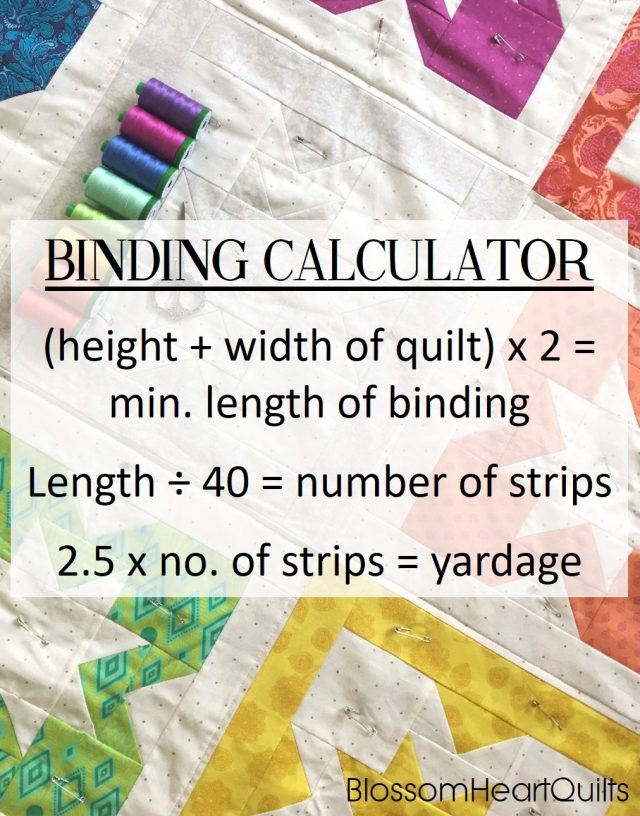
How to calculate binding length
All good quilting patterns will include the fabric requirements and instructions for cutting binding. But there are plenty of times when you need to work it out for other projects.
Note: The standard size to cut binding strips is 2.5”, so that’s the size we’re going to use. If you’re wanting to cut your binding skinnier or wider, just replace the 2.5” with your desired width.
First, you need to work out the perimeter of your quilt, that is, the distance around your quilt. Measure the width and the height of your quilt, add those numbers together and multiply by 2. For example: (65 + 80 = 145) x 2 = 290. This total is the perimeter of your quilt aka the minimum length of binding you need to make. In this case, we need 290” of binding.
Unless you have 290” of continuous fabric, you’re going to need to piece it together from some yardage. Most fabric is about 44” wide, but once you trim off the selvedges, you’re left with about 42” of workable yardage. To be safe, many people round it to 40” when calculating binding, as you also then have to join the strips, plus mitre the corners when sewing it down, so it’s better to be safe than sorry! So we have 40” of fabric to work with.
The next step is to work out how many strips we need to cut to make at least 290” of fabric. To do so, divide the perimeter of your quilt by 40, and round up to the nearest whole number. For this quilt, that’s 290 ÷ 40 = 7.25. This means, we need to cut 7.25 strips of fabric for the binding, which you just call 8.
The final step is to multiply the number of strips by the width of the strips to work out how much yardage you need. In this case, it’s 8 x 2.5 = 20. So we’d need 20” of fabric to make the binding for this quilt.
How to sew binding to a quilt
What you need
- Binding fabric
- Long quilting ruler – 24″ long is easiest
- Erasable fabric marker
- Iron
- Rotary cutter, mat
- Quilting clips – one per 4-5″ length of binding
- Thread that matches the binding
- Optional – a walking foot makes machine binding much easier, but it’s perfectly achievable with a normal sewing machine foot
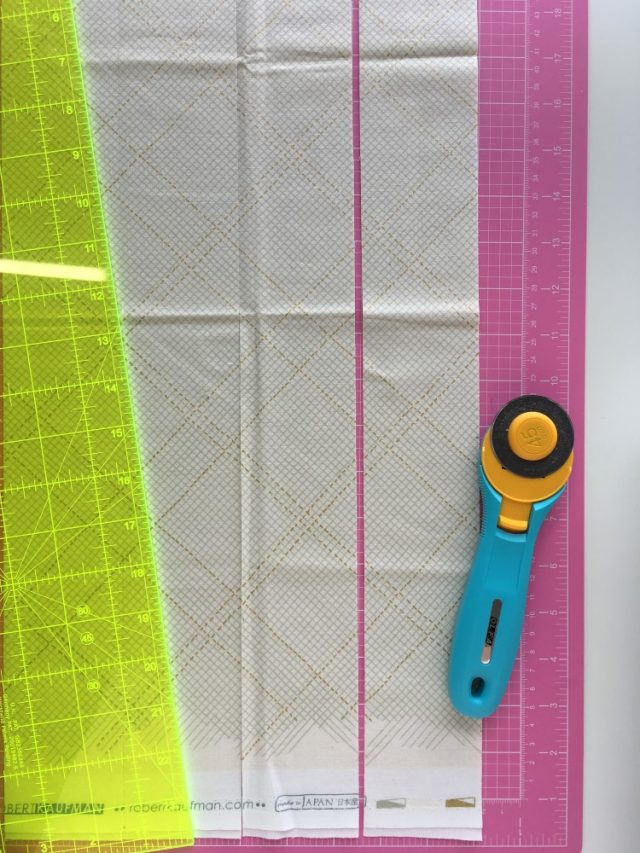
Fold your fabric wrong-sides together so that the selvedges meet. Cut 2.5″ wide strips from the width of the fabric, as many as you need.
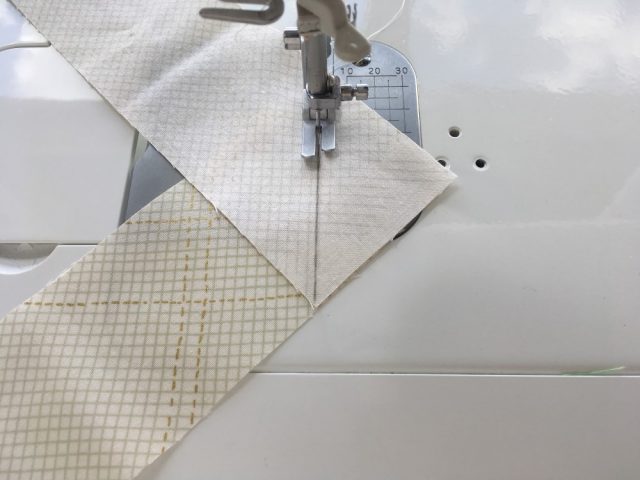
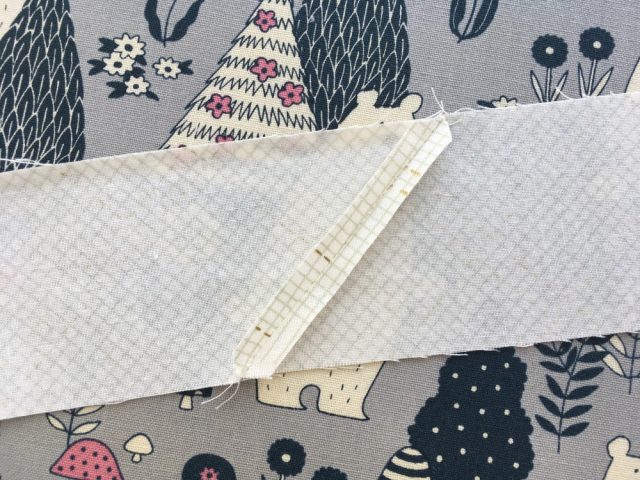
To join the strips, it’s best practice to sew a 45 degree angle seam. This reduces the amount of seam bulk when attaching the binding to the quilt, as it spreads it along the binding instead. Place the ends of two strips right-sides together, perpendicular to each other. Mark a line, diagonally across the corner, and sew along the line.
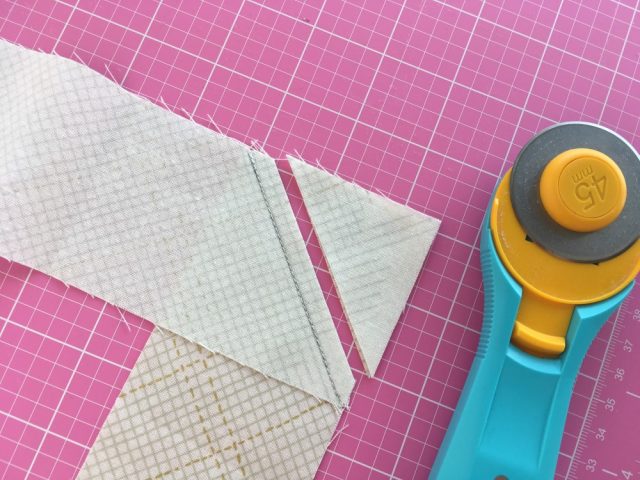
Repeat the process for the end of each strip to connect them all – you can easily chain piece this step! Trim off the corners, 1/4″ from the seam line.
Fold the binding in half wrong-sides together and press – don’t iron back and forth as it will stretch the fabric.
When you get to a seam, press it open before pressing the binding in half.
Roll it into a snail as you go, to keep the binding neat.
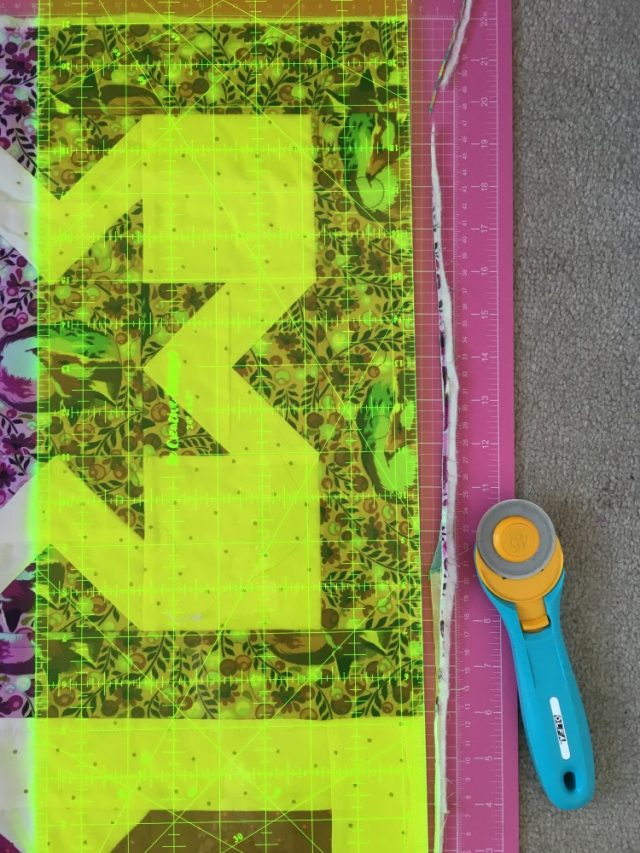
If you haven’t already, trim your quilt to make it square and to cut off any excess batting and backing. I align the lines on my ruler with the seam lines and try to keep it even all the way around. Make sure there is no batting showing more than 1/4″ from the edge of the quilt though, otherwise you will have a hole where your binding meets the quilt top.
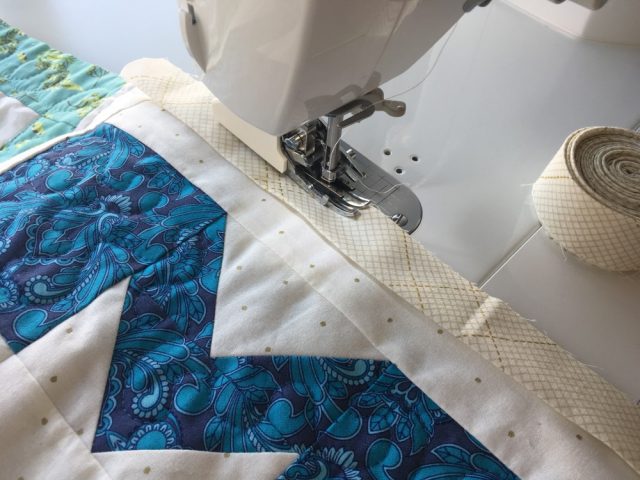
Place the binding on your quilt top, aligning the raw edges of the binding with the edge of the quilt. Start in the middle of one side of your quilt. Leave about 6″ of binding loose and sew a 1/4″ in from the edge along the strip.
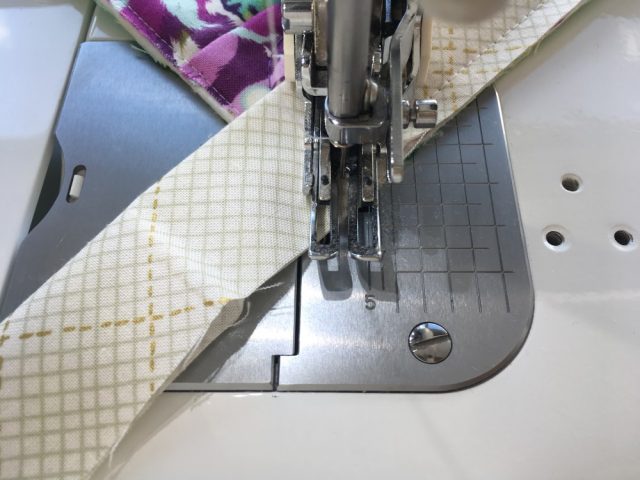
Sew to the first corner, but stop a 1/4″ from the edge. Pivot the quilt and sew diagonally off the edge. This will help you successfully mitre your binding when you finish the binding.
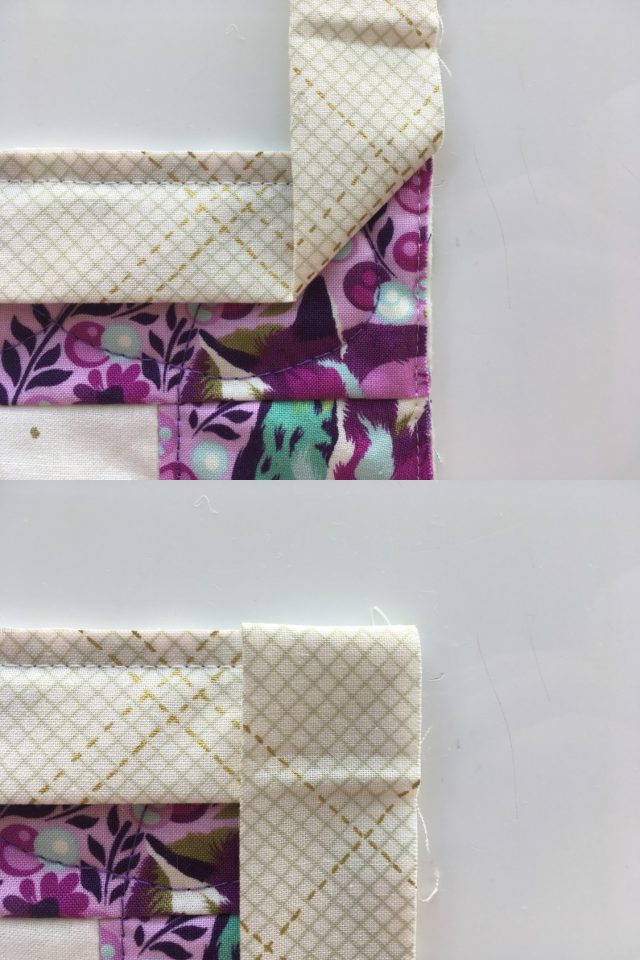
Remove the quilt from under the needle, and fold the binding directly up, creating a 45 degree fold. Then keeping that 45 degree fold underneath, fold the binding strip back on top of itself to align the raw edge with the next side of the quilt top.
Place your needle down a 1/4″ in from each edge near the corner, and sew along the next side of the quilt. Continue along each side of the quilt until you return to near where you first started. Stop when you are approximately 10″ from where you first started sewing.
Cheat joining your binding tails
The next step in binding your quilt, regardless of how you plan on finishing it off, is to join the two ends of the binding strip. There are many tutorials out there how to do it “officially”, whether that’s with a straight seam like this tutorial on Quilty Love, or a diagonal seam like this tutorial on Red Pepper Quilts. These are how you should do it if your quilt is going to be in a quilt show, or if you like to do things the Proper Way.
But if you’re like me, and get frustrated at these methods when you cut things too short, or the seams are lumpy and wavy, and your quilt is made to be used and loved, then I have a cheat method that neatly and easily gets the job done. And looks like you did it properly!
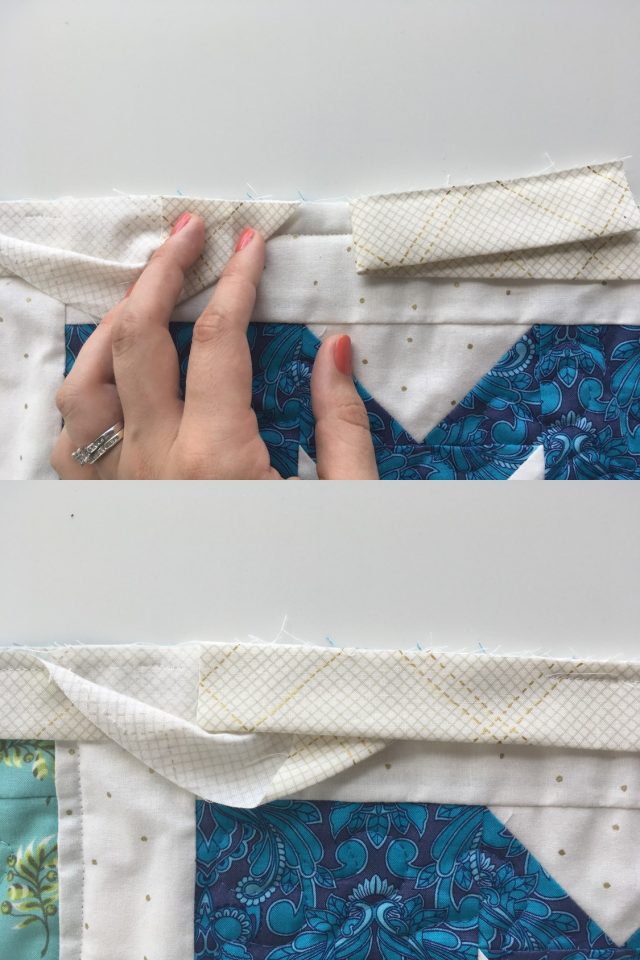
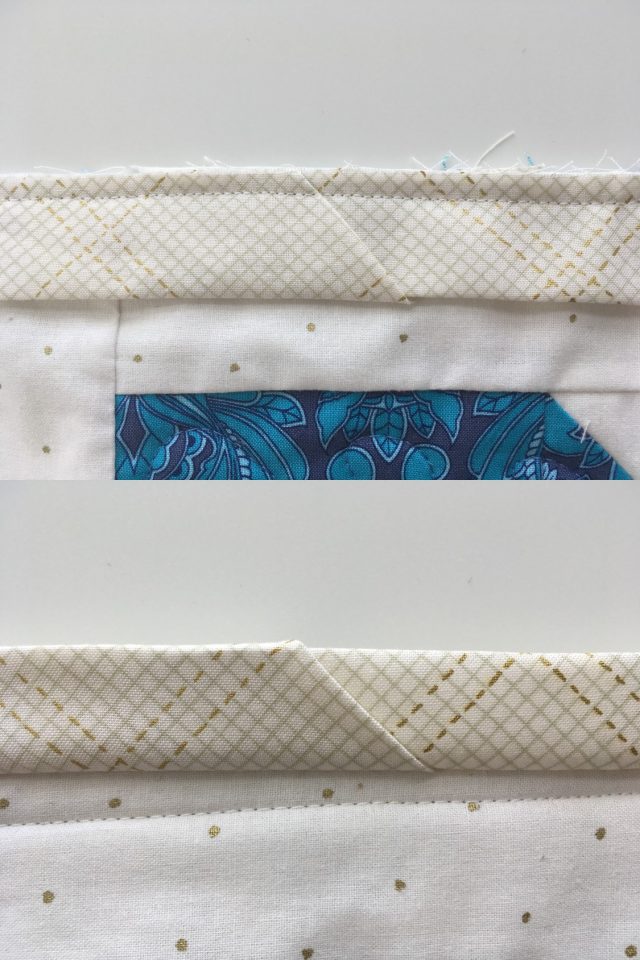
First step is to trim your binding tails so that they overlap by about 4″. Next, open the binding strip and fold the straight edge down to align with the raw edge of the quilt. Finger press firmly. Place the other binding tail snugly inside the strip.
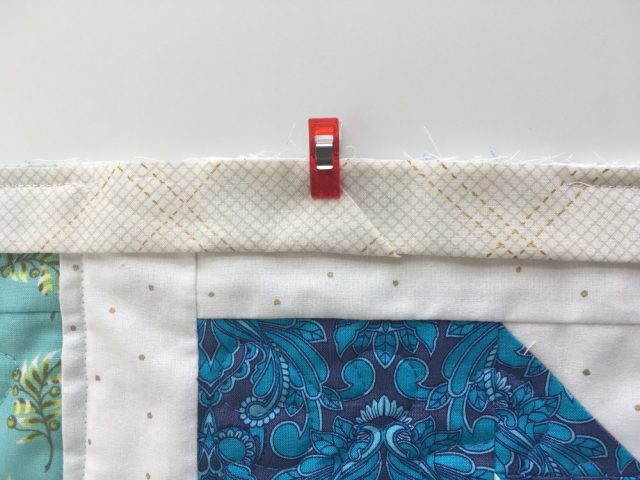
Fold the strip in half again and clip the strips in place.
Sew along the binding, from where you stopped to where you first started.
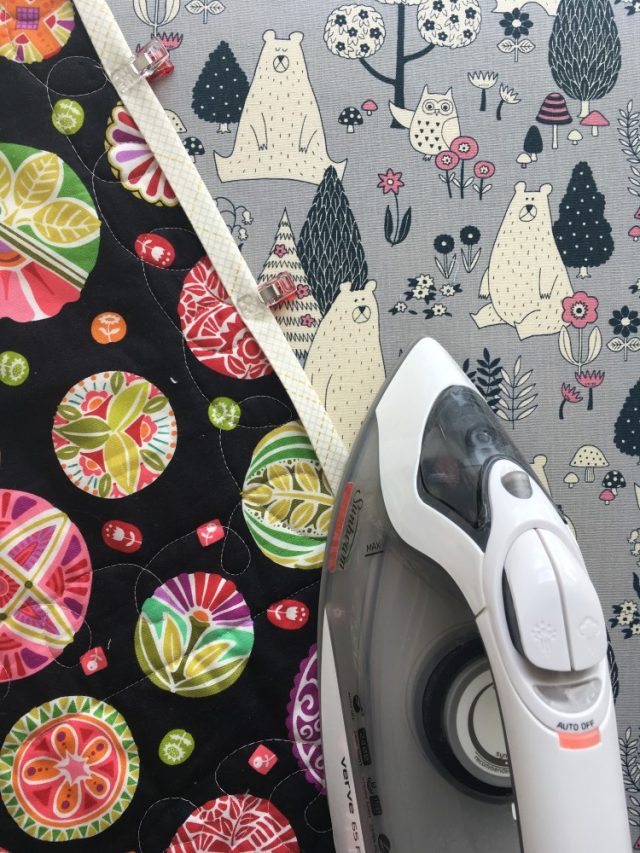
Now that your binding is sewn to your quilt top, it’s time to get out the iron. The key to successfully and neatly machine binding a quilt is this step – fold back the binding from the quilt front and press it flat.
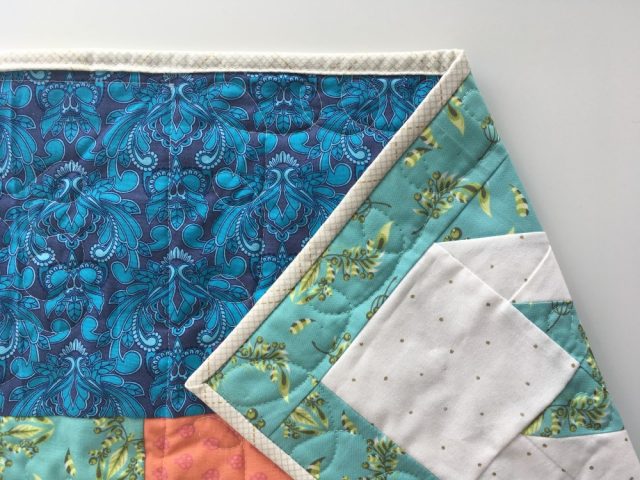
Then flip the quilt over and press the binding flat to the back of the quilt, clipping or pinning it in place as you go. The aim is to make sure that the folded edge of the binding on the back of the quilt well and truly covers the seam line from attaching it to the front.
A note on using quilting clips – one side is flat, and the other side is curved. For easier sewing, place the flat side on the back of the quilt so that the flat edge slides more smoothly along your machine bed.
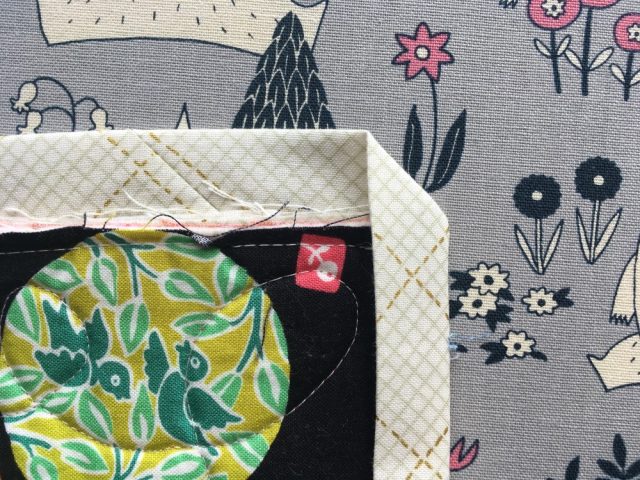
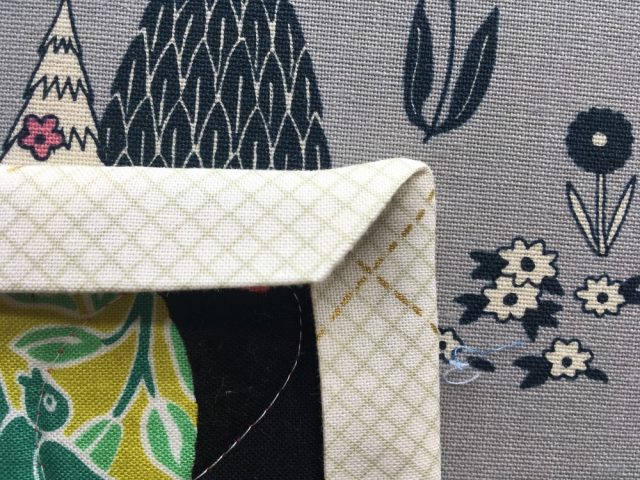
When you get to a corner, press one side straight, creating a 45 degree angle on the corner.
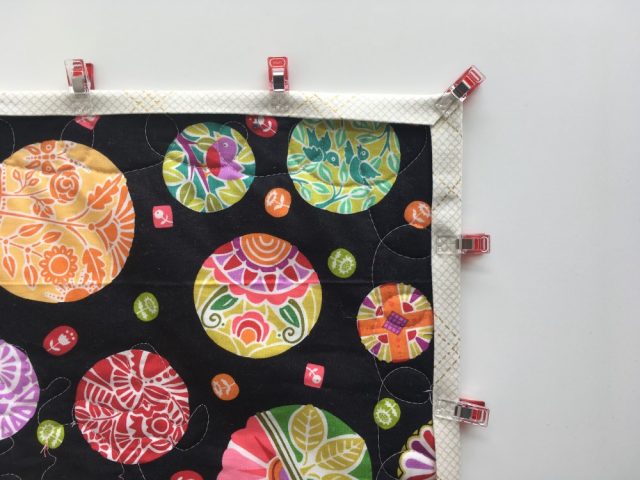
Fold the other side of the binding straight down and press. Add a clip on the corner to hold it down.
Keep going all around the quilt, placing the clips about every 4-5″ along, plus on each corner.
The steps up to this point are the same, regardless of how you decide to finish from here – hand or machine.
Why machine bind a quilt
Everyone has a part of the quilting process that is their least favourite. For me, that’s binding. Machine binding a quilt is a lot quicker than hand stitching it down, which means I get done with the binding faster! But it’s also a practical choice. When you’re making quilts that are going to be loved, used, thrown around, and washed… machine stitched binding is more secure than hand stitched.
I recommend trying it on a smaller quilt first. It takes some practice to get used to this technique, but after the first couple of quilts, you’ll be flying!
How to machine bind a quilt
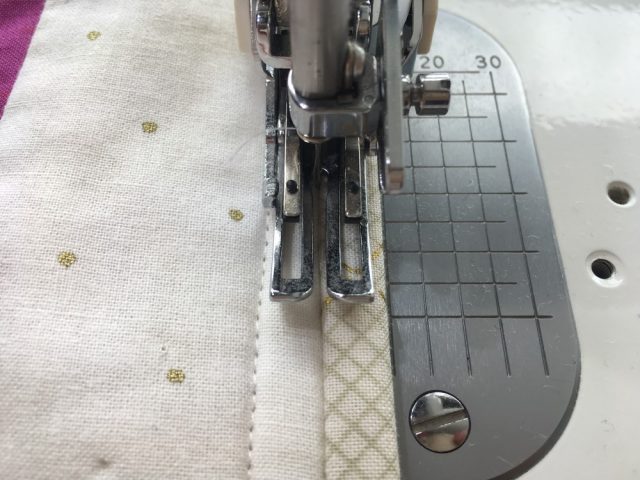
Once your binding is securely clipped in place, change your thread to one that matches the binding. Choose a place to start and place your needle down on the front of the quilt, right in the ditch between the binding and the quilt top.
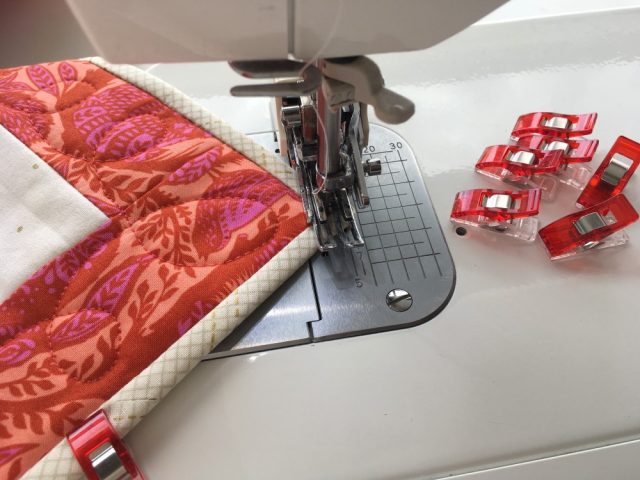
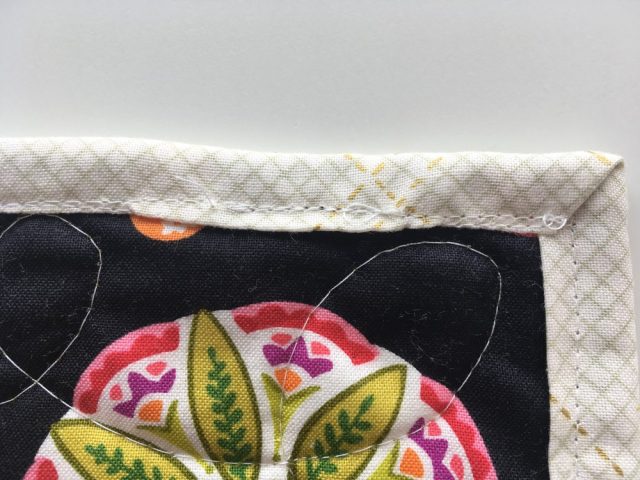
Slowly and steadily, stitch along the ditch. A walking foot helps evenly feed the bulk through the machine, but I used a standard sewing machine foot for years until I had a machine that could use a walking foot. When you get to a corner, keep the needle down in the corner, and lift your foot so you can pivot the quilt to sew along the next side.
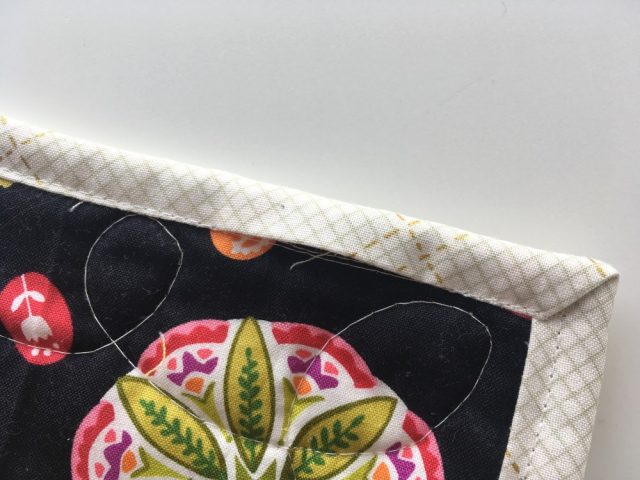
Keep sewing all the way around your quilt until you get back to where you started. Remove the quilt from the sewing machine and carefully check the back of the quilt to make sure you’ve caught the binding all the way around. Sometimes, you may have missed a patch!
Simply stitch over it again to secure it in place.
And that’s it, you’re done! You’ve successfully machine bound a quilt.
Other options for machine binding a quilt
There are many people who prefer to attach the binding to the back of the quilt, then bring it around to the front and sew it down from the front. This allows you to see that the seam line along the binding is straight. It’s a different look from normal, but totally valid too (I’ve seen it on quilts hung at QuiltCon).
One technique that adds such an artistic finishing touch to quilts is where you use a decorative stitch instead of a straight stitch to sew it down. It’s one I really want to try, but alas I have a straight-stitch only machine! This blog post on Aurifil shows some beautiful options.
This post contains some affiliate links. Thanks for your support!

Caroline says
OMG. Your cheat method for joining is going to save my life. Thank you!!!
Alyce says
Hehe, you’re very welcome!! I love it!!
Fuzzy says
WOW this is a game changer for me I’m a topper I hate quilting and even worse binding but your method
is a life changer it will take some practice but i may actually get some quilts done for a change
I also had an Achilles heel…. miter corners but I found out why they never work by reading over and over
your instructions I can’t wait to try this method Ive been putting off finishing a quilt for my friend for Christmas this year [well it was for last years Christmas] but it may now get finished
THANKYOU THANKYOU THANKYOU
Alyce says
You are so very welcome! Your reaction sounds exactly like mine when I discovered these methods myself 😉
Jean says
I love how I can ‘cheat’ when it comes to that aggravating step! Thank you, Alyce! Machine binding rocks!
-Jean
Alyce says
*fist bump* totally rocls!
Donna C says
I sheepishly admit I hesitated to click over to read this because I couldn’t fathom there’d be anything I hadn’t read about machine bindings! I now sheepishly admit I was wrong! LOL! Sewing off the binding at 45 degrees on the corner is brilliant!!! A guaranteed sharp miter!
Thanks Alyce!
Signed,
Baaaa- baaaa 😉
Alyce says
Haha! Glad to have been of service 😉
Marion says
What a great idea ! I really appreciate that you put it online since I still have 2 quilts to bind for Christmas. Thanks again and have a wonderful time !! Marion
Alyce says
My pleasure! Merry Christmas 🙂
Tracy says
What a comprehensive tutorial thank you. I will be doing mine step by step with my quilting Mentor Deb Mowers as we create a quilt for my Grandaughter. Started in the States finished in Uk
Donna says
I use this method all the time and never thought of it as a cheater method. I find it fool proof. I am glad you shared it with other quilters. Keep up the good work. Donna