Do you label your quilts? Early in November, for some random reason I can’t recall, I had read this post by Jeni from In Color Order about her adorable little labels, and had been thinking that something like that would be much better for this lazy quilt labeller. I’m shocking at remembering to do it, unless I actually have to do a quick, temporary one when sending it off to a magazine! Of course, I left it at that “I should…” thought until a couple of weeks later, I freakishly coincedentally received an email from Dutch Label Shop asking if I’d like to try out their labels. Cue the hallelujah angel voices! Yes please! So they provided me with a coupon code, with no obligation to blog about it, but of course, when you see how they turned out, you’ll realise why I just had to share them with you…
I must admit, I was a little nervous about submitting my artwork. There isn’t a good template or description on bleed lines or seam allowance guides on their website, like other websites that provide similar types of services (i.e. printing websites). So I did a quick Google to see what other sewers and quilters had ordered, to try and get an idea of what the process/results was like. Felice from I Am Luna Sol had recently done a brilliant review of her Dutch Label Shop labels, including a sample of the artwork she submitted. Molli Sparkles mentioned the colour of pink he chose so I could reference that compared to what pink I was after. And Jeni from In Color Order had mentioned about seam allowances and adding taffeta to her’s to help with that (by adding a note in the comments). Another detailed review is Yvonne’s. I should note that there is now an option on the ordering page to select “<desired style> + taffeta”, which makes ordering much clearer.
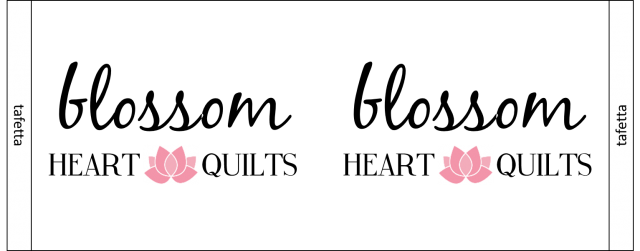
Here’s the artwork I submitted, with a note for adding 1/4″ of taffeta:
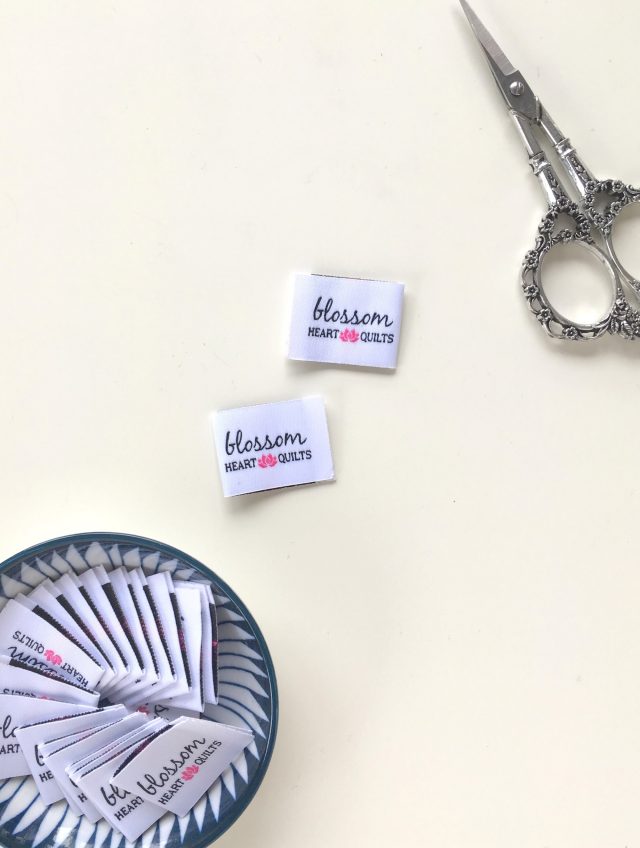
I chose black and pink 213C for the colours, with double white for the background. And these are the labels I received! So vibrant, great contrast, and of good quality. I stayed with one pink for the lotus, as it’s so small that any colour difference would be barely noticeable anyway.
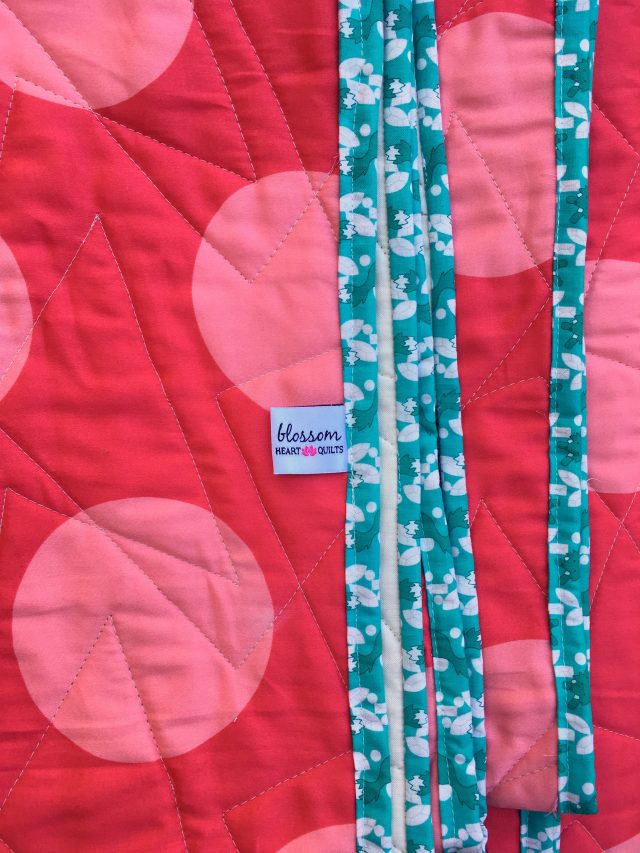
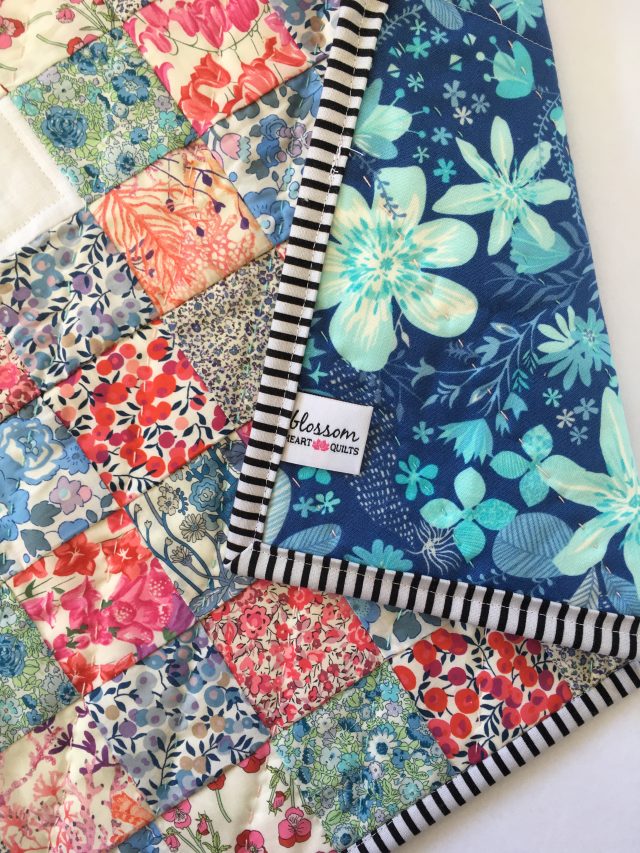
They took about 3 weeks to arrive, from ordering to delivery, although that was during December and thus Christmas postal times were well and truly in force. I’ve added them to a couple of quilts already. I’ve tried two different ways to do so – first by stitching them in place before securing the binding down on the back, or, adding it in right before I finish sewing the binding down. The second way gets a bit of a better result in making sure there’s enough space to not cut off the logo, especially when you’re racing to finish a binding like my Modern HST Sampler quilt… Not my finest binding, but it’s secure! Do as I say, not as I do, haha!
Having such lovely, quick-and-easy labels to stitch into the binding and done? Should hopefully help me remedy this quilty weakness of being a non-labeller.
You can find these at Dutch Label Shop – I ordered centre fold, 2.5″ x 1″, plus taffeta (this is the full measurement when they’re opened, not folded). They also have a basic woven label tool that lets you design your labels right there on the website – you can add personalised text, and choose from loads of cute sewing themed icons to add to your label. Use the code blossomheartsquilts15 to get 15% off your order!
I was provided with a credit to use but was not under any obligation to blog about them. All opinions and dodgy binding seams are my own.


Little Quiltsong says
I too would like to order labels. Thank you for showing your cute labels and explaining the sizes, colours and process. You were very helpful. Love what you ordered. Enjoy using them.
Alyce says
My pleasure! Don’t forget to use the code to save 15% 🙂
Jeifner says
Seems so much easier than embroidering a full label all the time
Alyce says
Yes, very much so! You can’t personalise this, but seeing as I never usually did anyway… LOL
Michelle says
Thanks, Alyce! I really need to get some labels printed – they look so professional.
Alyce says
You’ll love them!