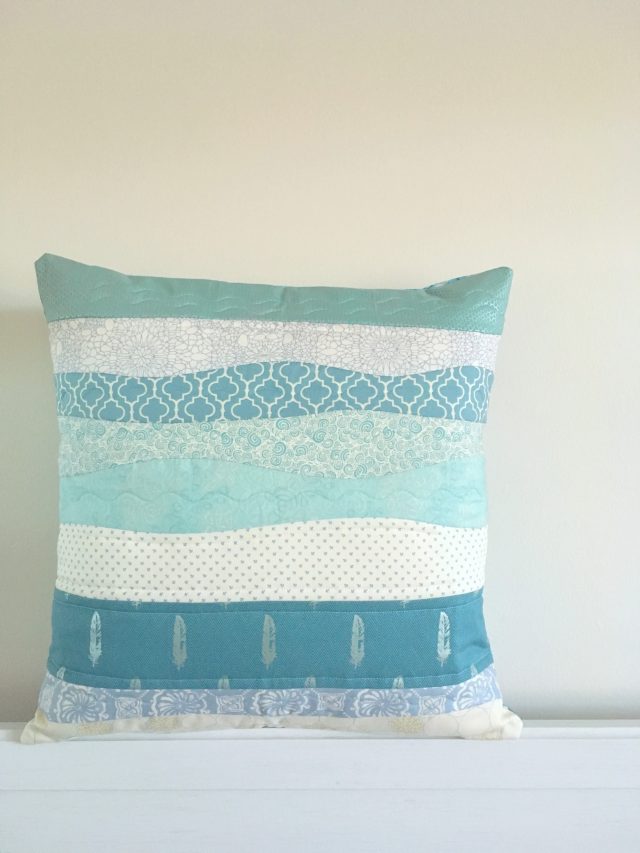
There’s definitely been something in the water, lately. This year, I’ve been experimenting with improv! IMPROV! Folks, I do not improv. At least, that was my catch cry for years. However, my local Modern Quilt Guild is full of improv-ers, and it seems that it has finally rubbed off on me.
It began with my improv mini medallion quilt for my guild’s Mystery Medallion Challenge (which OOPS I need to catch up on this round this week…), where I put away my ruler until right at the end when it was time to straighten the outer edges of the latest round. And it’s continued on with an attempt at improv curves.
A beautiful friend of our’s at church is moving into a new office – she’s the families/counsellor member of staff at church, and my husband and I were in charge of fitting out her new office. And what does any new office need but a touch of handmade?! I wanted to make something that was in a serene colour palette, and that also felt very natural and organic – nothing to bold or graphic. Well, it doesn’t get more natural and calming than gentle ocean waves, so why not give improv curves a try at long last?!
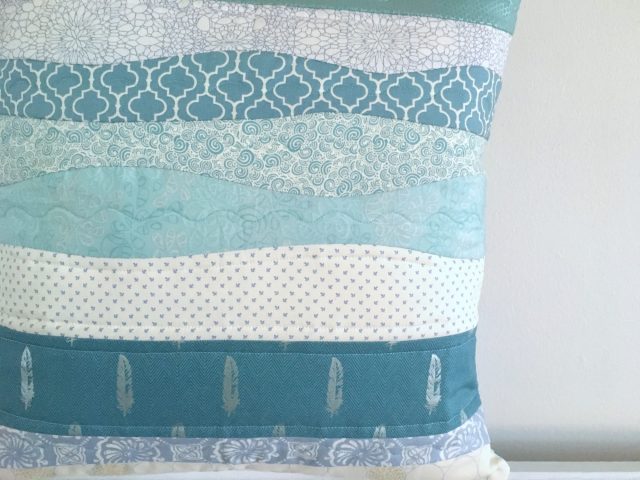
I pulled out a stack of light blues and teals, grabbed my rotary cutter, and went to town. Side note – I actually pieced and quilted and backed this all in one afternoon at my friend’s house! A fabulously fast finish! I started cutting strips 3-4″ wide, and began piecing from the bottom up.
But when I got to the strip of feathers I realised that I didn’t want to cut into the feather motifs. So I decided to leave the edges of the strip straight on both sides. I figured I could come back later and curve it up if I got to the end and didn’t like the straightness. As you can see, I left it like that – roughly aligned along the bottom third (rule of thirds), it works!
As I was piecing this at my friend’s house, I was sewing on my Pfaff Passport (lightweight travel machine for the win!) which meant I could also easily quilt it then and there too. Between the IDT (integrated dual feed) for some straight stitches, and choosing the serpentine stitch for some decorative stitch quilting, I was done in no time.
Then it was a case of hemming two panels of fabric for an envelope closure on the back, and this baby was done! As with all my pillows, the cover finishes approximately 17 1/2″ square – I purposely make cushion covers smaller than the intended insert (18″ in this case) so that it is nicely and plumply stuffed with the insert. Nothing worse than a saggy cushion cover as the insert gets squished down over time! Yes, eventually you replace the insert, but it certainly lengthens the life span plump-wise.
So there you have it, ladies and gentleman, conquering my quilty fears one at a time this year! Have you improv curved before? I must admit… I’m a little bit in love with the freeing nature of it all… oh dear, my guild were right, it IS fun…


The Baroness says
“Plumply stuffed” is my quote of the week! And it’s only Monday!!
Alyce says
I shall say it more often! Haha!
Kay says
I haven’t yet tried improv, probably because I get stressed when things aren’t perfect but it might free me up a little. x
Alyce says
That was me for years! I started small, with an improv log cabin, and strips, for the mini I linked to, and that was easy and fun (and quick!) enough, that I decided to take that next step – curves 😉
Ev says
I am a garment sewer, so I had hoped to see some ‘in progress’ photos. Do you make the curves when you cut or just take straight pieces and stitch the waves as you piece?
Alyce says
Ah, yes, it was a “Quick, I’ve got 2 hours, get it done” type situation 🙂 You make the curves when you cut. I knew the technique from having seen friends do it, but a quick Google found this for you – http://lilysquilts.blogspot.com.au/2013/07/made-with-oakshott.html
Diane Cullum says
I love it! And just saw a video on curved seams the other day.
Alyce says
Well there ya go! You could make one too!