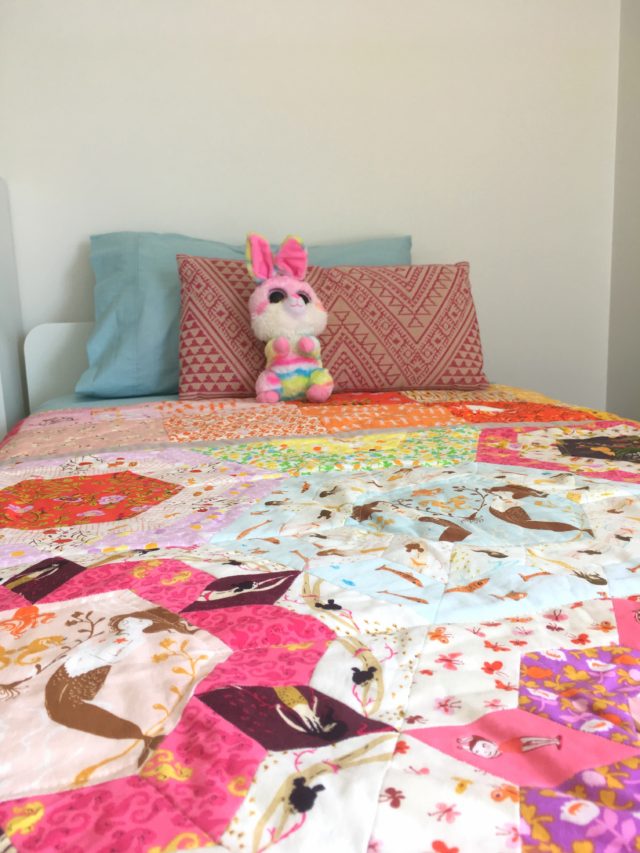
Today is my daughter’s 8th birthday, and I could’ve sworn she was already at least 10 years old… She is such one clever, cheeky, strong, creative, sassy, little independent young woman, and she never fails to make us laugh! One of her presents today, at a long last, is a quilt for her bed.
Warning: this post is long, and contains a lot of photos… perhaps grab a hot drink while I tell you the tale of this quilt!
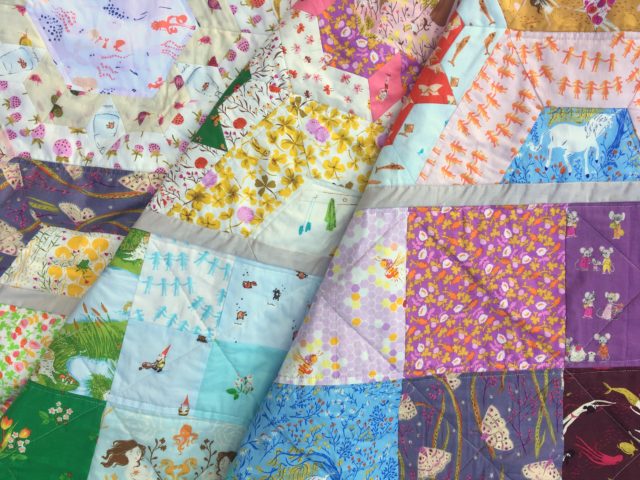
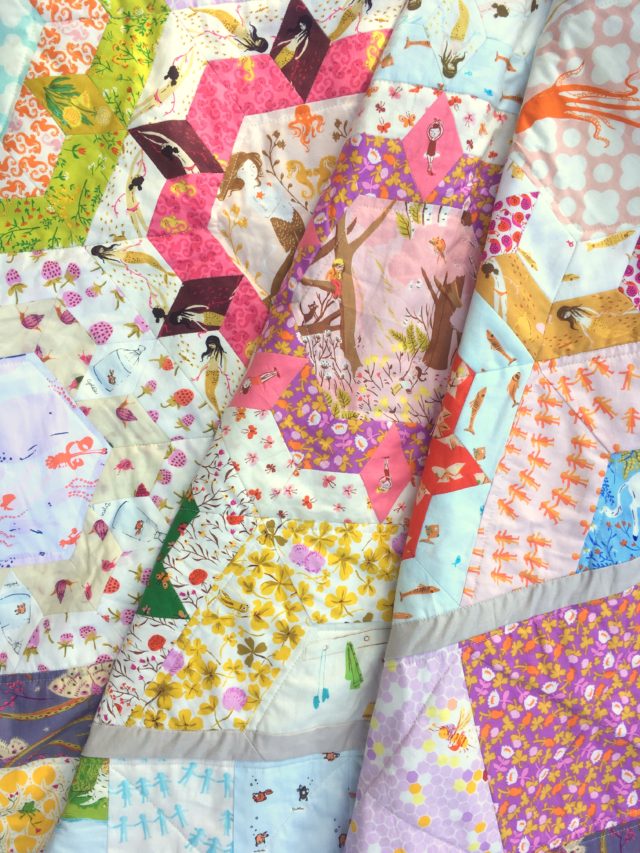
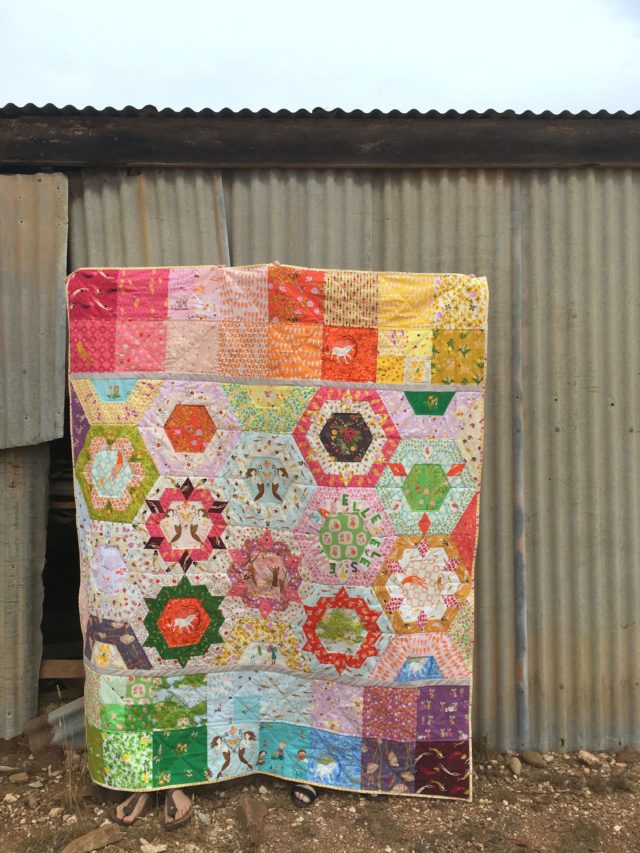
For about 18-24 months, I’ve been working on her first big quilt. It started as an EPP project using the Cherish pattern by Tales of Cloth, after seeing Jodi’s own Cherish quilt in person and falling in love with it. It’s the perfect pattern for fussy cutting and featuring a range of scales of prints, and hey, I had a big collection of Heather Ross, so why not be completely “inspired” by her quilt! Jodi even totally enabled me by helping me work out how to make the pattern a full single bed size, and kindly sending me the full kit of papers and acrylic templates that I would need to do just that (a few extra blocks than the standard Cherish kit).
And yes, I did have so much fun fussy cutting each block and swiss-cheese-ing my Heather Ross stash in the process. I went block by block, mixing and matching, not overthinking the big picture and how the blocks would look next to each other. I know, that’s so not me, but when you work solely with one designer’s fabrics, I feel that you can get away with it. As each block told it’s own little story, it worked.
But progress was slow, even though sewing up each block doesn’t take that long at all. And I couldn’t work out why! When I started my Pollinate quilt, and was thoroughly enjoying every step of the way, I began to realise what was happening. I do quite like English paper piecing, but not by making the same block over and over again; to be honest, I was getting a little bored doing that.
By the end of last year, my daughter was (rightly so!) getting antsy as to when I would finish making her quilt. Thus, I set a firm deadline to get the top done by today. Quilting felt like too big of a task to promise, but it turned out that once I got started on finishing this quilt, I just kept right on. But that’s skipping ahead in the story!
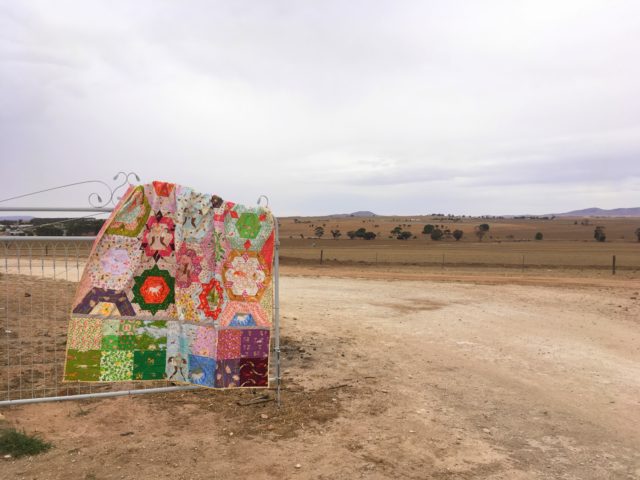
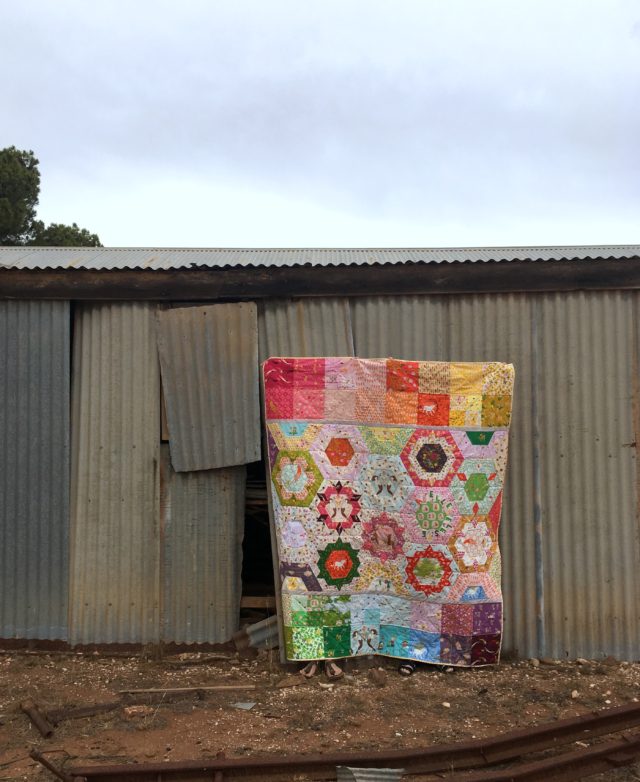
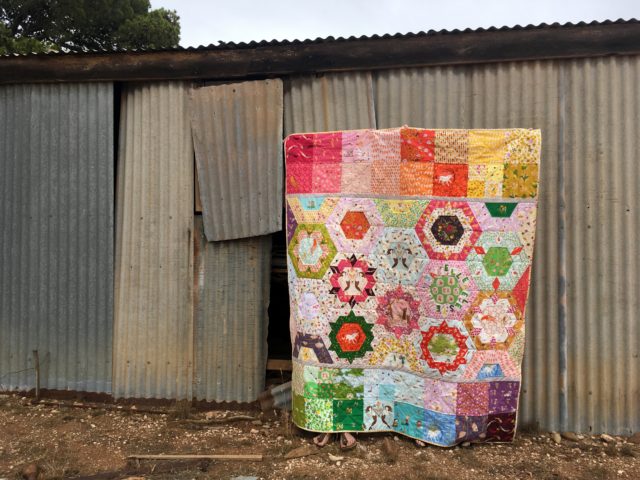
My challenge now was to work out how to make the quilt large enough for her single bed without any more EPP. Oh yes, I was done. All up, I finished twelve Cherish blocks. When I laid them out in a 2-3-2-3-2 (columns) layout, I realised that this width of approximately 64″ was the perfect width, so now it was just a case of filling in the gaps and making it longer. “Just”.
The EPP panel measured 42″ tall, so I wanted to almost double that to make the quilt longer. When I ran the numbers, I made the very happy realisation that the finished Cherish blocks measure 8″ along one edge, and thus a row of eight squares of 8″ finished patchwork would neatly work across the quilt, and two rows above and below would add 32″ to the length. Close enough! Oh, and to fill in the gaps in the EPP panel? Simplified, machine-pieced half-Cherish blocks.
I pulled out every single piece of Heather Ross I had and started to cut. And sew. And cut some more. Filling in the gaps one by one, and choosing the patchwork squares along the way. I was y-seaming like a boss, making it up as I went along. The acrylic templates use a 3/8″ seam allowance, and I tried to maintain that when cutting and sewing, but let’s just say thank goodness for the flexibility of fabric and a good iron.
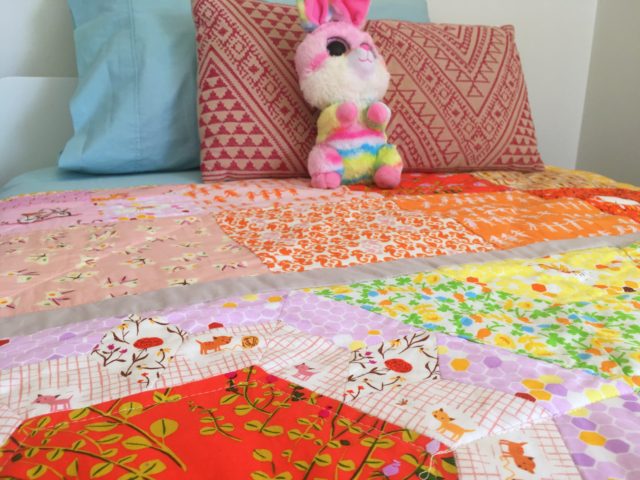
The patchwork sections are a mix of large squares and four-patch squares, as 1) it allowed me to use up some smaller-scale prints; 2) I didn’t have to use as much of some of the more precious prints; 3) helped me get a better colour wash across the quilt; and, 4) adds a bit more patchworky interest to the quilt. I’m ignoring the red squiggly line that is trying to tell me that “patchworky” isn’t a word.
The final hurdle was creating a touch of space between the EPP panel and the patchwork. Were I to butt them right up against each other, it would mishmash together too much. I wanted to let the panel shine! I asked on Instagram and Facebook what fabric I should use to create a skinny strip of space, and loved the suggestion of using something pale – warmer up top, and cooler down the bottom. Until I decided that I wanted to Get It Done Already, and I don’t have those solids in my stash, so something neutral like the Kona solid I had on hand will do… I think it’s Kona Silver. Done. Love it. Let’s get quilting!
Disclaimer – When I’m the one quilting something, I tend to “under” quilt. I’m scared of ruining the design/aesthetic of the quilt top, and keep things very simple! In this quilt’s case, too simple. I also don’t want to make it too heavy and stiff with too much quilting, but for a quilt that is going to be used and loved, it needs some more, so I will be going back and quilting some more in the EPP panel to really secure it safely. However, what I have done so far is a mix of seam-echoing and cross-hatching through the patchwork sections. And in the EPP panel, I outlined each central hexagon and stitched some horizontal lines. I’m going to add some more diagonal cross-hatch-esque lines to secure it all better.
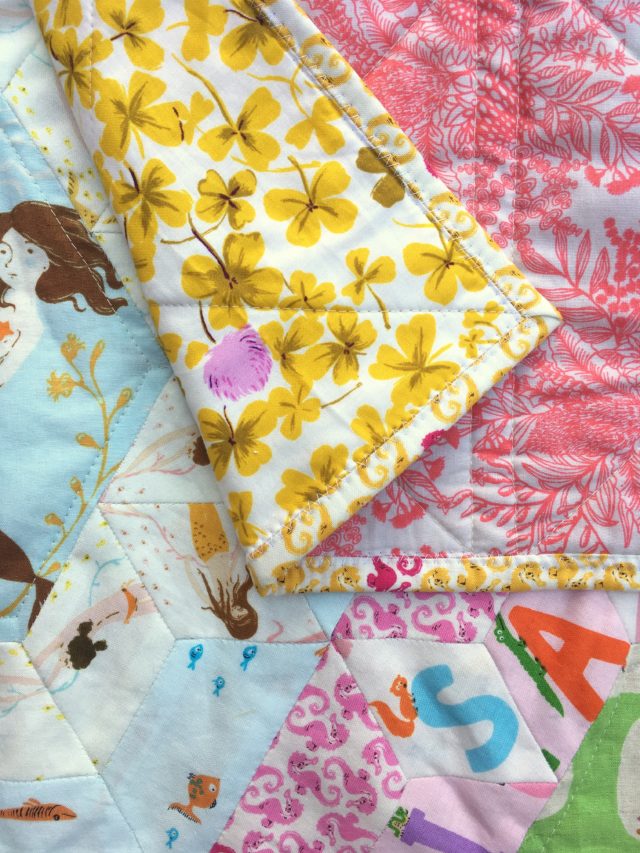
As for the binding, I went with the yellow seahorses from Mendocino – kind of stripy, not too bold and distracting, works well for both ends of the colour spectrum. I also tried something different when machine binding… I used a zigzag stitch. I have seen other quilters use it, and I am now a convert. It looks fun, makes the binding sit really flat and flush, and easily catches the binding on the back (I sew the binding down from the front – here’s how I usually do it). I will definitely do it again. Maybe next time I’ll even use a super fun thread colour to make it even more fun!
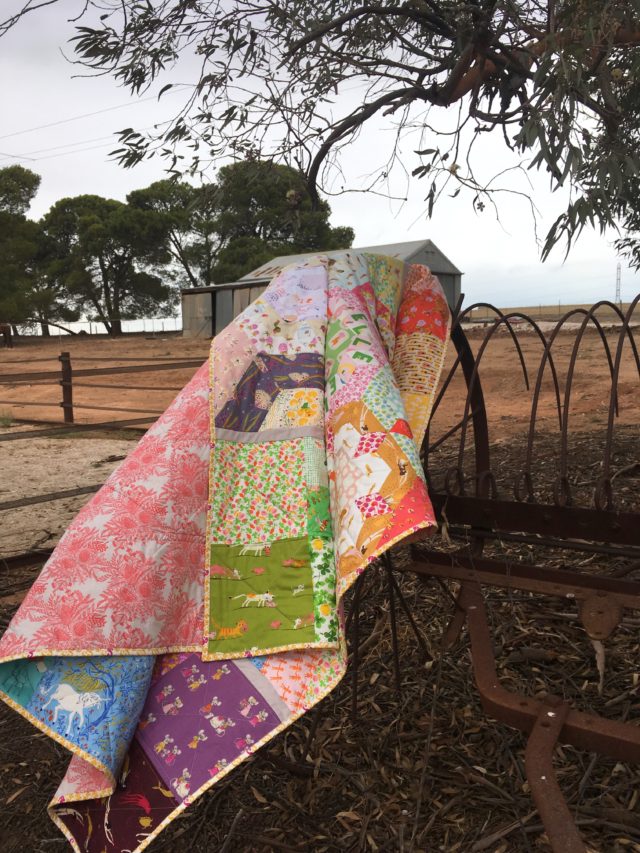
Ooh, and that backing? I was fully ready to piece a backing from all the Mendocino yardage I have remaining, but my daughter requested something coral. Coral! So proud! I had this beautiful wideback by Emma Jean Jansen, and my daughter thought it was perfect. Again, so proud of her taste. A girl after her mother’s coral-obsessed heart.
I am thrilled with the result! As is my daughter, she loves the rainbow effect of the patchwork. You can never go wrong with rainbow. As Jodi said in a message to me about this (when I apologised for chickening out of finishing it all, ha!), “It’s the perfect compromise between slow, beautiful stitches, and getting it done.” Preach!
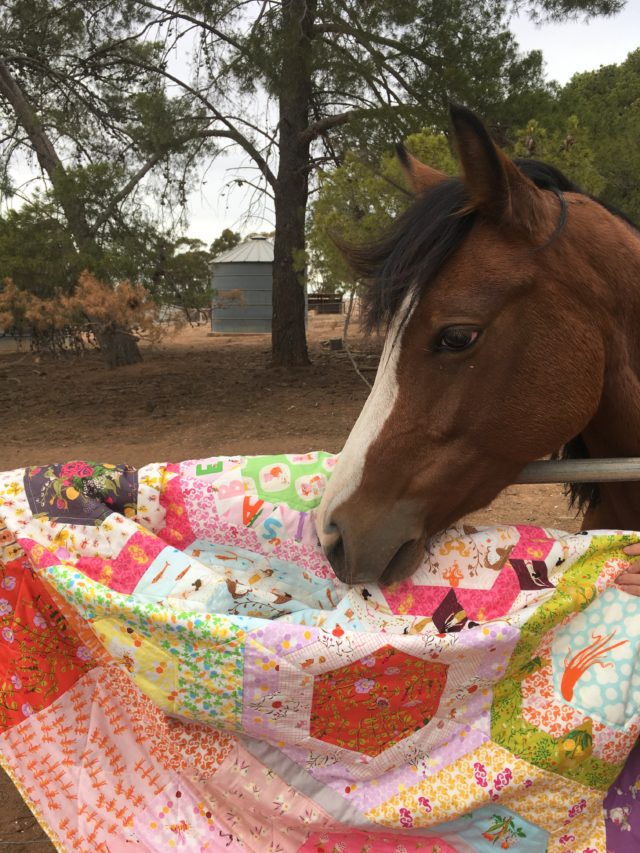
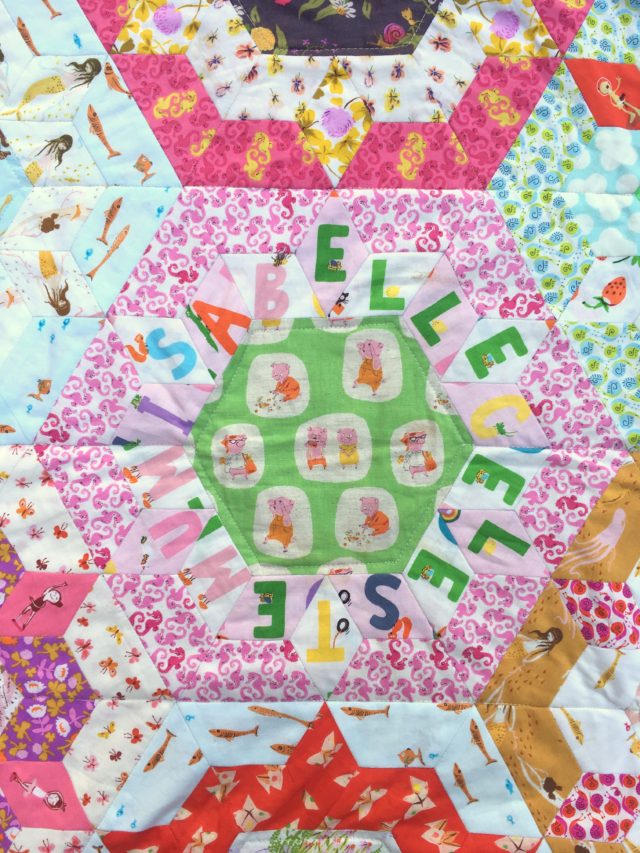
The quilt even got the seal of approval from Nina. I finished this quilt at the retreat I co-hosted last weekend with Caitlin, and I had to get a picture with the horse because my daughter was so jealous to hear that Caitlin had a horse. Ironically, Nina gave the signature/label block a little snuffly kiss and if you closely enough, you can see her mark…
It feels like such an achievement to finish the first big-kid quilt for one of my children! My son will be getting one this year too, with the assistance of my quilting bee group, and I’m excited to work on that one too. We make quilts to love on other people, to be loved by our loved ones, and this quilt is exactly that.
Shasta says
Great finish! I love all the beautiful colorful fabric in this quilt! I especially like the label. Funny that I tend to overquilt and am trying to use a lighter touch.
Alyce says
Thanks, Shasta! Yes, I’m sure we’re all somewhere along the spectrum of quilting, haha!
Kay says
This is stunning!! I love scrappy quilts and it has used such a wonderful mix of fabric. I particularly like the EPP sections (always my favourite way to sew) and the way you have a cool and warm section either side. Actually, I just love the whole thing. x
Alyce says
Thank you! It’s nice to know that I CAN do scrappy… just all within one designer 😉
Daniela Kirk says
That is just adorable, I like it. This does not look to scrappy, but it is, Heather Ross’s fabric made this quilt fun, What a cherished quilt this will be.
Alyce says
Thank you! She’s loving it 🙂
Carole S. says
A quilt AND a pony?!?!? This is now officially my favorite photo. I just showed the picture to my husband and asked him for a pony, but he said no, but I can finish a quilt. Oh, well. Your quilt is beautiful, and you already have special memories to go with it.
Alyce says
Haha, if only she got the pony with it too 😉 But she did love the photo.
Rachel Hauser says
Yay!!! Excellent compromise, as Jodi said. It turned out beautifully! What a good call to set off the panel with a thin stripe.
Alyce says
Thanks, Rachel! As queen of “making it work”, I’m honoured by your comment 🙂
Adrienne says
It’s beautiful, and done with such love.
I think Nina wants a love-quilt, too 🙂
Alyce says
Thank you!! Haha, I’ll have to tell that to her sweet owner, I think her daughter would concur with you 😉
Verveine et lin says
C’est absolument parfait !
J’adore ce mélange de roues et de carrés. Et ces couleurs si joyeuses !!!
Heureux anniversaire à cette chanceuse petite fille !
Muriel la Française
Alyce says
Merci beaucoup!