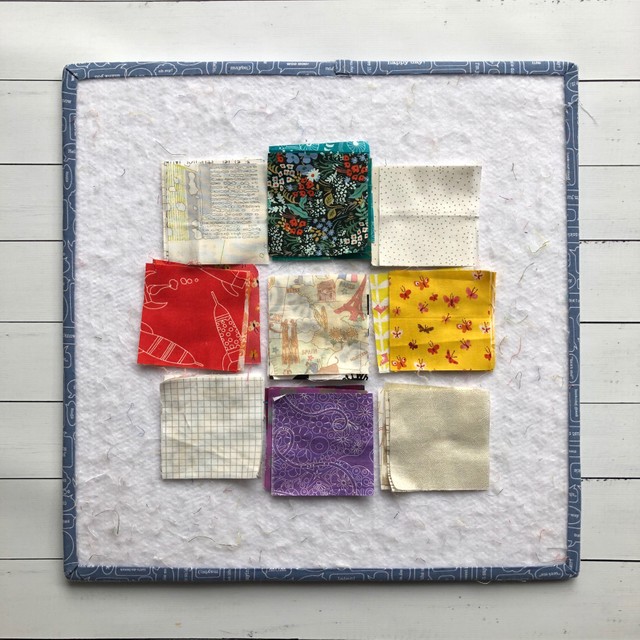
A few years ago, I purchased a portable design board that’s been incredibly useful to help piece quilt blocks along the way. Mine is an 18″ x 18″ design board by Bee In My Bonnet, and is batting wrapped around a lightweight board, and a “binding” in a cute denim-blue fabric.
I load up my pieces of fabric in the correct layout to transport it from my cutting mat to the machine, and then from machine to iron, and back again. And all the time, it’s keeping my quilt block pieces organised.
Do I recommend this one? Absolutely. It’s survived a couple of moves and is still going strong. Do I also recommend making one yourself for cheaper if you can? Definitely!
I was chatting with my friend, Erin AKA @knitonequiltone, about it and she had the brilliant idea of using a cheap IKEA photo frame (Fiskbo) she already had at home to create her own. And thus, an idea was born of a collaboration to share the process with you! She made the design board and photographed it, and I’m here to share it with you all so that the tutorial is in one easy-to-find place.
What you’ll need
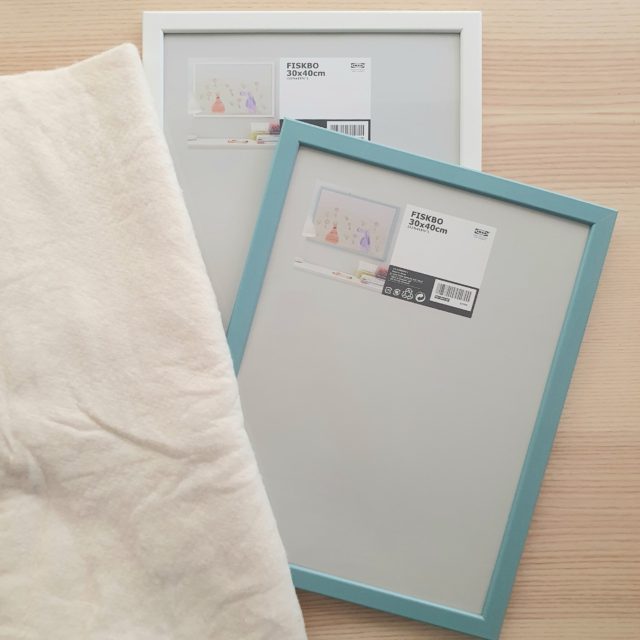
- A large, cheap photo frame – you’ll want at least 30cm x 30cm (12″ x 12″), but go larger if you can/need, e.g. a 35cm/14″ measurement will fit the cut pieces for 12 1/2″ quilt blocks more comfortably. Plastic or glass or nothing doesn’t matter, you won’t be needing any protective cover.
- A piece of batting larger than the photo frame – a great chance to use a large scrap offcut
- Scissors
- Tape – gaffer, duck, painters, plastic… any should be fine
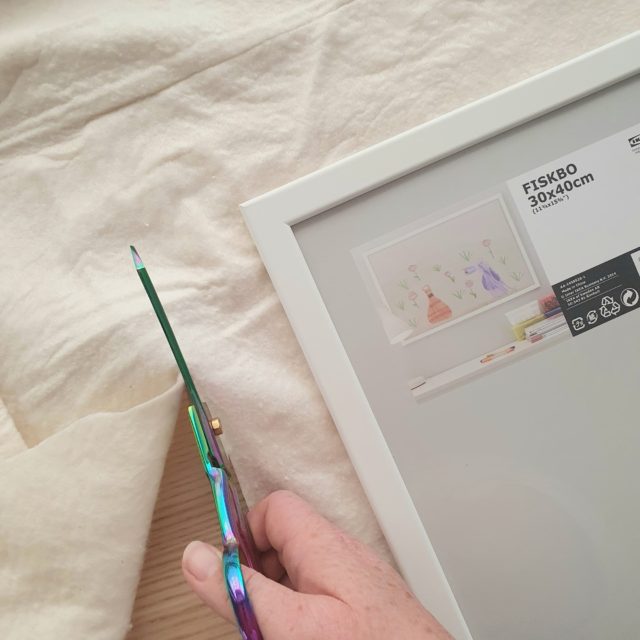
Step 1. Place the frame on the batting, and trim the batting to be about 2″ bigger than the frame.
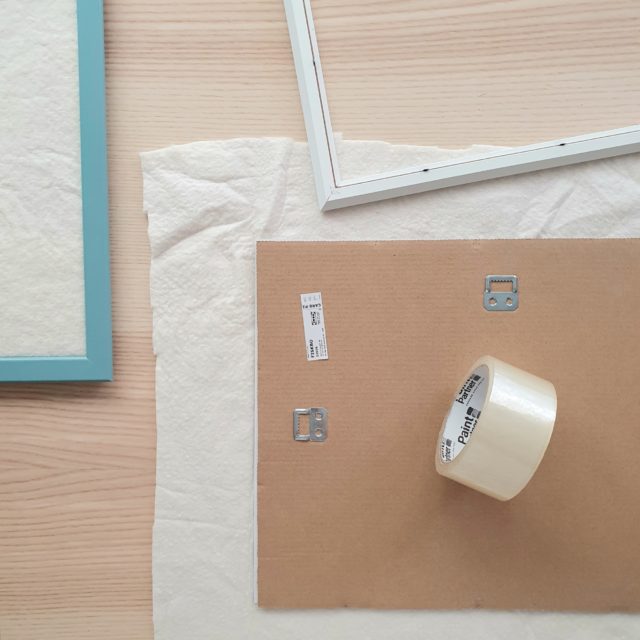
Step 2. Remove the protective cover and backing from the frame. Set aside the cover – you won’t be using it. Place the backing face down on the batting.
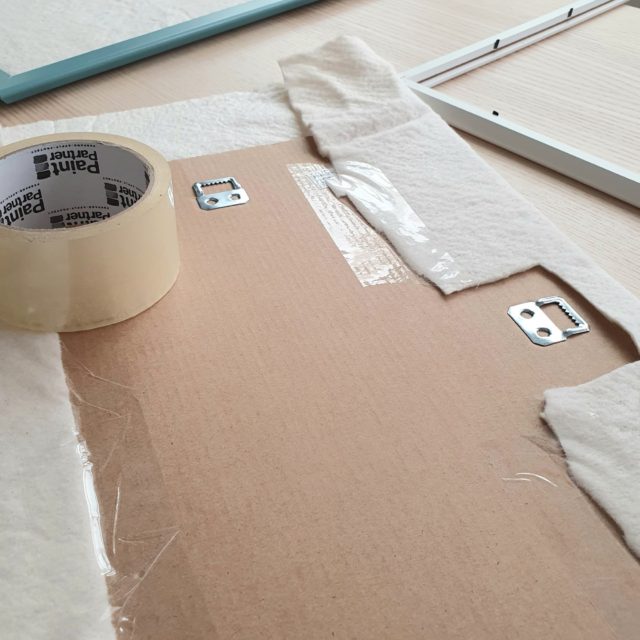
Step 3. Firmly fold the batting around the backing and tape in place. Trim off any excess at the corners, and around the hanging hook if you’re wanting to hang your design board.
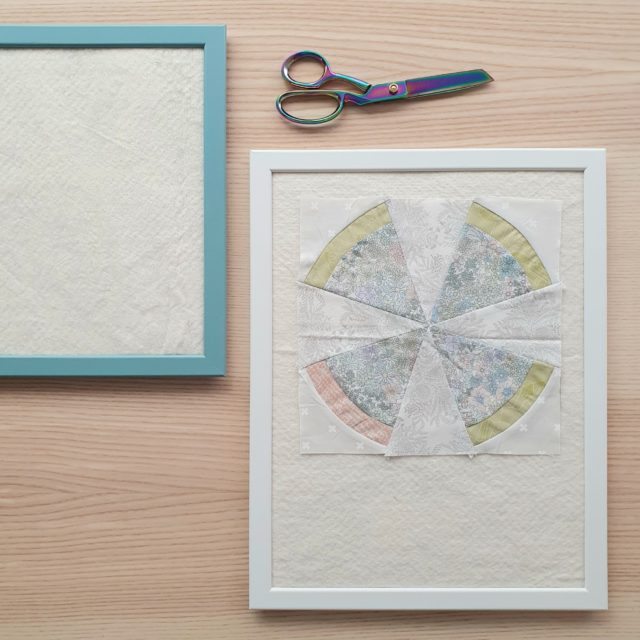
Step 4. Place the batting-covered backing into the frame and secure the backing in place.
Step 5. Flip it over and enjoy!
Kathie says
Wow, clever! Love this idea. Thanks for sharing… off to go find my stash of picture frames!
Alyce says
Have fun!!
Rose says
This was such an easier option than cutting up pieces of foam board and sticking fabric round. It was also cost effective as I found a really low priced frame online. The delivery costs in the UK for design boards are high so this was an easy and cheap option for me. Thank you so much for sharing this idea.
Lisa says
I wanted to create a quilt design board for my ‘corner’ (lol!) at home. i purchased an A2 foam board, wrapped an old towel around it (stitched tight at the back – but you could also tape it. I put white polar fleece over it (stitched at the back again to ensure it was tight) & put it all on an a desktop art easel i never used. I’m super happy with the result & for about $20.