Straight line quilting is where most of us start when we begin to quilt our own quilts. After all, it’s essentially the same as piecing the quilt, sewing straight lines through fabric, just with an extra layer to sew through!
I have written quite a few posts about quilting over the years, including a big post about how to machine quilt which covers everything after you’ve basted the quilt, from what general tools I recommend, to what thread colour to use, to how to choose quilting designs. And I’ll be sharing more about free motion quilting next month, so I want to cover the straight line quilting first. Are you ready? Let’s quilt!
Tools for Straight Line Quilting
You can absolutely do straight line quilting with your machine exactly as it is right now. Use the same thread as you piece with, pop in a new needle, perhaps make the stitch length a little longer, and away you go! But if you’d like to make the process even easier on yourself, and help get a better result, then there are a couple of extra things I recommend.
A bigger needle
You typically will be piecing and sewing with an 80/12 size needle. Strong but fine enough so as to not create big holes in your fabric as it stitches. When quilting, I always recommend using a 90/14 needle. It’s the next size up, and using a bigger needle will be safer for stitching through the thicker layers – there’s nothing worse than snapping a needle in the middle of quilting, and having to fish the tip out of your quilt and deal with the broken thread etc etc.
A walking foot
Some sewing machines come with an integrated dual feed system, so be sure to check your manual first! But if not, you will not regret buying a walking foot to help improve your straight line quilting. A walking foot acts like a set of feed dogs on top of the fabric, so that you now have the machine evenly feeding the quilt sandwich through from both the top and the bottom. This helps reduce the drag effect, which makes for a smoother quilting experience and also a better quilting result without drag lines.
Check first to see what your sewing machine brand has in terms of walking feet, otherwise generic ones will usually work with most machines – just be sure to check whether you need low shank or high shank.
A chunkier thread
I’ll admit that this is optional, because perhaps you want your quilting to just melt into the quilt top! But straight line quilting is the perfect opportunity to use a heavier weight thread, as it’s less straining on the thread than free motion quilting, and you can get super chunky for gorgeous texture.
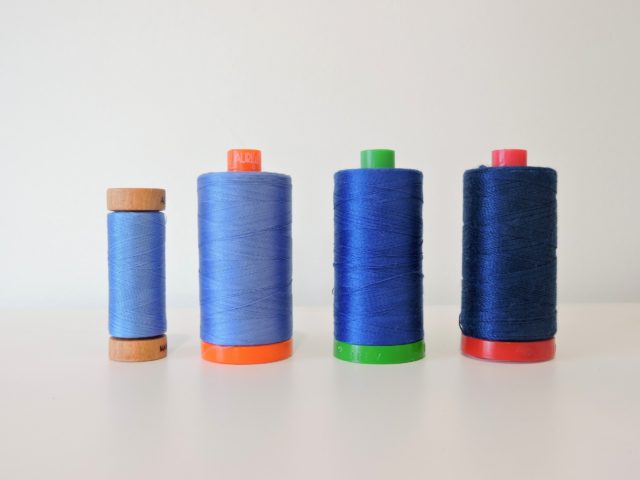
If you don’t know the difference between thread weights, I got you! The normal piecing thread weight is a 50w. And from there, the lower the number, the thicker the thread; the higher the number, the thinner the thread. I love to use a 40w for quilting to give it just the little extra oomph in terms of visual texture, but I have dabbled a little in 28w. Just be sure to check the thread manufacturer’s recommendations for what weight of thread to use in the bobbin if you are using a heavier weight thread like 28w.
Quilting gloves
Now, you might not have expected this one, as they are more typically used for free motion quilting, however I use mine regardless of what style of quilting I’m doing as it helps me to more easily maneuver the quilt. You can buy specialty machine quilting gloves that are a lightweight breathable cotton, with special coating on the fingers to help grip on to the quilt, without having to grab handfuls of the quilt, so you can more easily move the quilt through the machine. Some people like to use gardening gloves, I have a pair of common work gloves from Japan, the choice is up to you!
Tips for straight line quilting
Walk with your walking foot
Let the name be a reminder! Don’t sew on the fastest setting on your machine, take it at a nice, moderate pace. Let your machine feed the quilt sandwich through properly, and don’t try to hurry the process. Slow and steady wins the race!
Quilt in the same direction
Whether you are quilting top to bottom, left to right, or along the diagonal, always start at the same end and finish at the other end, sewing in the same direction each time. If you zig zag your way across the quilt top, you will create visible drag lines as the fabric is pulled back and forth and back again. Each line of quilting should be it’s own separate row of stitching, with a backstitch at the start and end to lock it in place.
Straight line quilting doesn’t have to be perfectly straight
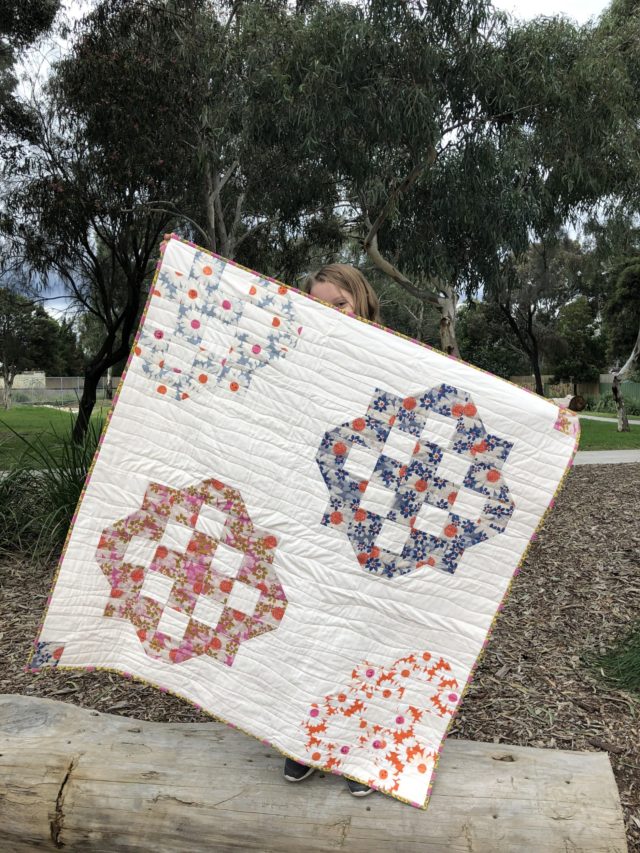
Oh yes, you heard me! Using the exact same process and tools, you can create a bit of movement in your quilting, commonly referred to as “organic straight line quilting”. You don’t need any fancy stitch designs, just gently and slowly wiggle your quilt top from side to side as it feeds through the machine to create gentle wavy lines.
Mark it if you need
If you’re wanting perfectly straight lines, pull out a hera marker and your ruler, and pre-mark the lines on your quilt for you to follow. This is especially useful if you don’t have any straight seams to follow, such as a diagonal crosshatch design where you might be travelling across larger spaces of fabric with no natural lines (print or seam) to follow.
Hope that helps you get started with quilting. It’s really not that scary, I promise you! Take a deep breath, drink some water, stretch your shoulders and back out, and off you go quilting your way across that gorgeous quilt top. Plus, it’s just so satisfying to have fully finished a quilt all by yourself. You got this!
Jean says
Thank you for the tips! Happy Thanksgiving! Stay safe.
-Jean
❤
Peggy Self says
Love love learning more about quilting. So Beautiful
Andrea says
I have quilted a few straight lined quilts…..This is helpful for the next ones I do. Thank you!!
Anne Burden says
Enjoy your time with family. Helpful post, thank you
Ally says
Hi! Thanks for the tips. You mentioned backstitching at the beginning and end… What if you are doing a line right across from off the quilt top to off the quilt top – do you still need to backstitch? So far I just start stitching just off the top, and then all the way across the quilt top and finish off the other side in the batting. Then when I trim my quilt, all the beginnings and ends of my stitch lines are chopped off but my assumption was that the stitches get held in place by the binding when you sew it on…. Have I just messed up all the quilts I have made so far???? Help! Thanks
Deb says
I wouldn’t worry about the stitch ends if you’re encasing those in the binding – it should be fine! I’ve done that before when I didn’t want to take the time to bury the ends, as all should be well when enclosed in the binding. Happy Thanksgiving to you!
Alyce says
Oh no, don’t stress! They should be perfectly fine!! Backstitching is just a long-held habit of mine, so I automatically say it. And to be honest, most are probably cut off when I trim it all down anyway, haha!
Patricia says
Thank you for the tips. I have wanted to quilt my own and will be trying the straight line .
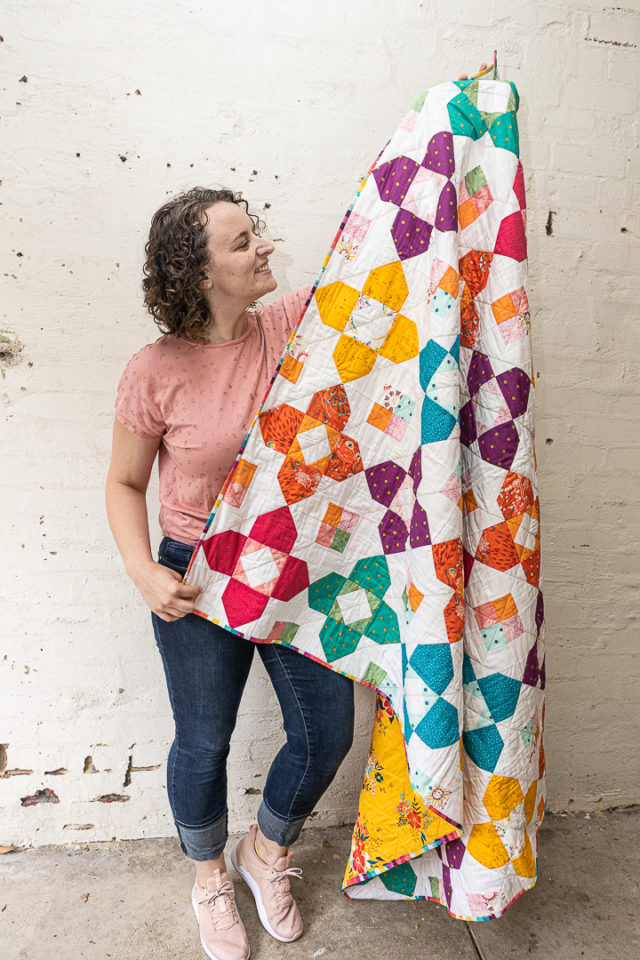
Where can I find the last quilt you are holding in this post?
Alyce says
Go Patricia!! It’s a pattern that was in Love Patchwork & Quilting last year, and I had plans to release it myself this year… but yep, 2020 😉 Next year!
teaira keller says
Co tips for beginners, I just finished a free hand motioned quilt for my husband!
Carol says
Love your post! So many great tips.
Thank you, thank you.
Blessings to you and yours during these holidays.
Enjoy your family time.
Linda says
I love your site, thank you for the tips. Happy Thanksgiving! Stay safe
Jean says
I’m glad you made gentle wavy lines legit. I get them without even trying. Thanks for the tutorial.
Alyce says
Haha!! If I’m “straight line quilting” horizontally/vertically, it’s almost always wavy on purpose. Much easier that way 😉
Leslie Pearce says
This was wonderful! Thank you so much for sharing your knowledge. It is a huge help to me being a beginner quilter. Happy Thanksgiving!
Linda says
Thanks for these tips. Straight line is my favorite way to quilt.
On the first quilt did you only quilt one direction, not cross hatched ? I just did one that way and was concerned the quilt would shift if I did not go both directions. The lines were 3 inches apart.
Alyce says
It’s quilted along both diagonals, it’s just hard to see with the photo angle/seams/etc. Just one way should be fine at 3″ apart. If it was 5″+ then I’d probably say better be safe than sorry.
Sheila Brown says
Just read your iinstructions as new to quilting (81) i found this very helpful. Always willing to learn as you are never to old to learn
Once again thank you
Sheila
Alyce says
Love that! I hope I’m as open to new things at 81 as you are 🙂
Diane says
Alyce, Thank you so much. I found this very informative as I am a walking foot quilter. Walking, not running I will remember 😂. I use painters tape to mark that first straight line for quilting . I doesn’t stick to your fabrics.
Size 14/90 needles are a must, thank you for the reminder. I just recently switched to those when quilting.
Regina Lichtenwald says
I just sewed a queen size quilt but was not able to do the quilting straight stitches. It was too big and I could not reach the center of the quilt. Is there a special machine that I need to do the quilting? Mine is a basic Singer Prelude.
Alyce says
My first machine was a little guy too, and it just takes a lot of squishing and squashing. It can be done! You might find it easier to roll the quilt up than to squish it through, especially if you’re straight line quilting and can just feed the roll through.
Cheryl. Australia says
I have rolled half my quilt onto a pool noodle. Much smaller to work thru throat of machine.Then all i do is unroll a little at a time as i need it. The pool noodle rests on my machine table and ironing board on other side to stop falling on ground. Works a treat.
Regina Lichtenwald says
Thanks. Will try on my next one.
Stay safe.
Bev says
I’m now tying threads together at the end of the row, then burying them in the quilt. It’s tedious to say the least. If you backstitch, do you cut the thread ends off?
Alyce says
Yep, sure do!
Sohini says
Hi, thanks a lot. Very useful tips in this session of strait line quilting. I am working on the memory quilt for my grand daughter. The colors of garments are vary from dark to light and hues are all over. Which color of the thread I should use for top and bottom layer. Your help is very much appreciated. This is my very first quilt project.
Thanks and kind regards.
Sohini.
Alyce says
I would recommend a light to mid grey – something neutral that doesn’t distract from the clothes. And use the same in the bobbin so that you don’t notice it if there’s a funky stitch here or there.
Marti says
I have a quilt which is a design made with HST and is a small diamond of blue in the middle then echo’s the diamond getting bigger alternating between navy and cream. I want to quilt straight lines following the diamond. I know I should go in the same direction so do I stop and start at the corners doing the left diagonal lines top to bottom and then the right diagonals starting and stopping to meet. I hope I am making sense.
Here is the picture from the pattern and I have made my quilt basically the same only I enlarged the HST’s to make a throw size.
Patricia Macindoe says
How far apart do you generally set your straight lines? I’m intending going across my quilt.