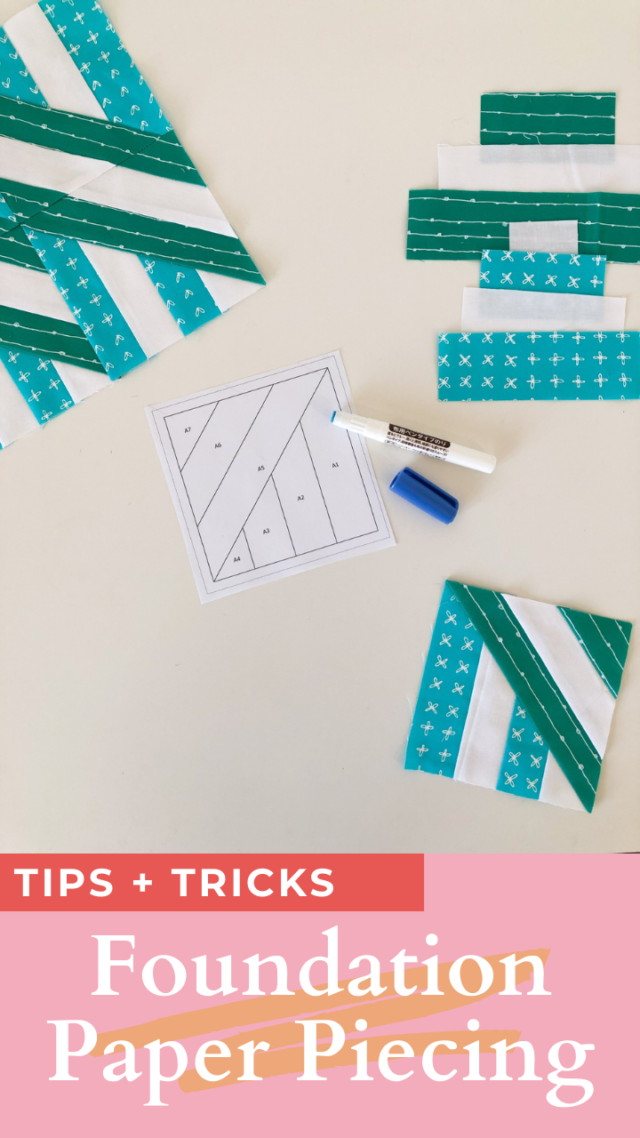
Whenever we’re talking about all things foundation paper piecing, I can practically hear you say, “Hey, Alyce*! What’s your top three tips for foundation paper piecing?” Well, that’s what I’m imagining, anyway…
*pronounced like Alyse/Elise, not Alice
Being a tad perfectionistic, I love foundation paper piecing – the accuracy, the lack of fussing around trying to perfectly cut out fabric with oddly shaped templates and all that jazz. There’s a map to follow, and you know where to go! And it’s definitely part of my core mission here at BHQ to convince you to love it too. Or at the very least, to help you give it a solid go before making up your mind 😉
So with that in mind, here’s my top three tips for foundation paper piecing that will make your foundation paper piecing experience much easier, more smooth, and more successful!
Tip 1 – Lower your stitch length for foundation paper piecing
Or you run the risk of ripping all your seams out when you remove the paper! This the number one thing to do when you are getting ready to foundation paper piece. Train yourself to automatically lower the stitch length to 1-1.5 as soon as you switch on the machine (or before, if your machine has a stitch length knob). Make it muscle memory!
If you’ve remember to do so, you’ll find yourself moving more slowly along the seam line than you would normally sew. Therefore, if you’ve forgotten you’ll probably notice that it feels like your sewing quite quickly compared to usual foundation paper piecing. Stop as soon as you notice, and go back over that seam with a shorter stitch length.
Tip 2 – Precut fabric before foundation paper piecing
There is no beating around the bush about the fact that you do “waste” fabric with foundation paper piecing compared to regular machine piecing quilt patterns. You can certainly try and precut the fabric to the random shapes of the segments on foundation paper piecing templates, and sure, you may save fabric by cutting odd shapes and sizes. But trust me, you will find the process a lot smoother and simpler if you aren’t so tight and allow yourself some breathing space with the fabric.
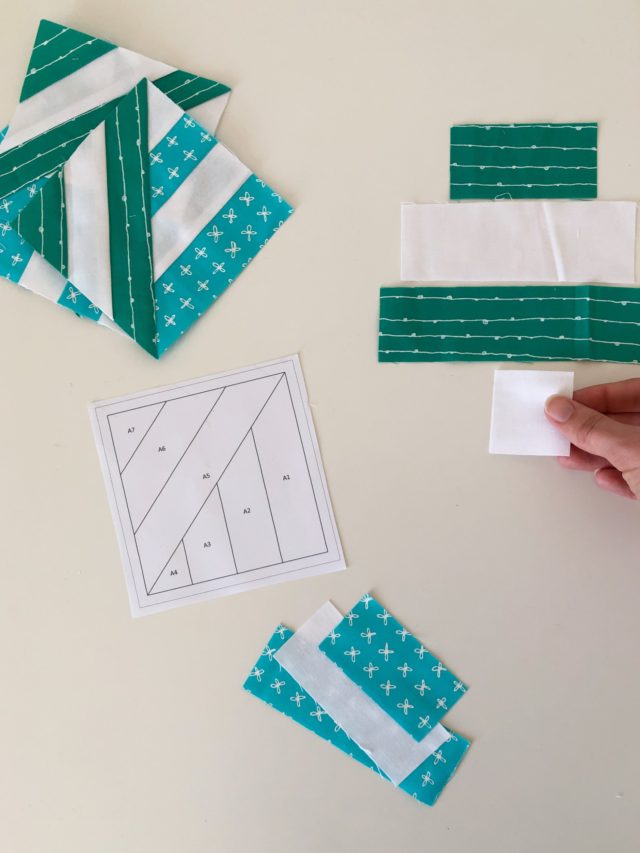
Pre-cutting the fabric into squares and rectangles may create some odd offcut shapes, but you will save time and hassle! This is why my foundation paper piecing patterns include cutting instructions for all the major pieces, especially the print fabric segments. To help make your foundation paper piecing time more efficient.
For the segments where there is no listed measurement to cut (in my patterns, this is often the background sections), I recommend cutting a large chunk (i.e. 6″ x 8″ish) and slowly work your way through the fabric.
Tip 3 – Use glue for foundation paper piecing
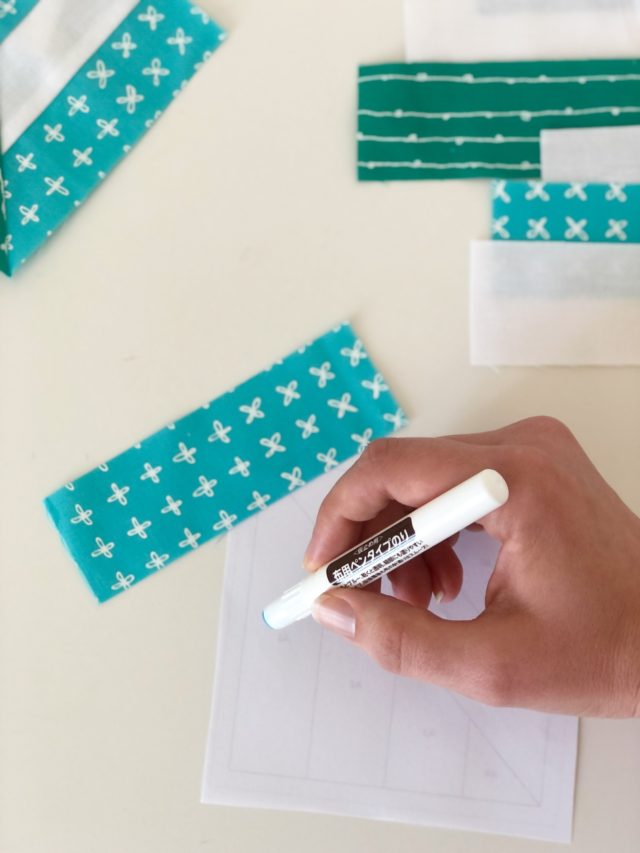
There are a few basic foundation paper piecing tools that you need, and the number one I will always recommend is glue. Using a fabric-safe or washable school glue stick to keep your fabric stuck to the paper is an invaluable help when foundation paper piecing. Whether it’s to get the No. 1 segment fabric secured to the template before you sew on the second piece, or to hold subsequent fabric pieces to the paper to keep it in place, a little dab of glue goes a long way. You can buy specialty glue pens from your local quilt store, but even a washable school glue stick will do the job nicely too.
I also find glue handy to use when you’re piecing larger blocks and handling larger, flappier bits of fabric (that’s a very technical term) to use a dab of glue to keep the flappy fabric stuck to the paper and out of the way… because there is nothing worse than accidentally sewing it into a new seam and having to unpick, ugh!
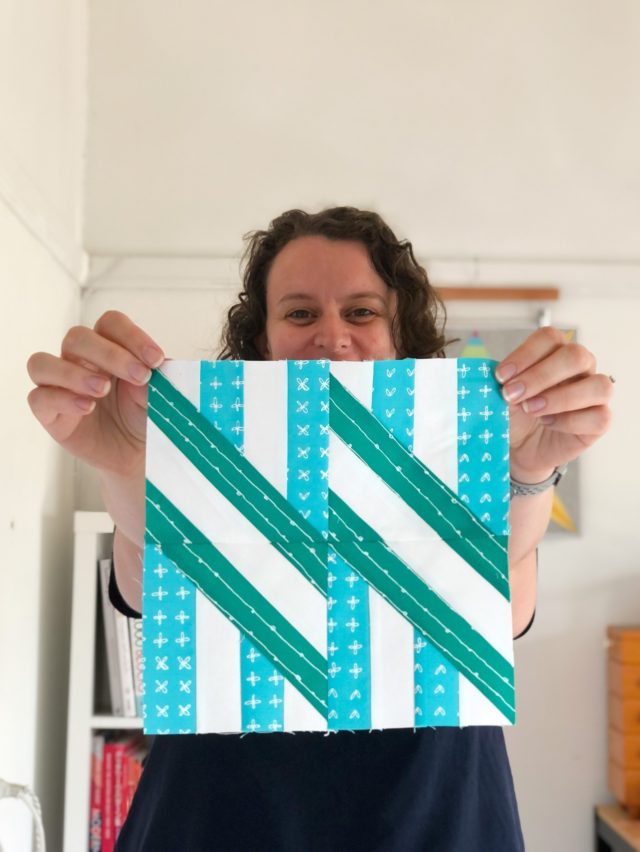
Allsorts blocks from Foundation Paper Piecing 101
Implementing these three basic tips for foundation paper piecing will help make your piecing go much more smoothly and help you get a better result. Do you have any foundation paper piecing tips and tricks you use? Let us know in the comments!


Lay Eng says
I also use a thicker size needle like size 90 or 100 so that the holes are bigger which then makes the paper easier to tear.
Alyce says
Yes, definitely also helpful for the extra bulkiness!
Andrea says
I like to trace the pattern through to the placement side so it is really clear where you both put and sew it. Colouring the placement side can also be a help
Alyce says
Great tips!
Claudia says
Great tips, thank you!
Alyce says
You’re so welcome!
Colleen Monti says
I am curious about the tape indicating the 1/4 inch. Where can I purchase?
Alyce says
It’s called Diagonal Seam Tape by Cluck Cluck Sew and you can purchase it directly from Allison, or from a wide variety of online shops.
Jessie says
What I do instead of printing out millions (well, at least several !) of template copies is I take the original drawing, get 5-7 sheets of paper and using the small stitch but no thread I see over all the lines, leaving the templates marked. Then just keep going until you’ve got what you need. I learned this one time when I ran out of toner.