There are so many steps to making a quilt, from choosing the pattern and fabric, through to the last binding stitch (by hand or by machine!). And it often feels like piecing the quilt top and the actual quilting step are two very, very different tasks. Because they are! Sewing some long seams to piece the quilt top together is a whole other ball game compared to shoving a quilt sandwich (top, batting, backing) through your sewing machine.
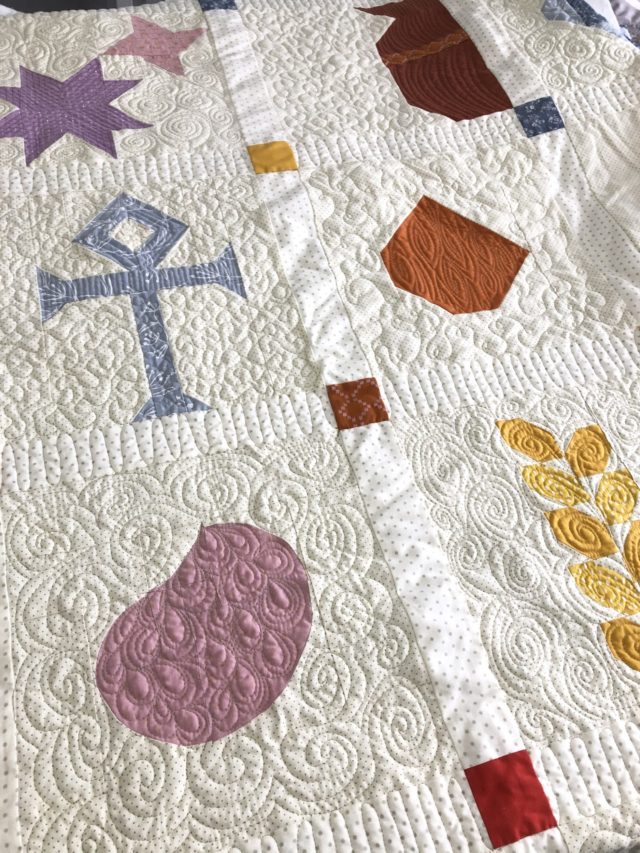
So here are some tips and tricks to consider when deciding how to quilt on a domestic sewing machine, especially when it’s a big quilt… and by big, I mean bigger than a baby quilt! To demonstrate my tips, I’ll be using a throw-sized Geode quilt (64″ x 64″) to model various positions, as well as my Women of Advent sampler quilt (72″ x 72″) for other examples.
Quilt in Sections
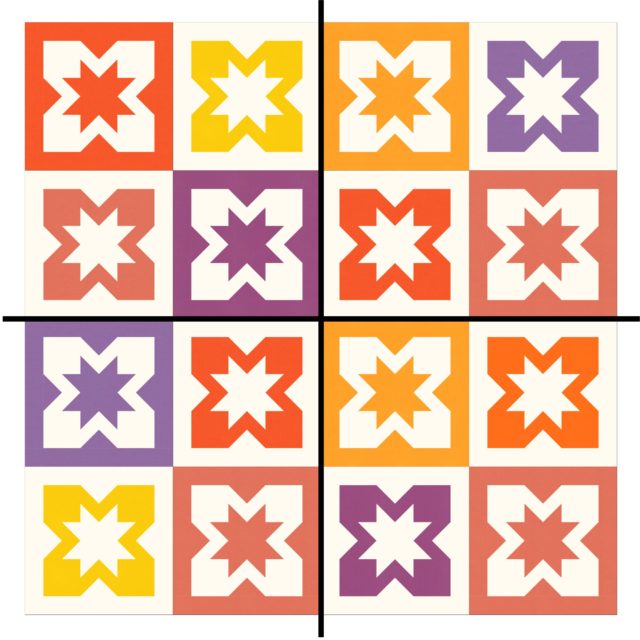
The bigger your quilt, the more quilting there is to be done, the more daunting it feels. But here’s a top trick – think of it as 2 smaller quilts, or 4 smaller quilts, or even more smaller quilts! Looking at your quilt as two halves, or four quarters (etc) not only helps you not feel so overwhelmed by the amount of space to be quilted, but it also helps you physically quilt the dang thing too by working on it section by section.
Another way to work is in rows/columns, which is similar to sections, but we’re talking linear instead of chunks. On a basic level, it can be handy if you have a lot of sashing to quilt, so you can break it down into row by row sections. Or if your quilting design is more linear, either literally with straight line quilting, or in general if you’re doing free motion quilting, then this might be a better option for you.
Quilt by Area
In thinking of how to differentiate what I meant by sections and this tip, I decided “area” was the best descriptor! By area, I mean background vs sashing vs blocks/prints where you are quilting like-areas at a time. This can help you physically break down the quilt into areas, but it can also help you keep track mentally of what to do, and to help give you some mini milestones to hit in the process.
And from there, you may also break it down into sections too! Let’s say you have a quilt where you are going to meander in all the background – you may be able to do it all in one go, or you may choose to break it down into four quarters, or two halves. But the key point is breaking down the Quilting To-Do List into areas to work your way through.
Quilt The Hardest Part First
Growing up, I’d always eat the most boring parts of my dinner first, so that I could end with the good stuff. Often I will approach quilting in the same manner! If it’s a motif I’m comfortable with, or especially with straight line quilting, I get the hardest part of quilt done first – the part that requires the most quilt in the machine at a time.
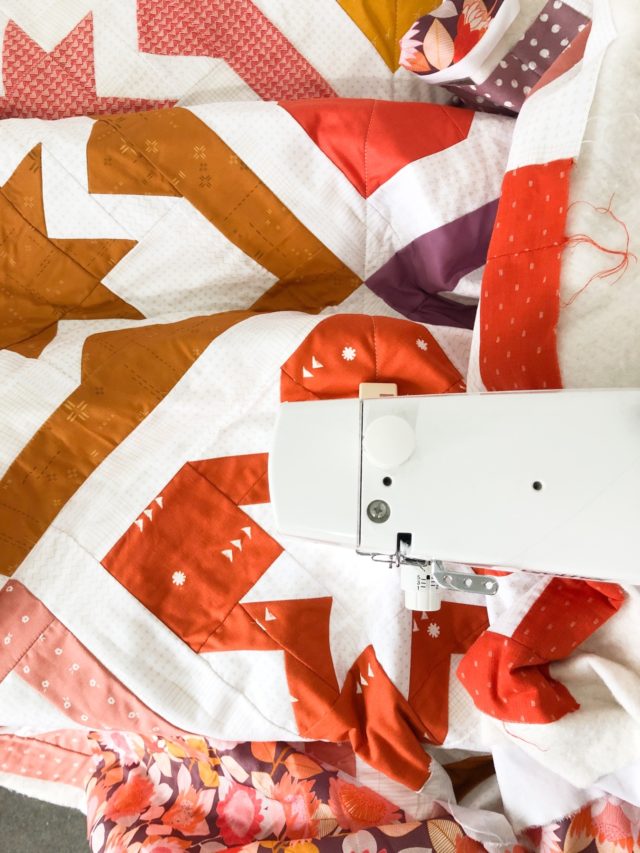
For example, when I was quilting the diagonal lines on the Geode quilt, I started with the middle row of quilting and worked my way towards the left – the direction that meant I was getting more and more quilt into the throat space with each line of stitching. Then, I went back to the middle row and worked my way to the right, meaning that there was less and less quilt in the throat space with each line of quilting.
That way, it’s “all downhill from here” once the hard part is done! It can do wonders for your quilting mojo, especially if you’re quilting a really big quilt, or have a more complex quilting plan!
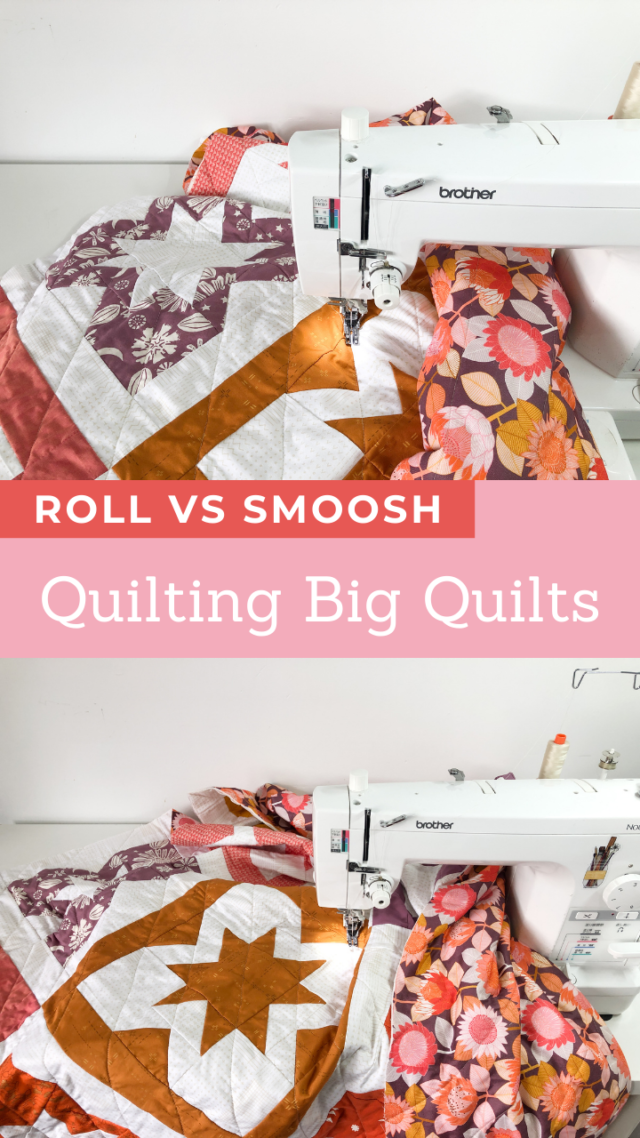
Quilting: Smoosh vs Roll
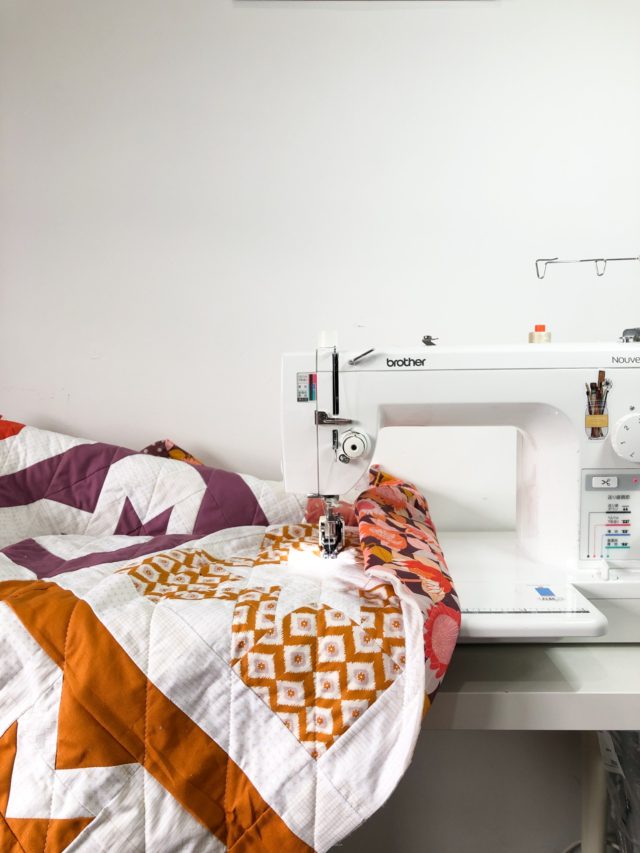
The age-old question of, “Do I smoosh the quilt, or do I roll it up to get it through the machine?” This is definitely one of those personal preference moments, depending on your machine, the quilt, and your set up, but personally? I recommend a little column A and a little column B.
Rolling the quilt can be restrictive in terms of the ability to move it where needed, when needed, if it’s firmly rolled up. But on the other hand, if your domestic sewing machine has a small throat (under 6″), you might need that tighter roll to make it fit more smoothly. And if you’re doing straight line quilting, then you clearly know how much space you need for quilting versus how much can be rolled up.
If you are free motion quilting, then you definitely want to smoosh as much as you can so that you can both more freely quilt your motifs and also place your hands where you need to so as to best guide the quilt through. Again, if you have a smaller machine, then this is where you would want to section off your quilt and focus on one part at a time, so that you’re not trying to have all the quilt in the machine all the time.
Stretch + Water
Bonus tip: Regardless of how you quilt, remember to stop and have a break every 20-30 minutes. Get up, stretch your arms and your back, gently roll your neck around, have a drink of water, move around a bit (dance break!) and give your body a chance to have a quick rest before you get back to it. When we quilt, it is very normal to hunch our backs and tense our neck and shoulders. So it’s very important to look after our bodies! And if you start to feel any pain, stop immediately. As someone who often has neck/shoulder muscle problems, trust me when I say it’s not worth pushing through the pain to get that last section finished!
Quilting big quilts on your domestic sewing machine is part physical management of the quilt, but it’s also part mindset! Breaking down what can feel like a daunting, overwhelming task into manageable chunks both physically and mentally will help you conquer that quilt and get you across that finishing line.
What are you favourite tips and tricks for quilting? Let us know in the comments!
More quilting posts:
- Machine quilting basics
- How to free motion quilt a sampler quilt
- The 3 tools you need for free motion quilting
- How to straight line quilt
- Free Motion Quilting Academy review

Gemini Jen NZ says
Great advice – I have quilted up to a double-bed size quilt on my domestic machine (though I did buy one with a slightly longer throat as I knew I would use it for quilting) and I use a mixture of all of those tips, just depends on the quilt, the pattern/motifs I want to use, how detailed I want to get (or not!)
Janet says
Great tips and pictures! I like to put an audio book on – it helps me stay with the job. Sometimes the hardest part is just getting started!
Susanne Reinig says
Hi Alyce,
I´ve , so far never quilted a big quilt, never done quilts any bigger than baby size. BI will keep your advices close to me. Thank you very much
LindaLea Watts says
I cut my batting in thirds. I put a third of the batting in the center of the quilt and quilt that area. Then I open up the quilt and whip stitch on another third of the batting. I quilt that area. I repeat the process, stitch on the last third of the batting quilt that area and I’m done. It really cuts down on reducing the bulk on my domestic machine. It saves a lot on my shoulders and energy level.
Pat says
Thank you so much for that tip Lindalea! I’m making a double on my domestic machine. I wanted to use cotton and wool batting but knew it would never fit. I’m a bit nervous and very excited to to try your method!
Vickie L. Inboden says
This sounds fantastic. Ive never quilted anything bigger than a wall hanging. At the moment I. Tryi g to quilt a jelly roll race quilt (2 jelly rolls) having a heck of a time.
Susan Conner says
When you have to stop quilting and fill bobbins or stop for the day or you are taking your quilt out of the machine, I mark the place where I stop with a flower head pin in a contrasting color. I put the flower part right where my last stitch was and it’s easy to find where to start again
Kate says
Set the oven timer which forces you to get up from your machine to turn it off; this way you remember to stretch regularly
Marianne Perry says
Another tip is to actually quilt large quilts in several sections and then assemble them later like a Quilt As You Go project. It’s very easy to do when there is sashing between blocks. It forms a natural boundary that can be sewn together later then any quilting over the sashing added. Quilts without sashing take a little more thought about where to stop the quilting for each section but it can be done with some preliminary planning. For anything over a lap quilt I use this method.
Lorna says
Do I smoosh the quilt, or do I roll it up to get it through the machine? In my experience, it is better to smoosh it. I find when I roll it up somehow it causes problems when going through the machine, more often than not.
Alyce says
Yep, you have more flexibility in how you can manoeuvre!
Susan says
How do you baste your big quilts?
Thanks!
Alyce says
I spray baste my quilts, either by moving the lounge room rug out the way, or if it’s less than 64″ wide, I have a folding camp table I can use outside. Note that if it’s than about 72″ or so, I’ll send it to a longarmer!
Dana says
I have quilted several queen size quilts in my domestic machine; some are straight line and some are free motion. My question is HOW DO YOU PREVENT WRINKLES ON THE BACK OF THE QUILT? Is there a trick for that? Thanks for your response. 😊
Alyce says
It’s all in the prep work when basting the quilt. I spray baste so that it helps even more to eliminate the chances of wrinkling, as it’s all stuck down!
James Walter says
Amazing! These are such useful tips for quilting larger quilts on a regular home sewing machine. Breaking the quilt into sections, areas, or rows is presented as an effective strategy to make the quilting feel more manageable. The suggestions around quilting the most difficult sections first and choosing to smoosh or roll the quilt depending on the machine and quilt design are practical advice. It’s also a good reminder to take breaks and rest the body, as quilting large projects can put physical strain on muscles over long periods. Some useful tips to help both progress the quilting and prevent injury.
Tonja says
So glad I found you!! Lots and lots of good advice..from the comment section, too!!