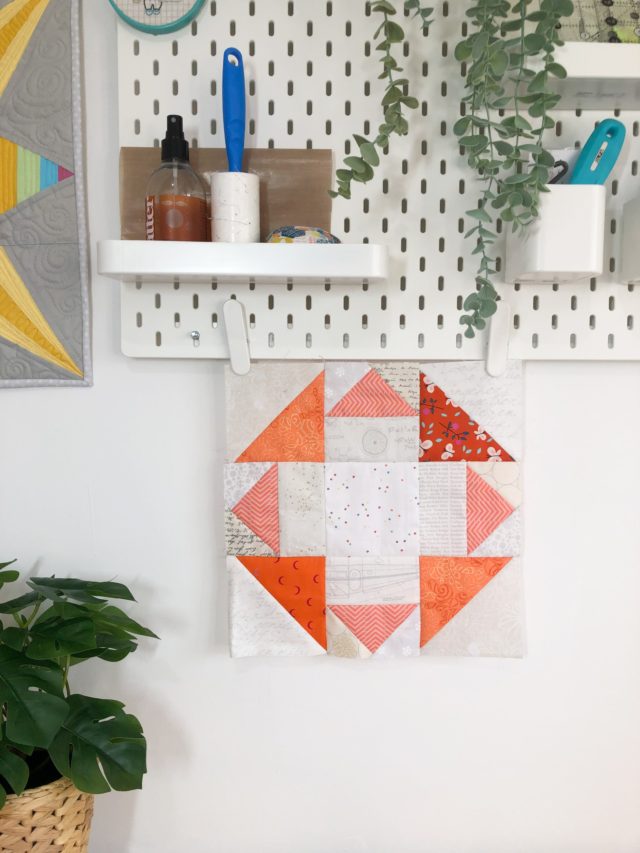
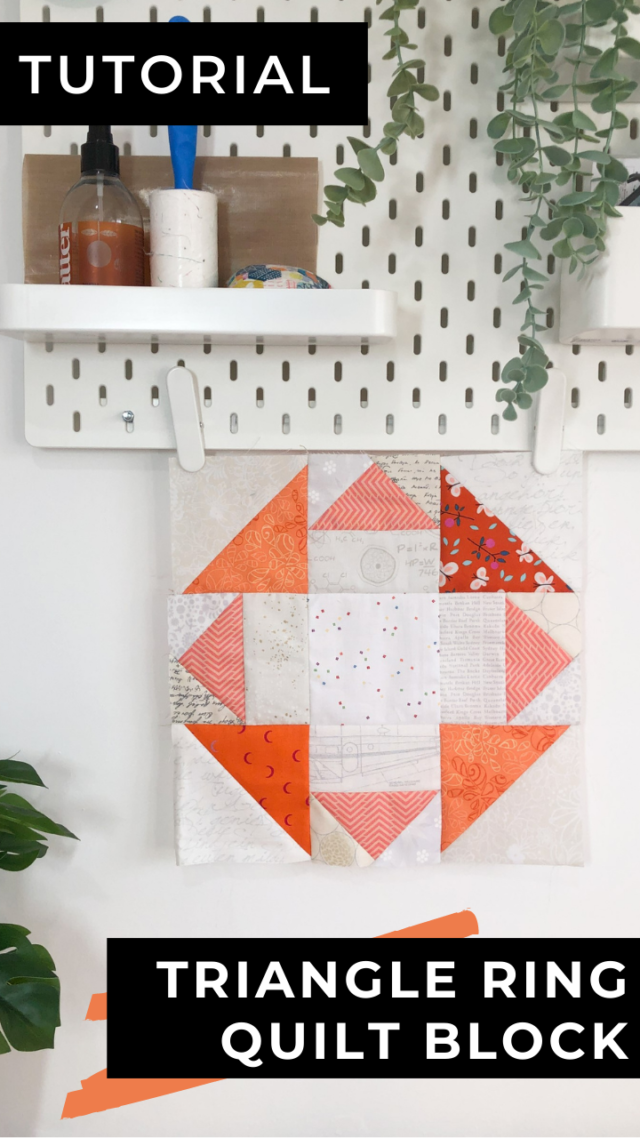
Welcome to the second quilt block tutorial of Scrap Buster Blocks! This series features a different scrap-friendly quilt block tutorial every month that will help you use up your scraps and make some fun quilts along the way.
QUILT BLOCK TUTORIAL
Right here on my website, you’ll find the rotary cut instructions for making the 12″ quilt block (finished). If you have an AccuQuilt, you can find the AccuQuilt instructions on the AccuQuilt Australia blog to make the quilt blocks with any sized Qube set. Also on the AccuQuilt Australia blog, you will find a few quilt layout options for using each block to help inspire you to think “outside the block” (ha!) when it comes to using your quilt blocks and not just use the standard grid layout.
I used my AccuQuilt to make these blocks, so mine are extra scrappy. If you rotary cut this block, your block will be less scrappy.
TRIANGLE RING QUILT BLOCK TUTORIAL
You will need
4 – 2 1/2″ x 4 1/2″ print rectangles (Fabric A)
2 – 5″ x 5″ print squares (Fabric B)
8 – 2 1/2″ x 2 1/2″ background squares (Fabric C)
4 – 2 1/2″ x 4 1/2″ background rectangles (Fabric D)
1 – 4 1/2″ x 4 1/2″ background square (Fabric E)
2 – 5″ x 5″ background squares (Fabric F)
Note: Use a 1/4″ seam and press seams as directed. Quilt block should measure 12 1/2″ x 12 1/2″.
Quilt block construction
Step 1. On the wrong side of each Fabric B square, use a fabric-safe erasable marker to draw a diagonal line from one corner to the opposite corner. Pair the print (Fabric B) and background (Fabric F) squares, and place them right sides together. Sew 1/4″ from the line on each side. Cut along the line and flip open the half-square triangle units. Press the seams open, and trim to 4 1/2″ x 4 1/2″ square.
Step 2. On the wrong side of each Fabric C square, use a fabric-safe erasable marker to draw a diagonal line from one corner to the opposite corner. Place one Fabric C square right sides together with one Fabric A rectangle so that the line goes from one corner of the rectangle to the middle of the opposite side, and sew along the line. Trim the excess fabric 1/4” from the seam line. Press the seam open.
Place another Fabric C square right sides together with the Fabric A rectangle at the opposite end so that the drawn line is perpendicular to the previous seam, and sew along the line. Trim the excess fabric 1/4” from the seam line. Press the seam open.
Make 8 flying geese units.
Step 3. Sew a Fabric D rectangle to the bottom edge of each flying geese unit. Press.
Step 4. Arrange the units and remaining background square (Fabric E) to create the block layout, and sew into rows. Press seams open. Sew the rows together. Press seams open.
We can’t wait to see your blocks and quilts! Feel free to share them with us on Instagram, tagging @BlossomHeartQuilts, and using the hashtags #BlossomHeartQuilts and #ScrapBusterBlocks.
What more Scrap Buster Blocks? Check them all out here.


Kaholly says
This block has quite a lot of potential! Thx!
Kathleen Kingsbury says
I like this one!
Melanie says
I do like this block very much! Thank you for sharing it.
Sheela Churchill says
I was wondering have you tried setting up a PDF download page for the tutorials and free patterns. Just a thought because I have to copy and paste in to word each tutorial. Just makes it easy to save it onto cloud as well.
Alyce says
I have done so in the past for some freebies, but it’s not something I have the time to do every time.
MARILYN DUNSTAN says
I’m enjoying the scrappy squares. Almost done with the second one. Thanks!
Lyn says
Thanks for your free patterns. Can’t try them right now but I will after the holidays. Good luck with your business and I did enjoy your story. You are blessed to have a husband who supports and encourages you to enjoy your passion.
Judy Engel says
Do you have a video tutorial of how to make the Triangle Ring Quilt block? The tutorial on the page is just written instructions and I am having difficulty with step two as I don’t know which fabric is C and which is A. If C has the the 2.5 x 4.5 rectangle on each side it seems like we would need eight of them instead of four. And I still think that it would be a great idea to have a block with all the fabrics labeled with what letter fabric they are. It would help visual learners like me.
I did do another block of your and loved it.
Alyce says
Video tutorials are not something that’s feasibly for free tutorials like this. I have done some labelled diagrams in the past for some freebies, but it’s not something I have the time to do every time.