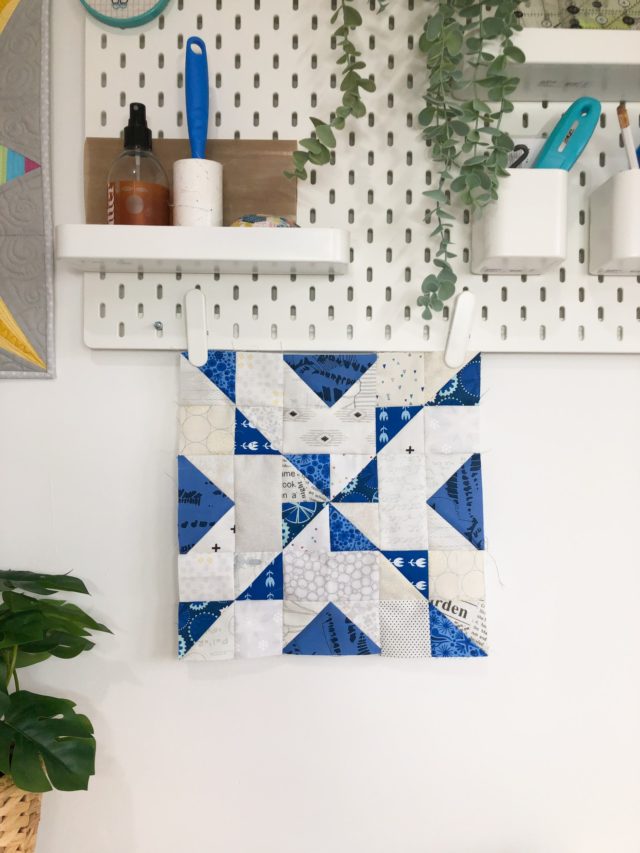
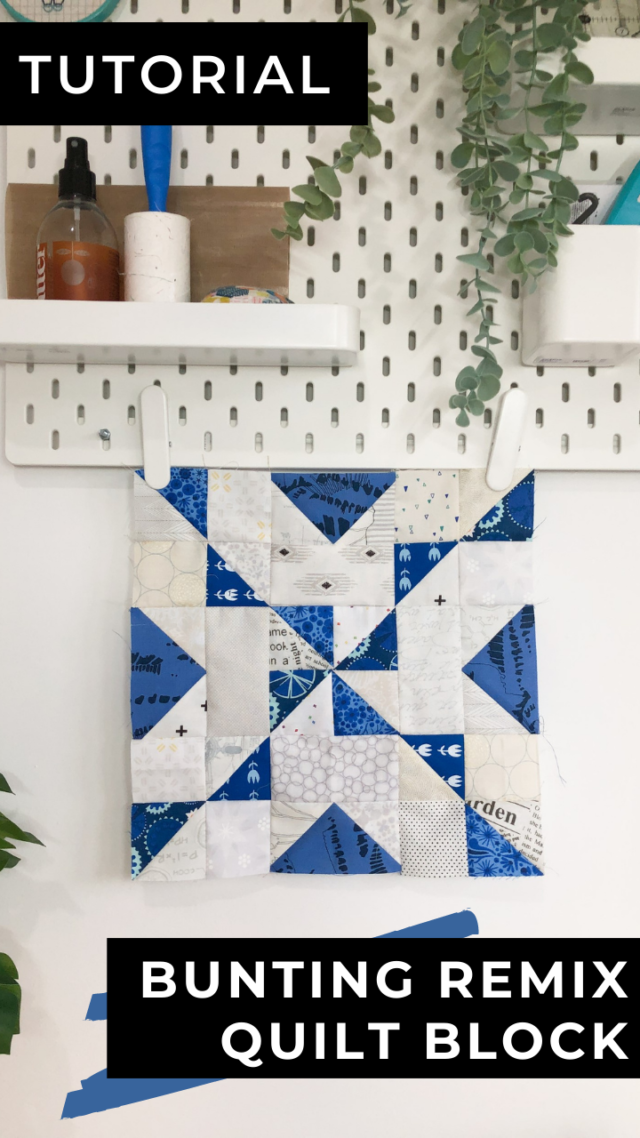
It’s time for the next quilt block tutorial of Scrap Buster Blocks! This series features a different scrap-friendly quilt block tutorial every month that will help you use up your scraps and make some fun quilts along the way.
QUILT BLOCK TUTORIAL
Right here on my website, you’ll find the rotary cut instructions for making the 12″ quilt block (finished). If you have an AccuQuilt, you can find the AccuQuilt instructions on the AccuQuilt Australia blog to make the quilt blocks with any sized Qube set. Also on the AccuQuilt Australia blog, you will find a few quilt layout options for using each block to help inspire you to think “outside the block” (ha!) when it comes to using your quilt blocks and not just use the standard grid layout.
BUNTING REMIX QUILT BLOCK TUTORIAL
This month’s block is a remix of the popular Bunting quilt block tutorial I shared a few years ago as a part of The Bee Hive quilt block series. In fact, all of the Scrap Buster Blocks work beautifully for quilting bees too! This remix version adds some diamonds into the repeating pattern.
You will need
6 – 3″ x 3″ print squares (Fabric A)
4 – 2 1/2″ x 4 1/2″ print rectangles (Fabric B)
16 – 2 1/2″ x 2 1/2″ background squares (Fabric C)
4 – 2 1/2″ x 4 1/2″ background rectangles (Fabric D)
6 – 3″ x 3″ background squares (Fabric E)
Note: Use a 1/4″ seam and press seams as directed. Quilt block should measure 12 1/2″ x 12 1/2″.
Quilt block construction
Step 1. On the wrong side of each Fabric A square, use a fabric-safe erasable marker to draw a diagonal line from one corner to the opposite corner. Pair the print (Fabric A) and background (Fabric E) squares, and place them right sides together. Sew 1/4″ from the line on each side. Cut along the line and flip open the half-square triangle units. Press the seams open, and trim to 2 1/2″ x 2 1/2″ square.
Make twelve half-square triangles (HSTs).
Step 2. Sew four HSTs into pairs. Press seams open. Sew the pairs together to create a pinwheel unit. Press the seam open. Sew the remaining HSTs to a Fabric C square. Press seams towards the square. Sew into pairs. Press seams open.
Step 3. On the wrong side of the remaining Fabric C squares, use a fabric-safe erasable marker to draw a diagonal line from one corner to the opposite corner. Place one Fabric C square right sides together with one Fabric B rectangle so that the line goes from one corner of the rectangle to the middle of the opposite side, and sew along the line. Trim the excess fabric 1/4” from the seam line. Press the seam open.
Place another Fabric C square right sides together with the Fabric B rectangle at the opposite end so that the drawn line is perpendicular to the previous seam, and sew along the line. Trim the excess fabric 1/4” from the seam line. Press the seam open.
Make four flying geese units.
Step 4. Sew a Fabric D rectangle to the top edge of each flying geese unit. Press seams toward the rectangle.
Step 5. Arrange the units to create the block layout, and sew into rows. Press seams open. Sew the rows together. Press seams open.
We can’t wait to see your blocks and quilts! Feel free to share them with us on Instagram, tagging @BlossomHeartQuilts, and using the hashtags #BlossomHeartQuilts and #ScrapBusterBlocks.
What more Scrap Buster Blocks? Check them all out here.


Leave a Reply