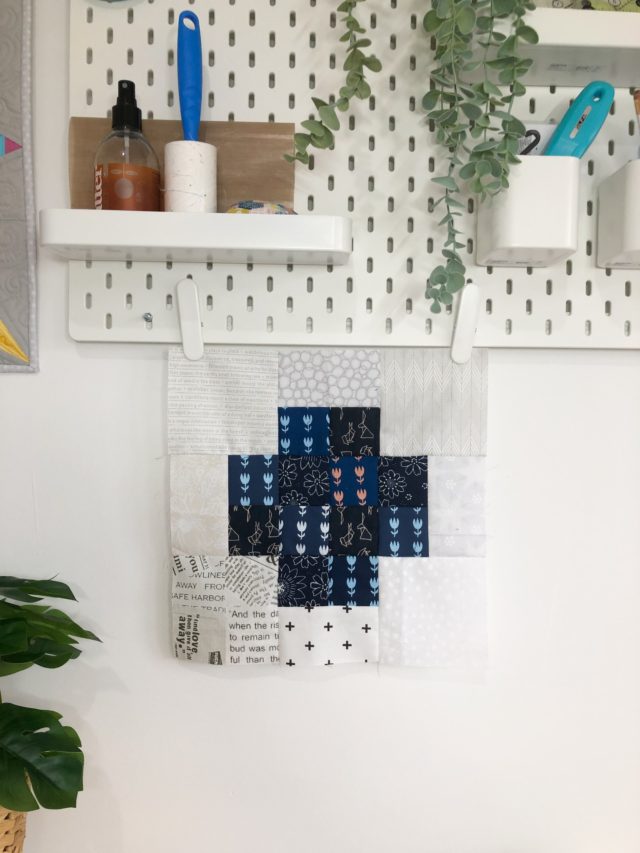
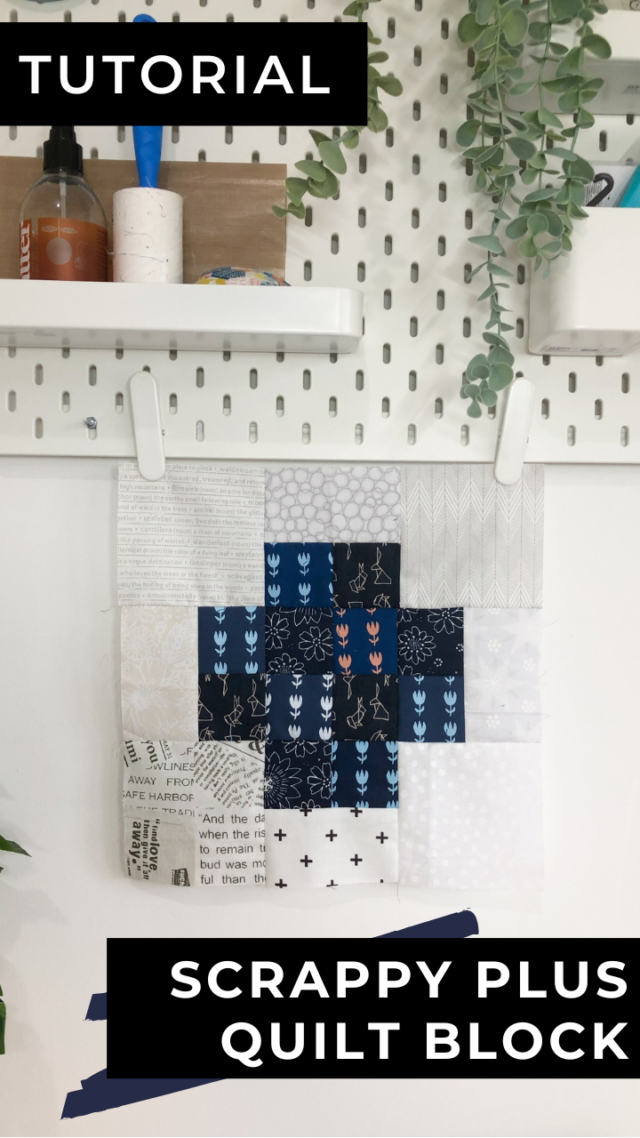
It’s time for the next quilt block tutorial of Scrap Buster Blocks! This series features a different scrap-friendly quilt block tutorial every month that will help you use up your scraps and make some fun quilts along the way.
QUILT BLOCK TUTORIAL
Right here on my website, you’ll find the rotary cut instructions for making the 12″ quilt block (finished). If you have an AccuQuilt, you can find the AccuQuilt instructions on the AccuQuilt Australia blog to make the quilt blocks with any sized Qube set. Also on the AccuQuilt Australia blog, you will find a few quilt layout options for using each block to help inspire you to think “outside the block” (ha!) when it comes to using your quilt blocks and not just use the standard grid layout.
SCRAPPY PLUS QUILT BLOCK TUTORIAL
You will need
12 – 2 1/2″ x 2 1/2″ print squares (Fabric A)
4 – 2 1/2″ x 4 1/2″ background rectangles (Fabric B)
4 – 4 1/2″ x 4 1/2″ background squares (Fabric C)
Note: Use a 1/4″ seam and press seams as directed. Quilt block should measure 12 1/2″ x 12 1/2″.
Quilt block construction
Step 1. Pair the print squares (Fabric A) and sew together. Press seams open. Make six pairs.
Step 2. Pair two units from step 1 and sew them together to create a four-patch. Press seams open.
Step 3. Pair the remaining units from Step 1 sew them to a background rectangle (Fabric B). Press seams open.
Step 4. Arrange the units and remaining background squares (Fabric C) to create the block layout, and sew into rows. Press seams open. Sew the rows together. Press seams open.
We can’t wait to see your blocks and quilts! Feel free to share them with us on Instagram, tagging @BlossomHeartQuilts, and using the hashtags #BlossomHeartQuilts and #ScrapBusterBlocks.
What more Scrap Buster Blocks? Check them all out here.


Linda Heath says
love your website