Hello busy bees! I’m Kristy from Quiet Play (@quietplay on IG) and I’m delighted to be here with a block design as part of the Bee Hive series. I’m a bit of a paper piecing fan (some might say fanatic, but let’s go with fan), and so this block is a paper pieced one.
If you’re new to paper piecing, don’t worry! This one is nice and easy and a great one to whet your appetite for paper piecing. Alyce has a great paper piecing tutorial that has the basics covered, and you just use the same techniques for this block too.
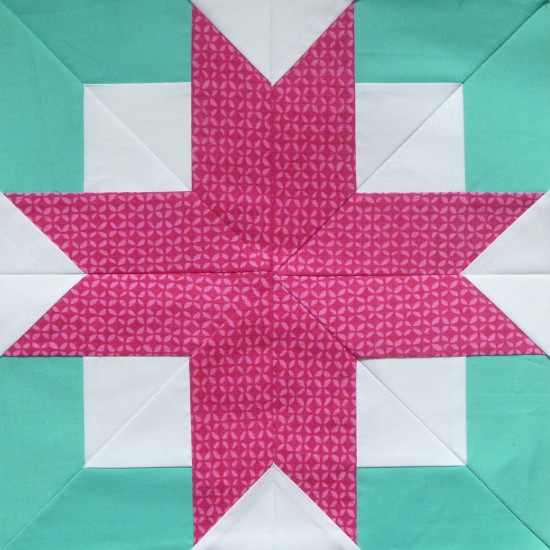
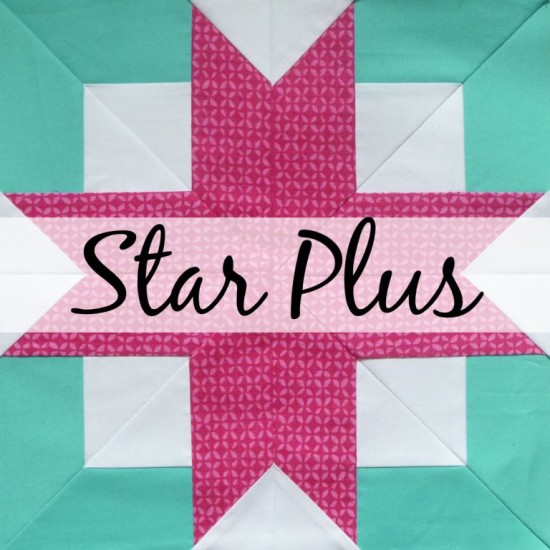
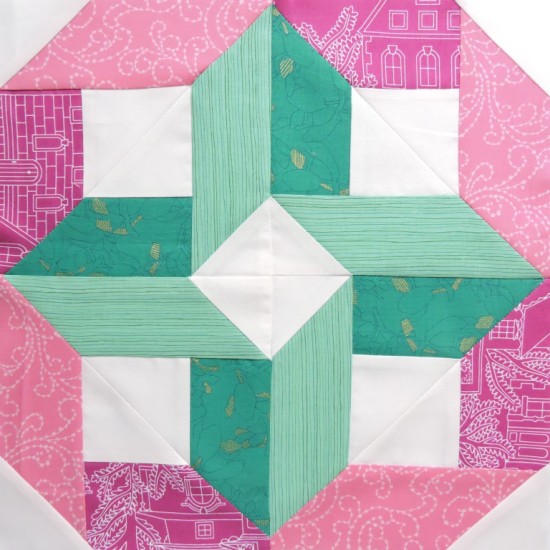
So let’s get on with it. Here’s the block I designed – called Star Plus.
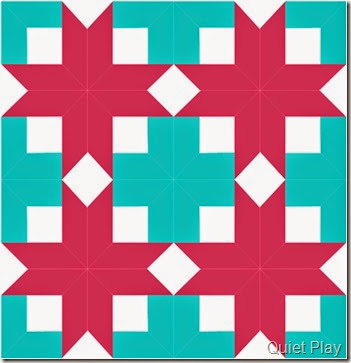
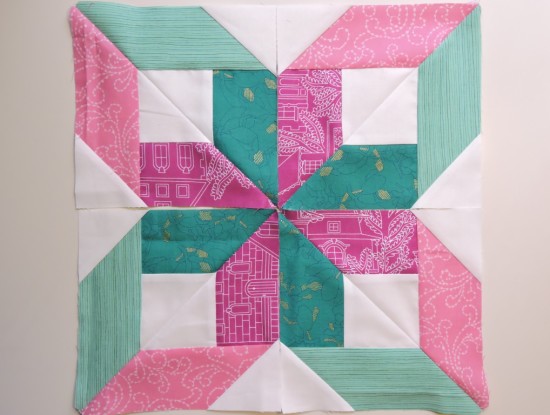
So that’s the star part, I’m sure you’re saying “But where’s the plus?!” Well my friends – that’s the fun part. When this block is repeated, you get a delight star and plus design going on. Like so:
See that pretty plus forming in the centre of these four blocks? Or look, you can get a whole bunch of pluses when you make more blocks! So positive! (See what I did there?)
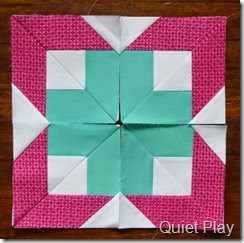
And here’s a little hint: when you have a paper pieced block made in quarters, like this one is, you can have a little play with the sections before sewing them together. It’ll give you a taste of possible repeats. Maybe you want the stars to be the focus, or maybe the pluses! Especially when you’re in a quilting bee – do you want your bee members to make the pluses or the stars to be the feature? The other shape will be scrappier once the blocks are all joined together.
I personally don’t cut my fabrics to exact size when I’m paper piecing, but in a pattern such as this with many pieces the same size, I do like to at least cut into strips first. It makes the process a lot faster. This pattern is perfect for 2.5” strips for the star and plus sections, and 3” strips for the white background sections.
You can grab this pattern as a freebie in my pattern shop. Happy sewing, quilty types!
Alyce’s Take
I will be sewing each of the guest designer’s blocks as we go, plus sharing any tips or pointers I think of to add to the tutorial. Kristy’s block is very quick to piece and definitely beginner-paper-piecer friendly!
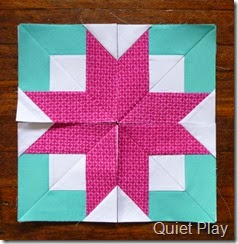
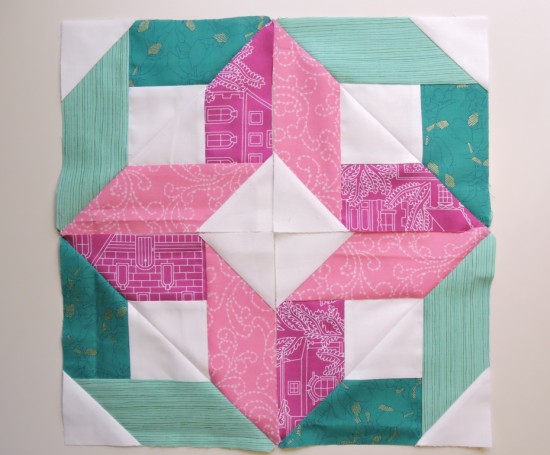
I had planned on having each “quadrant” of the plus to be a darker and a lighter pair of each colour, but I got my notes mixed up on the back and it became alternating colours with a “dark” plus and a “light” star. I sewed the A and B pieces together, but then I accidentally laid them out with the blocks rotate 90 degrees to the left and found this:
Oooh, pretty! I showed Kristy and she also liked what I’d found, so we decided to show you this alternate block arrangement instead of my plus block! I decided to go with the green at the centre.
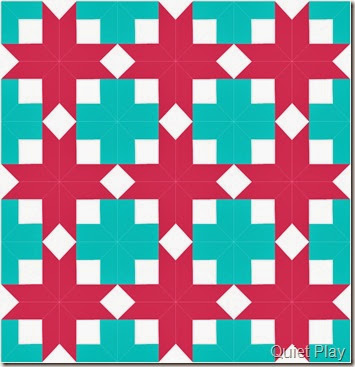
And to show you what this block arrangement looks like as a quilt:
Remember, if you want to do this arrangement instead, once you’ve sewn the A and B sections together to form the quadrant, rotate each block 90 degrees counter-clockwise.
Star Plus tips
The foundation paper piecing tutorial will provide you with the basic skills you need to complete this block.
If you’re wanting to pre-cut your pieces of fabric, or wondering if that scrap fabric is big enough, here’s what you’ll need (the sizes are the same for both A and B sections), and please note, these measurements allow a little wiggle room, but work on the assumption that you neatly align your fabric before sewing:
#1 – 2.5″ x 5″
#2 – 3.5″ square, cut in half diagonally (this will cover two #2 segments) OR 3″ square for just one #2 segment
#3 – 2.5″ x 6.5″
#4 – 3″ square, cut in half diagonally (this will cover two #4 segments)
When aligning your fabric for the #3 segment, ensure that the fabric reaches beyond the pointy end of the section, otherwise once you’ve sewn and flipped the fabric over, your corner won’t be covered by the fabric.
You can find all the block tutorials on the original The Bee Hive post. If you’re sharing your blocks or quilts from The Bee Hive on social media, be sure to use #thebeehivequilts and @blossomheartquilts so we can find your awesome work!
If you are in a swarm for The Bee Hive, please see the quilting bee etiquette post for answers to any questions you may have. If it’s Star Plus specific regarding the block construction, please ask in the comments on this post and I will answer it here so that everyone can benefit from the question/answer.


Natasha Renstead says
I love the flexibility in this block guys…fabulous!
Colleen says
Love this block. I just might have to make two quilts with this one. Love the potential of the alternate color scheme.
Hayley says
Both versions look fab! I think I am going to have to make each block each month and come up with a sampler quilt… I don’t know how I am going to choose come December, I will be paralysed by all my options!
Alisa says
Hayley, I was thinking the same thing, a sample quilt! <3
Beth T. says
Thanks so much for sharing this block and all the great advice about its construction and possible color combinations.
elsa says
Fab block ~ I like all the other ways to put it together ~ I’m a BIG fan of stars! But I will give the others a go before I sew them all together.
Thanks for the wonderful block!
Patti McGarry says
I’m December as well and I thought I’d only have trouble settling on colors! This is a fantastic block!
Erin says
Hi- can you verify the block size? Mine came out as 11×11 but it says 10 inches on the front and a few people in my give keep getting varying sizes even after checking their printer. Thanks!
Alyce says
Hi Erin,
Yes, Kristy has fixed that – it’s a 12″ block (should measure 12.5″ unfinished once the quadrants are sewn together). Her patterns are made with varying paper sizes in mind (Letter vs A4), so that won’t be the issue. Printer settings can be tricky, with a couple of different places to check that it’s print Actual Size and not made to fit the page, and of course each printer and computer is different, so I can’t be more specific in where to find it, sorry! So just dig through the settings/properties in the Print window and make sure it’s Actual Size and not shrunk to fit, or with a border or anything else funky.
Susie says
This is such a cool block design ! I love Kristy’s and yours, Alyce! The colors are stunning, and combined in a quilt make me swoon!!
I live in the USA, and have made many of Kristy’s paper pieced patterns… I have found that if I use legal paper and select legal for paper size , the wider pattern pieces will fit in to the “actual size”. Check it out on the preview before you print it out…. Aussie’s are used to using A4 sized paper. I substitute legal for the A4.