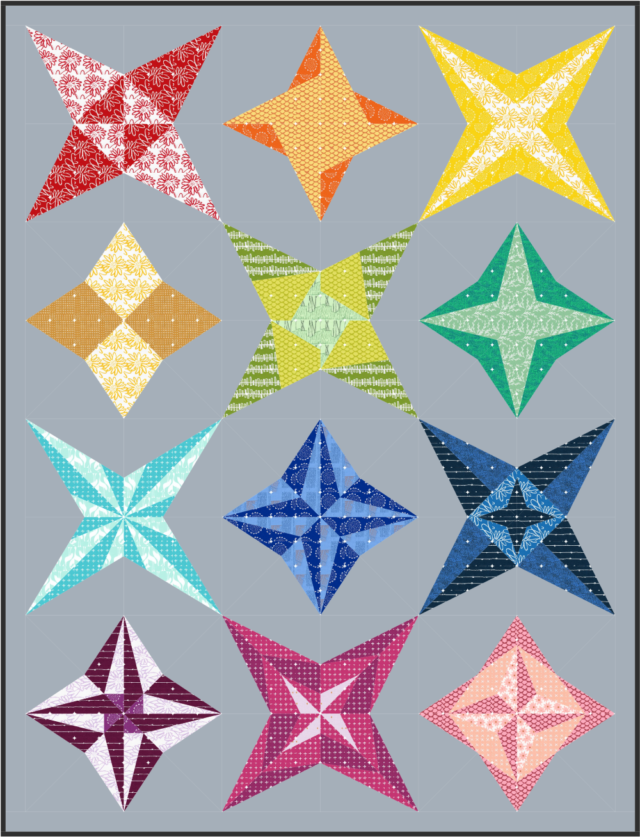
Foundation paper piecing is an invaluable skill! Yes, it takes a little bit of mental acrobatics trying to wrap your brain around how it all works, but the great thing about learning how to foundation paper piece is that once you’ve learnt the basic technique, it’s the same for every single pattern. It’s just that taking that first step can be a bit scary. Which is why I’ve designed the Milky Way Sampler to teach you how to do it and make a beautiful quilt at the same time.
And I hope you’re ready, because this is chock full of guidance… aka rather long and full of photos.
Supplies for foundation paper piecing
The first thing you’ll need to get sorted are the supplies you’ll want for foundation paper piecing. There are the basic sewing supplies like a rotary cutter, ruler, and mat, but there’s a couple of other things you’ll want, plus some tips to consider when choosing some of the basic sewing notions.
Paper
You will need to print the templates for your pattern, but as you’ll be sewing through it, you want to carefully consider what type of paper you’re using. I use cheap copy paper because 1) it’s cheap! and 2) cheap = thinner = better for sewing through. Other people prefer to use newsprint paper, the kind used for newspapers, as it’s a lot thinner but still sturdy enough to print onto it.
Holding On
Slight word play there… you will want to have either a fabric safe, washable glue stick on hand, and/or some thin, sharp pins for the start and middle steps of paper piecing. You’ll see further down why I use glue, but if you’re using pins, you want to make sure that they’re as thin as possible so as to not bend your paper too much. At the final stages of foundation paper piecing, when you’re sewing the template sections together to create the finished block, Clover Wonder Clips are really useful to hold the layers of paper and fabric firmly together.
Thread
When you’re foundation paper piecing, and you have layers of fabric and paper, you’re going to want to use a fine thread. Fine as in thin, but also fine as in good quality! I piece everything with a 50w Aurifil (the orange spool), and it’s strong enough to sew through layers of fabric paper, and lightweight enough to not add unnecessary bulk.
Paper Scissors
Oh yes, we’ve all seen the memes about using fabric scissors for anything other than fabric. And now that we’re dealing with fabric and paper, you’ll want to have a nice, sharp pair of paper scissors on hand too! Side note – you’ll be using your rotary cutter to trim blocks, which may sometimes involve the paper too, but I don’t worry about that as you regularly need to change the blade anyway. Some people keep a paper-only blade on hand, but I figure that as you want it to be sharp enough to cut through fabric and paper, just stick to the one as blades eventually dull anyway. But it’s up to you!
Rulers
In foundation paper piecing, you are constantly trimming fabric to a 1/4″ seam allowance. There is a fascinating tool out on the market especially for foundation paper piecing called Add-A-Quarter Ruler that you might prefer to use! It has a groove that locks onto your seam so that you can neatly and accurately trim fabric to 1/4″. In fact, this is on my wishlist! But for years, all I’ve used is my Creative Grids Quilt Ruler 6.5″ square ruler or the 12.5″ long version that has the frosted 1/4″ around two edges. It’s not notched, but it’s a visual help to line it all up.
Pressing
There tends to be a lot of smaller seams within each block when you’re making a foundation paper piecing pattern. Not so much in the Milky Way Sampler, however it’s something to be aware of, as it’s important to press each seam to make sure that each piece of fabric is laying flat. If you use an iron for each and every seam, well, for starters that’s a lot of up and down to your ironing board! But the heat will also cause your paper to start to curl. Which isn’t irreversible, but it’s still a pain! And using just your finger is not going get that seam flat enough. I have personally used a Clover finger presser for years and love it to pieces. Other people like to use a seam roller to achieve the same outcome.
Printing foundation paper piecing templates
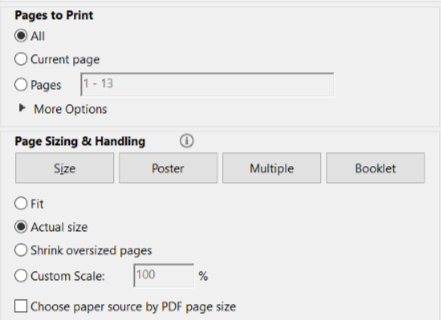
This part of the process is vitally important to get right – correctly printing your pattern pieces! With different printers and computers and paper sizes, the key to remember is “Actual Size”. Regardless of what your computer set up is, there will be a setting in the Print menu to select “Actual Size”.
If you choose any other option there, it will change the size of your templates and they will not be the correct size. All template pages for the Milky Way Sampler have a 1″ test square that you can use to make sure that you’ve printed the page correctly. You also need to make sure that you have downloaded the pattern to your computer and are printing from a PDF reader such as Adobe Acrobat Reader (free). If you try to print templates directly from online through your browser, it will not print correctly.
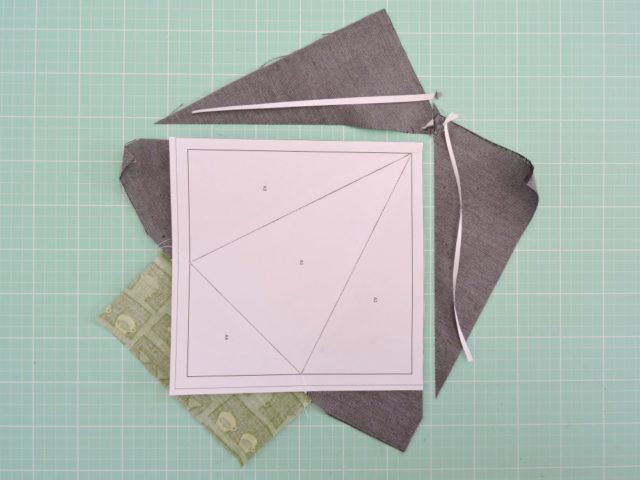
Once you have printed your templates at the correct size, cut them out around the outer line of each template. It can be useful to keep a small amount of extra paper around the outside, about 1/8″, so that you will know that you have enough fabric around the outside edge to maintain a 1/4″ seam allowance. The distance between the inner, thicker line and the outer line as your 1/4″ seam allowance when you sew the templates to each other.
It can also be useful to then colour or make a note of what fabric is going where! The important thing to remember here is that the image created by the printed side of the templates is actually the reverse of what the fabric is going to create on the front of the block. So if the template print shows a tree on the left of the image, in the finished block it will actually be on the right. Just like how if you hold up your left hand, it appears to others to be on their right. It’s the same principle at play there.
How to foundation paper piece
Step 1. The very first, most important step of sewing a foundation paper piecing pattern is to set your stitch length really low. I normally sew at about 2.5, and I paper piece at 1-1.5. The shorter stitch length means that when you pull the paper off at the end, it’s a lot easier to do so, and your stitches remain safely in place.
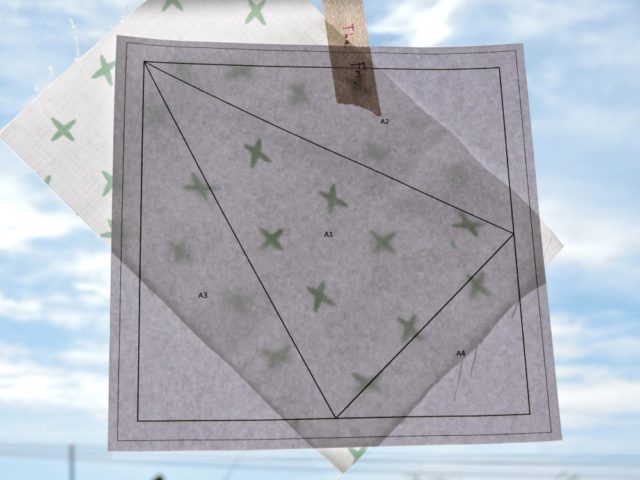
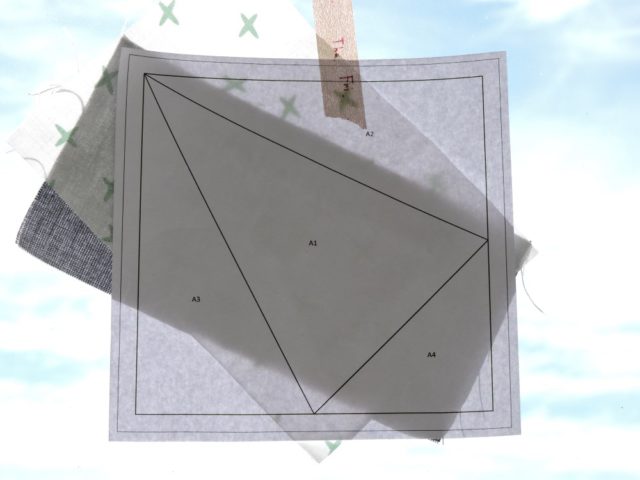
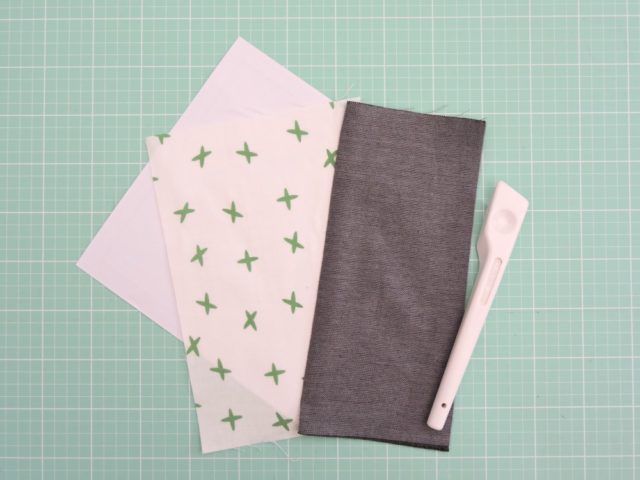
Step 2. Place the A1 fabric wrong-side down on the non-printed side of the paper, ensuring that it fully covers the A1 section on the paper with at least 1/4″ overhang over the section edge, and pin or lightly glue in place.
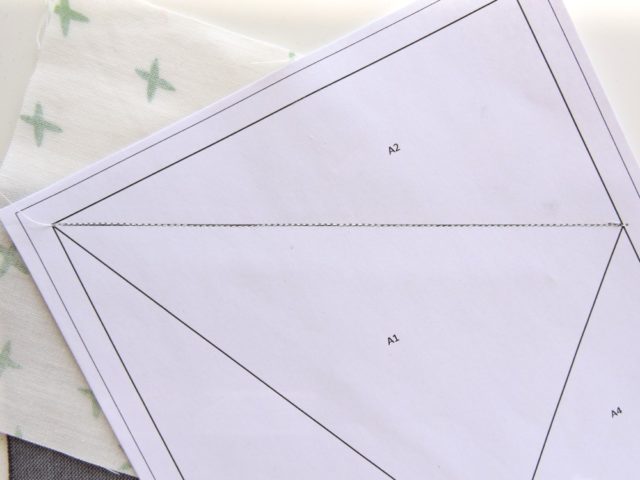
Step 3. Place the A2 fabric right-side together with the A1 fabric, ensuring that there is a 1/4″ overlap into the A2 section on the paper. Also ensure that it fully covers both ends of the line between A1 and A2. Pin to A1 fabric, or hold firmly.
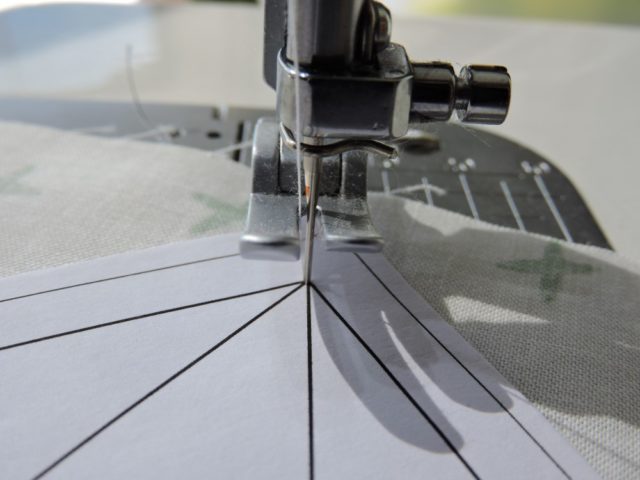
Step 4. Carefully place the template and fabric under the foot on your sewing machine with the printed side of the paper facing up, aligning the needle at the start of the seam line. Lower the needle into the start of the seam line, and lower the foot.
Lock your seam by stitching a couple of stitches, then backstitching to the starting place, before stitching all the way to the end of the seam. Backstitch again to lock the other end of the seam.
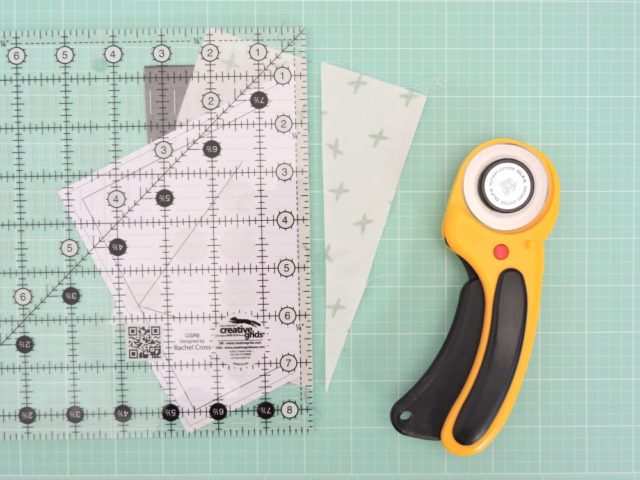
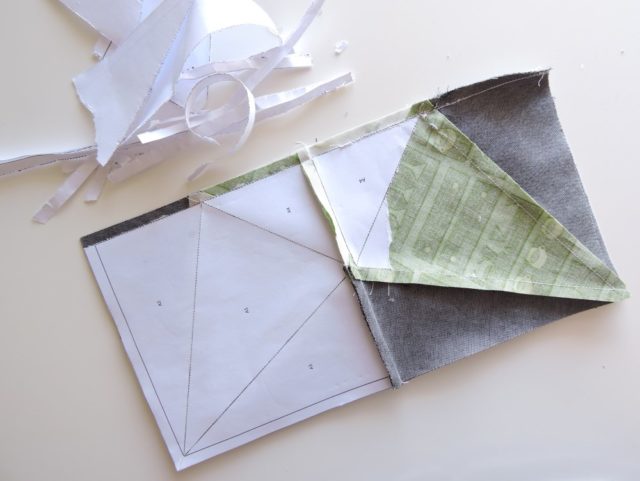
Step 5. Remove the template from the machine, and place fabric-down on your cutting mat. Gently fold the paper back along the seam you just sewed.
Using a ruler, place the 1/4″ line along the edge of the paper. Trim the overhanging fabric to 1/4″.
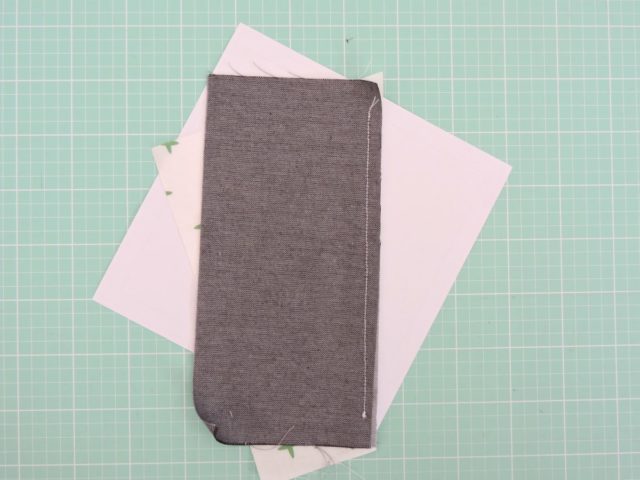
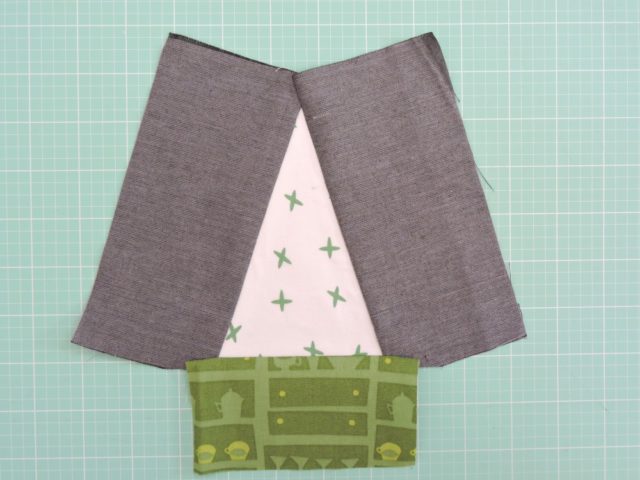
Step 6. Turn the template over to the fabric side. This is the only time you should have the fabric facing up for the official steps of foundation paper piecing! Every other step is paper up, fabric down.
Flip A2 fabric open, and gently press the seam flat. I recommend using a Clover finger presser, or something similar, to avoid having to use a hot iron on your paper repeatedly.
Step 7. Repeat the process for the remaining sections on the template.
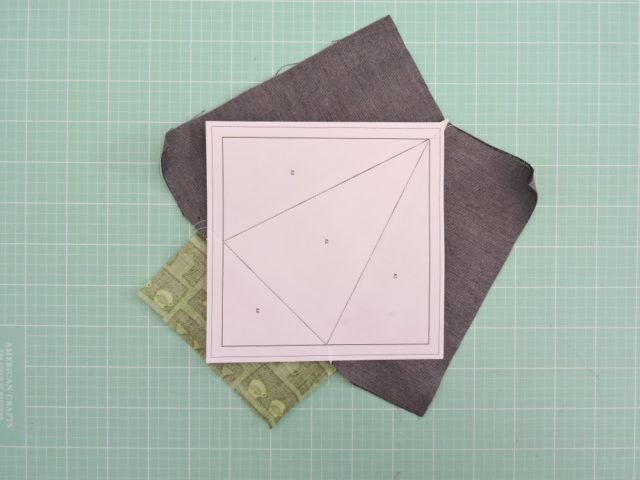
Step 8. Once the template is complete, place the template fabric-down on the cutting mat.
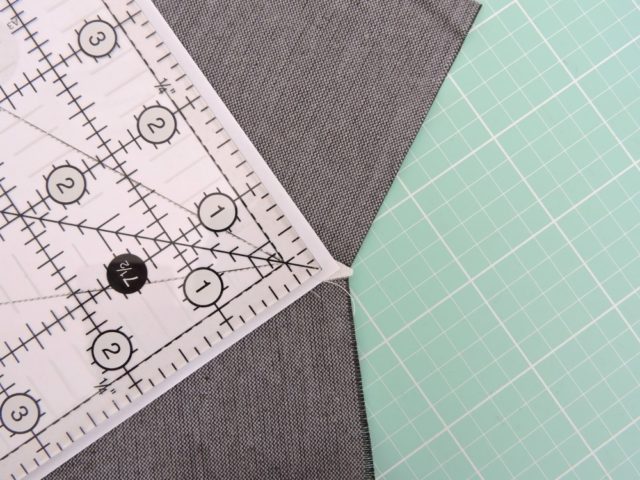
Place your ruler on top of the template, aligning it so that it’s 1/4″ outside the thicker inner line. This should be along the thinner, outer outline, but always measure from the inner line to be safe.
Trim around all four sides to 1/4″ from the thicker inner line.
Repeat the process for all templates involved in the pattern.
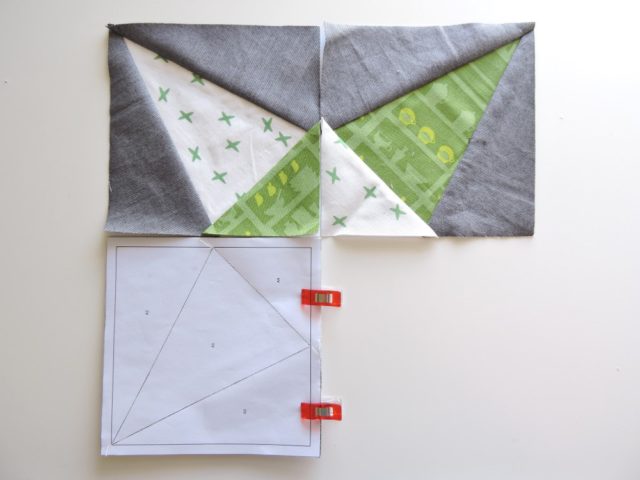
Step 9. Following the pattern’s diagrams or instructions, piece the templates together. You will often need to sew templates into larger sections first (into rows if they’re square templates) and then sew those together to create the block. Clover clips are perfect for securely holding the layers of paper and fabric together!
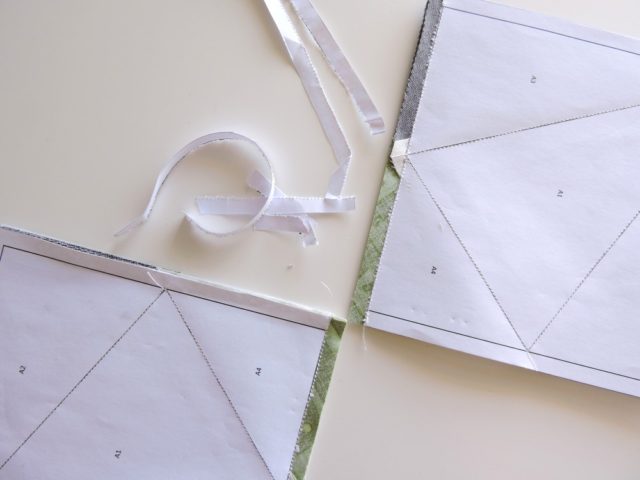
I recommend carefully removing the paper from seams once you’ve sewn them together so that it’s easier to sew the next seams. You can also press the seams in alternating directions to really help get those points meeting beautifully.
Step 10. Carefully pull each section of paper off the block. Do it segment by segment.
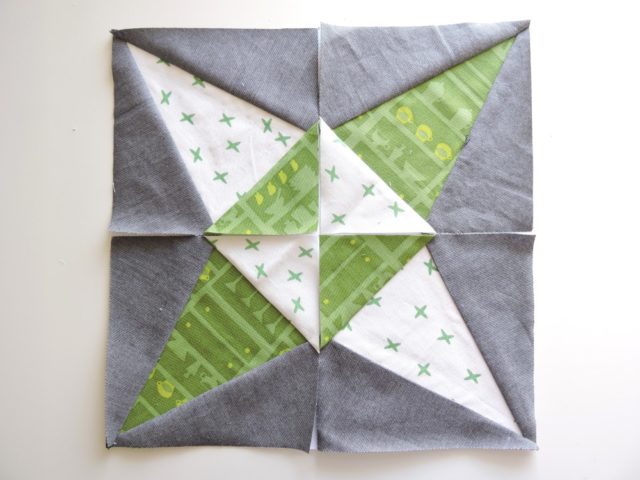
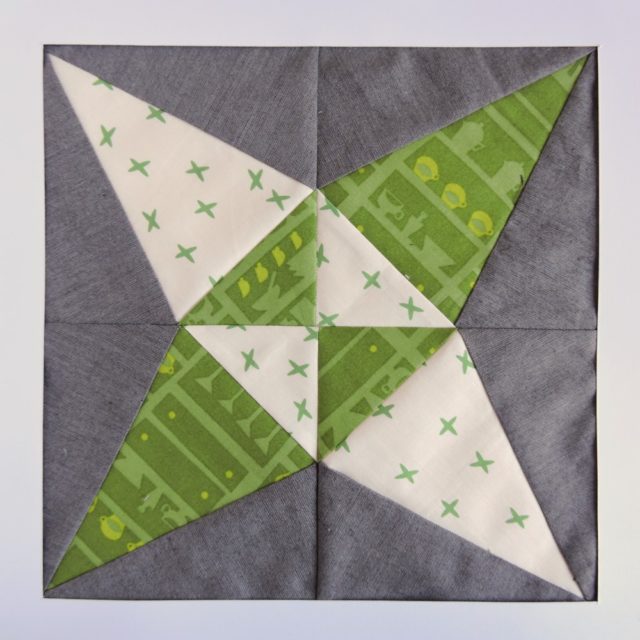
Press your seams, and the block. And you’re done!
If you prefer learning by learning in-person, I’ve got the next best thing… Foundation Paper Piecing 101 is my introductory online course to FPP and includes video demonstrations of all these steps, plus exclusive patterns and bonus content!



Debora says
Thank you for such clear instructions and pictures. I enjoy paper piecing and have tried to teach others. It is truly a skill to be learned at your own pace and this tutorial makes it easy for someone to work through it at whatever pace is right for them.
Alyce says
Thank you for the great feedback, Debora, I really appreciate it!
Lisa B says
Great tips! I always press after each trim! I’ve never had the paper curl 🤔 But I also don’t use steam- that might be why it curls!?? I have a small ironing board from ikea and keep it just behind my machine to press. My girlfriend swears by the quarter-inch tool you mentioned, but I do fine without it! Love FPP!
Alyce says
I never use steam, although it’s always as hot as I can… maybe that’s why?
Aileen says
I did Elizabeth’s Craftsy class on foundation paper piecing and it was excellent. In fact I’m about 80% along on a New York Beauty quilt. Her teaching skills are amazing.
Alyce says
Yes, I really like her as a teacher!
Patty says
What a wonderful and clear tutorial
Alyce says
Thanks, Patty! I tried to make it as thorough as I could!
Marion Rezansoff says
Thank you for such a great tutorial. Some instructors have a video that goes soooo fast that I cannot follow the steps,, You have totally made my life simpler. I am excited to finish my project
Dorie E says
I love paper piecing in my vintage machines. They are great to work with, especially now that I found LED bulbs for them!
Alyce says
Ooh, I really need to get some more light for my machine! It’s a modern beast, but doesn’t give much light!
Kathleen says
Looking forward to this!
Alyce says
Yay!
Susan says
Thanks, Alyce. I did pick up some tips there I didn’t know. =)
Alyce says
My pleasure!
Carolyn E Mcglinchey says
First of all, thank you for these directions because it can be difficult finding clear cut instructions for foundation paper piecing.
My comment has to do with Step 2; would it be correct to say the first piece of fabric is placed “Right Side Down” on the sewing machine, and not “Wrong Side Down” on the template?
I made the mistake of placing the first piece of fabric wrong side facing down on the template and it didn’t work.
This is just my way of thinking, but ‘wrong side down’ implies the right side of the fabric is facing up against the unprinted template.
Maybe a less confusing way of wording it could be the fabric and the template are placed “wrong sides together” or “wrong sides facing”?
Carolyn E Mcglinchey says
An additional way of saying the same thing:
first piece of fabric is “wrong side up” against the unprinted side of the template! Huzzah!
Mo Mac says
Saying the wrong side up on the template is the same thing as saying placing the wrong side on the paper as the instructions say. I think it was clear as stated.
I’m a big traditional piecer. I’ve done the same thing many times because FPP feels so backwards to me.