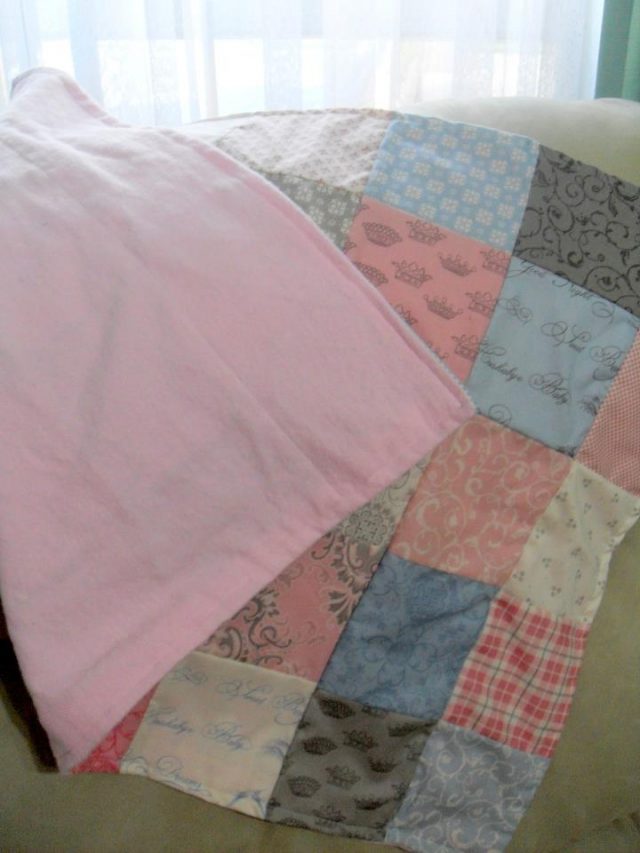
For the first few quilts I ever made, I technically didn’t even quilt them. Machine quilting seemed like a daunting step! I mean, I just had a baby Elna 1000, surely I couldn’t quilt at home on my domestic sewing machine? My first couple of (baby) quilts simply had the pieced top and flannel as the backing, which I stitched right-sides together, flipped it out, and top stitched around the edge. I then ventured into adding batting, but using the same process to sandwich it all together, and then adding some “straight” lines along the seams at an attempt at machine quilting.
Baby quilt made circa September 2011
But oh how wrong was I! Over the following year, thanks to the internet, I began to self-teach myself how to machine quilt on my little domestic sewing machine. That tiny Elna 1000 (with it’s throat space of less than 6″) ended up free motion quilting larger quilts of up to full throw size. My Aurora sampler quilt would have be to be the crowning achievement of that baby sewing machine. So I won’t accept any excuses about how small or inadequate your sewing machine is, because with time and practice, anything is possible!
I now have a super fats, straight-stitch only Brother machine with a 9″ throat space. It makes it much easier to quilt with the speed and space! For this tutorial, I’m using my baby Geode quilt top as an example (pattern available here), as we draw towards the end of the Geode QAL. I hope to encourage you to machine quilt your own quilts too!
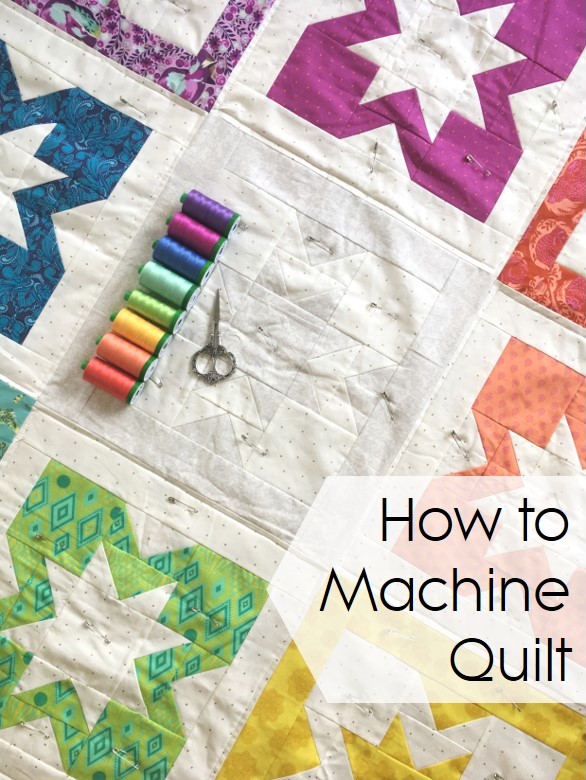
How to machine quilt
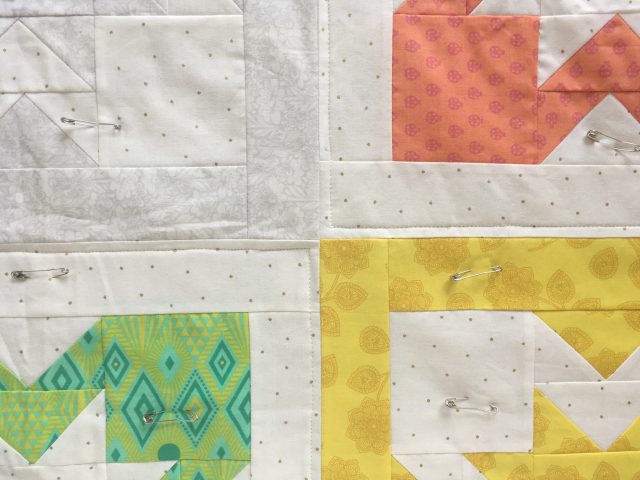
Successful machine quilting mainly lies in the preparation of your quilt sandwich. Baste well and your quilting will be much smoother and easier! You can find a full basting tutorial for pins and spray here. Once your quilt sandwich is smooth and ready to go, the first step is to get your tools ready.
Machine quilting supplies
Let’s be clear – all you really need for machine quilting is a quilt sandwich, whatever thread you currently have in your machine, and a sewing machine. That’s all I started with, and it gets the job done. But there are some other options you might like to consider for added ease/comfort and artistic improvement:
- Quilting gloves – lightweight, cotton gloves to help grip the fabric better as you guide the quilt through the machine. I use some general work gloves that I found in Japan that have yellow rubber spots on the hand as they’re comfortable, cheap, grippy, and breathable; others I know use basic gardening gloves. You can also get proper machine quilting gloves like Machingers.
- Coordinating thread – to match your background fabric and prints. What thread you need depends on what kind of quilting you are going to add, and where, but a good rule of thumb is to at least have a thread that matches the background fabric. White, off-white, cream, and a light grey are great thread colours to keep on hand to match whatever fabric you may be using. These colours also tend to be very useful in working as an all-over thread colour option if you want a quick all-over quilting, especially light grey and off-white.
- Sewing machine feet – walking foot; free motion quilting, or, darning foot. A walking foot is useful when doing straight line quilting, as it helps to feed the quilt sandwich through more evenly. It’s certainly not a necessity, but it will definitely make your life easier – I didn’t have one for the first 5 years of quilting, and I love having one now! A free motion or darning foot is a necessity if you wish to do free motion quilting. There are generic options available if you can’t easily find one for your brand of machine. This foot, together with dropping the feed dogs and/or stitch length to 0, allows your quilt top to move around in all directions while quilting. There are a range of options in terms of style, from see-through to open-toed, so choose one and have a try!
- Water – oh yes, stay hydrated* while quilting! It’s practically a work out. Related – stand up and stretch after each block or row.
- Quilt support – the larger the quilt, the more support you will need to add to help carry the weight of the quilt. It may be as simple as adding a chair to your left to carry the bulk of the quilt while moving it around. Others use their ironing board or add an extra table to create an L-shape. The most ideal option is to have your sewing machine dropped into your table, but that’s not an option for many of us.
*humourous quilting cup optional
Now that you’re sorted, it’s time to get quilting!
Stabilise the quilt
While ‘stitch in the ditch’ can be a little boring and slightly stressful (stay on that line!), it’s an important first step. No matter how well you have basted, the fabric can and will still move as you push it through your machine. By sewing some foundational lines across your quilt by stitching in the ditch across the rows and columns where your quilt blocks meet, your quilt is much more likely to remain square. Choose a light thread colour that matches your background fabric, or the fabric that is most often along the seam lines.
One option to make this step a little more interesting, is to make it a feature of the quilting. For my baby Geode quilt, I stitched approximately a 1/4″ from the seam lines around the edges of all blocks with the background fabric. This not only stabilises the quilt, but makes a feature of it at the same time. Ditch stitching with style! For this, I chose Aurifil 2021 so as to match the white background fabric.
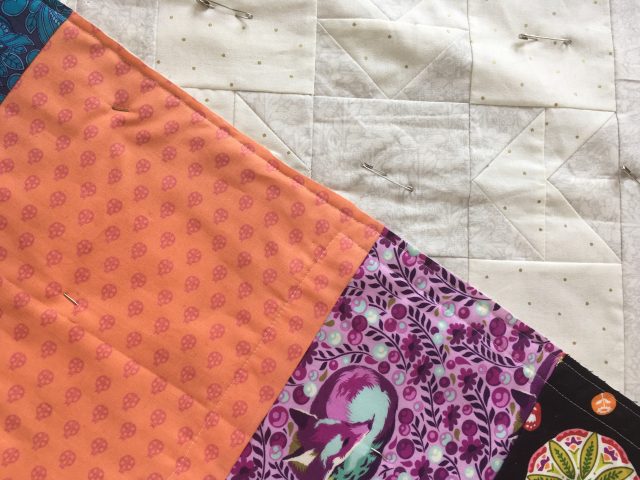
Once you have stitched in the ditch, with pizazz or not, it’s a good idea to also stitch around the edge of your entire quilt. Take it slowly, making sure that the quilt top stays flat, and the quilt backing doesn’t get flipped under and stitched down to itself! Been there, done that plenty of times. Once you’ve done that, you can then trim the backing and batting close to the edge of the quilt top, approximately 1/2″ is a good measurement. This reduces the bulk of the quilt needing to be maneuvered around during quilting, and also further prevents batting and backing getting caught under the needle while quilting.
From there, it’s time to add the pretty quilting!
Choosing thread for machine quilting
Thread choice is not just about choosing what colours best match your fabrics, but also about what weight of thread to use. The lower the number of thread weight, the thicker the thread. So a 50w thread is perfect for piecing, as it’s a thinner thread to sit flat in your seams, but it also works well for quilting. The 40w thread is a bit thicker and shows off your quilting better, and 28w is thicker again. I usually tend to mix it up with 50w and 40w, depending on what I have in the colour that I need. Pull out a few different colours, and shades, and have a play. See what coordinates, see what blends, see how they compare to the fabric and to each other.
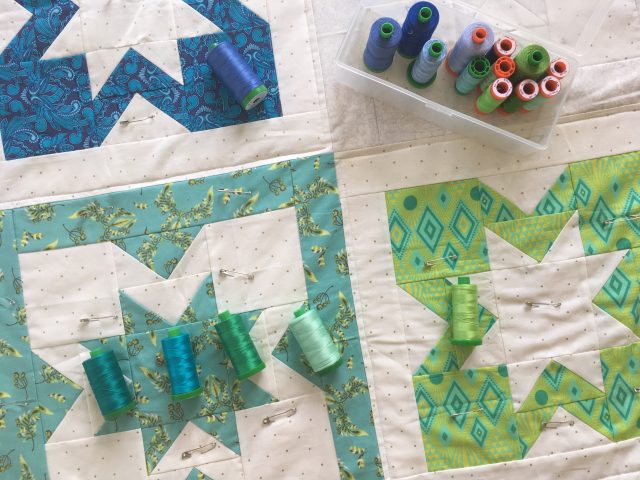
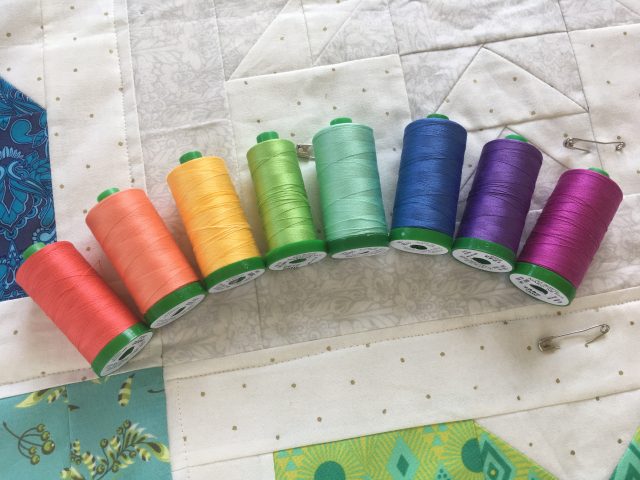
For my Geode quilt, I chose 8 different colours of Aurifil thread that matched the Tula Pink fabrics. Most blend in perfectly, with one exception – the mint thread. I specifically chose that one so as to pull out the minty aqua tones in the green fabrics. It won’t blend in as well as the other threads, but that’s what I want!
Choosing Quilting Designs
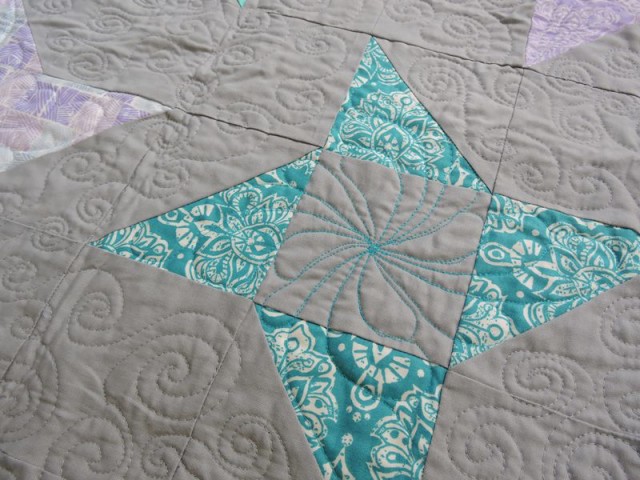
Where to start?! There are endless possibilities for quilting designs! First consider if you are wanting something all-over and quick, or a more custom design. An all-over quilting design is one that you continuously quilt across the quilt top without stopping (well, until your bobbin runs out, that is!). The good ol’ loopy meander is a great place to start for a basic all-over design. Use one neutral thread that blends across the quilt top the best, and get going.
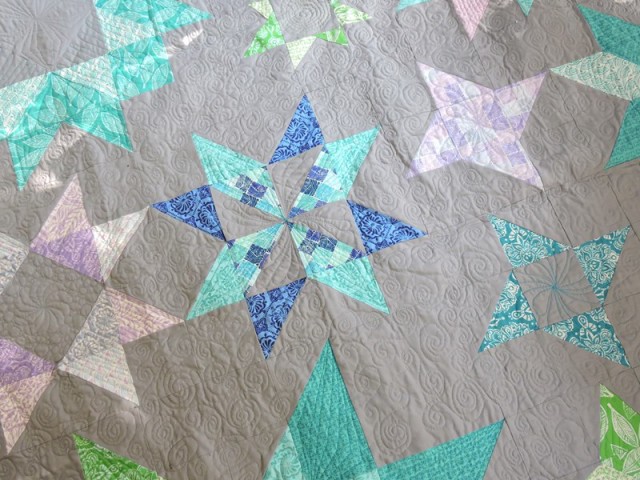
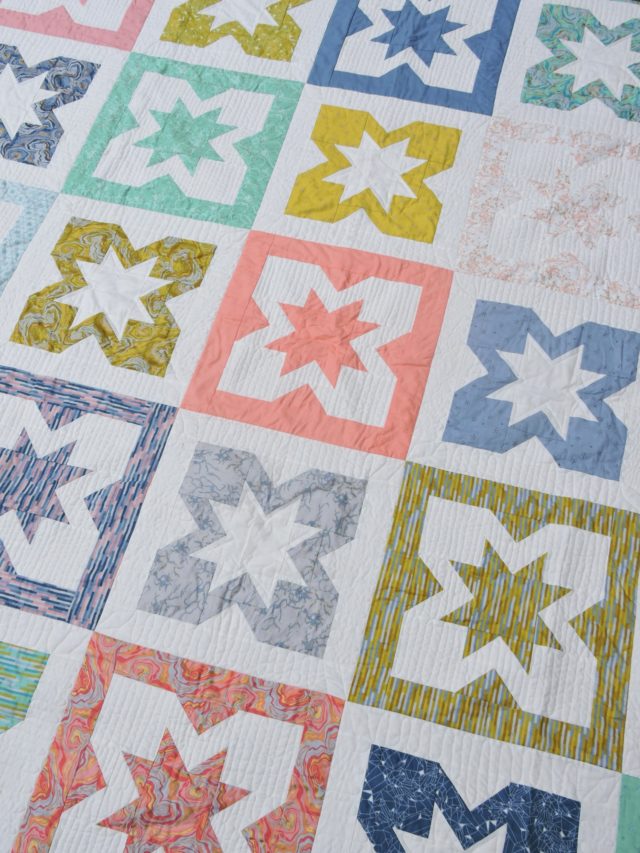
A custom quilting design is where you purposely quilt different parts of the quilt individually. My original Geode quilt was a simple custom quilting design – only quilting the background fabric in a switchback design. This kind of quilting – only in the background – helps to really emphasis the prints and piecing as it makes them almost ‘pop’ out of the quilt.
The Aurora quilt I shared earlier is a more complex custom quilting design, where the background is one design, and each block has a different quilting design. It’s very densely quilted, which makes for a heavier quilt. The more quilting, the less snuggly they tend to be until they’ve been washed and dried several times.
For more detail on quilting sampler quilts, I’ve previously written about how to quilt a sampler quilt, which covers many tips for custom quilting designs that can be applied to any quilt that you are quilting.
Machine Quilting Classes
For about the first 18 months of my quilting journey, all I did was straight line quilting. It wasn’t until I took an online class through Craftsy that I finally felt confident enough to try free motion quilting! And I’ve since taken a few different online classes to learn new techniques, and boost my confidence even further.
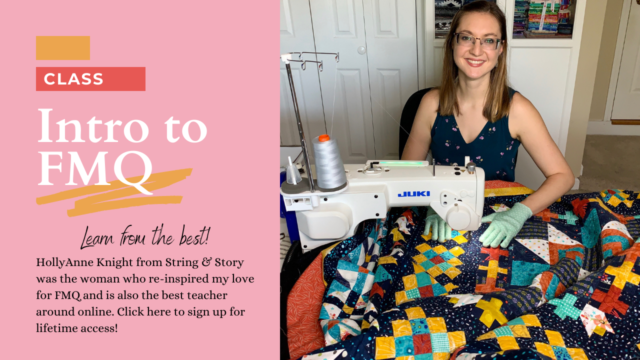
Online classes are an amazing way to learn how to quilt from the comfort of your own sewing space. You have your own machine, your own set up, and you can even do it with a glass of wine while in your pyjamas to help you really relax into the FMQ mood! The best online class I’ve taken for free motion quilting was Free Motion Quilting Academy. HollyAnne is an incredible teacher, and the community of students is one of encouragement and support to help you along the way. FMQA opens for enrolment twice a year, so I highly recommend that, and in the meantime, you can check out her Intro to Free Motion Quilting class to get you started.
I also highly recommend having a Google for any machine quilting classes run by local quilt stores. Many quilt shows will also run classes by machine quilters, and sometimes quilt guilds will bring out teachers for special workshops.
Share Your Tips
As I mentioned earlier, there are just so many tips and tricks and techniques out there for machine quilting at home. Add your’s in the comments below!
This post contains affiliate links. Thanks for your support!
Kay says
I really liked the tip of doing a few lines then all around the edge before cutting off the excess, that would really help out with bulk and weight. x
Alyce says
It really does! The number of times I’ve sewn the backing to itself… >.<
Cocopatch says
thanks for your tips! I keep them all!
Alyce says
My pleasure!